

Pearl Reference - Refinishing project
Past my introdution here - (do I need one?)
Pearl reference - Refinishing project
Here we have a Pearl Reference Pure in “Scarlett Sparkle Burst” (catalogue colour #377).
This kit is part of a known factory issue where a chalky residue forms slowly over time on painted finished drum sets mainly in the Reference line but also spread into the Masters range as well. From the best of my understanding, what I've been told and from what I've researched myself and from what we can see and have also experienced, the problem with the chalky residue is a slow and constant chemical reaction slowly separating, chemically, over time and the by-product of that chemical separation is the chalky residue forming on the outer surface.
Now it's easy to think yes we can quickly do a cut + polish and take that away but from my experience and also several past clients experiences with the same issue, a simple cut + polish seems to be only a temporary fix and after maybe a month or two it starts to come back again with the chalky residue. That’s because as I previously mentioned, it is a slow progressive chemical reaction happening constantly so it always comes back, which means the only way to remedy the problem is to remove the affected paint layers by refinishing, which brings us here.

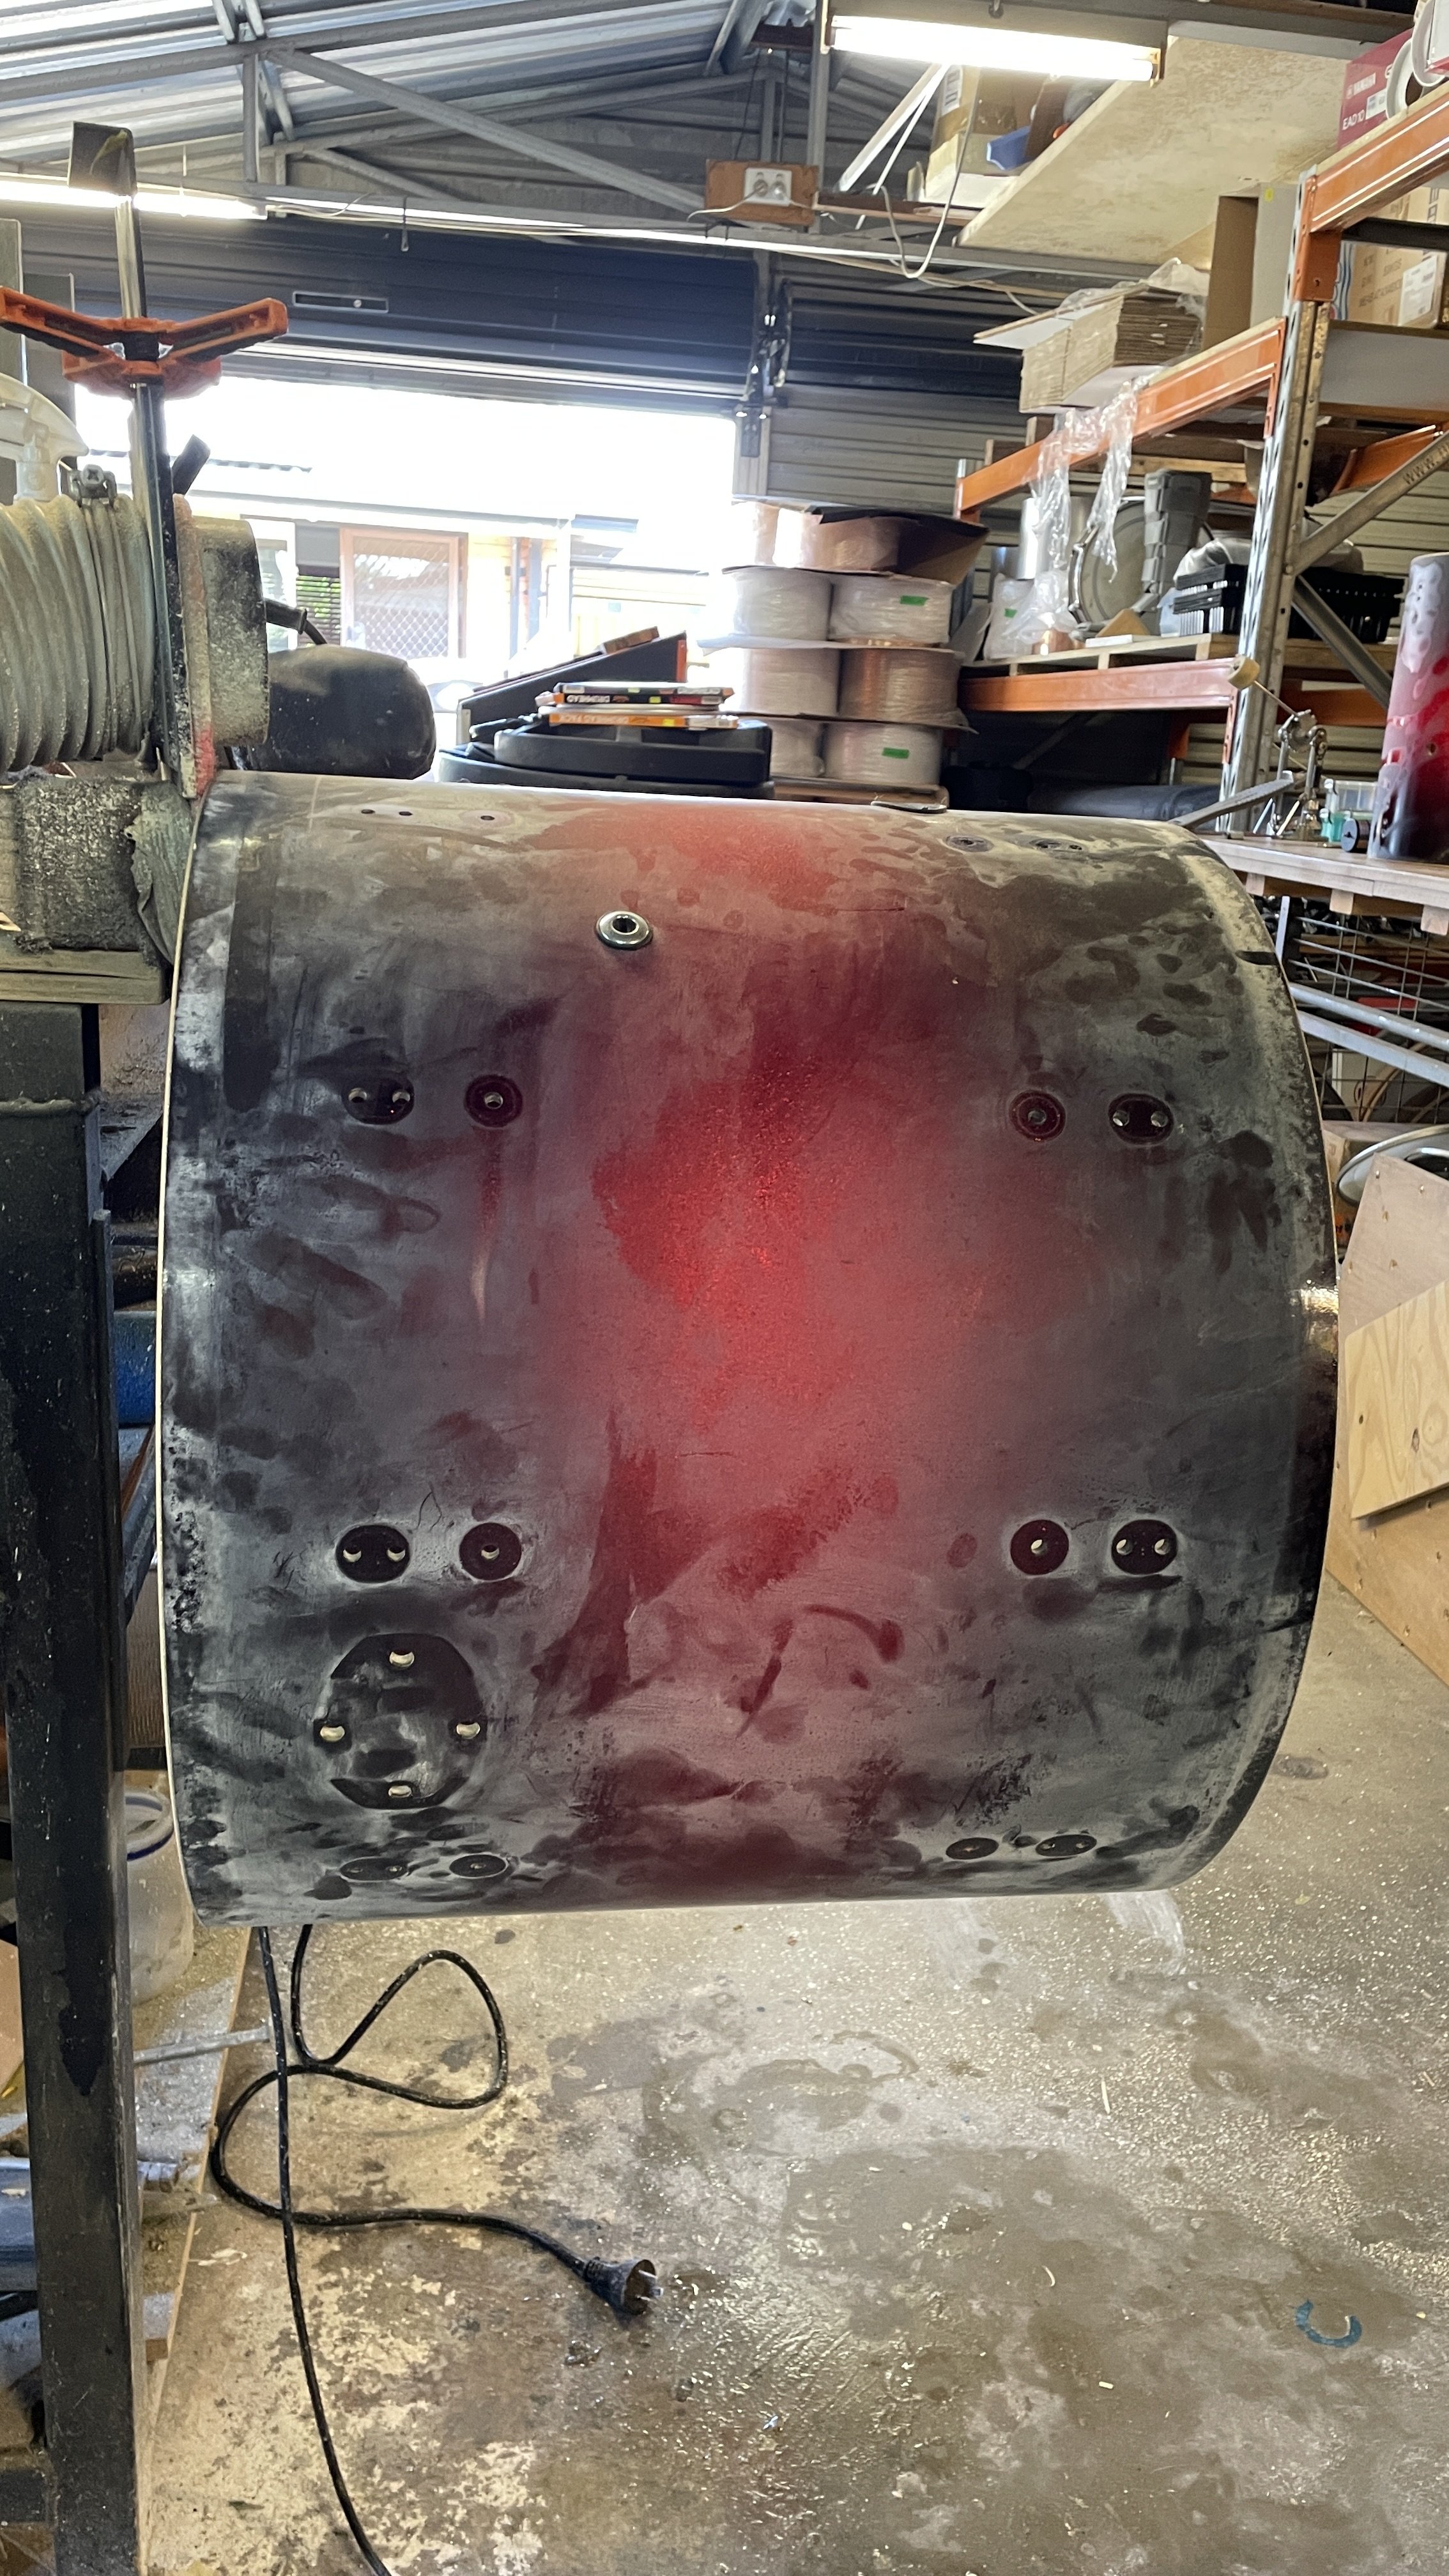
Here you can clearly see the extent of the damaged caused by the progressive chemicial chain reaction that causes the chalky residue to form all over the outer finish.
As you can see here the chalky residue really has developed to become quite excessive. Unfortunately solving this issue is not a simple one, it does require the clear layers to be fully stripped back and reapplied. In the case of this particular kit not being a solid colour, it means that we need to very carefully only remove the clear layers of finish and not the layers of sparkle that are underneath. its a very tedious and time consuming job and absolutely not for the faint hearted.
Essentially we strip the hardware down (which also luckily for us the hardware across the whole kit is not affected by any of the chalky residue and none of the off-gassing or anything with the chalky residue has any effect on the hardware across the kit thankfully!) Followed by cleaning down the shell, giving a quick wipe down and carefully assessing any other damage that's around the shells, then, we look straight into cutting back the clear coat layers starting with around 1000G w+d on the machine, followed by all hand-finishing and feathering.
As I'm working through cutting back the clear layers I'm really watching the light and making sure I'm only taking away the layers that I need to and not cutting too far down into the glitter layers (or at all) or the black layer. Once we get that done we get it all masked up and then start looking at applying the new clear coat which is done over several days and several layers with some sanding in between of course so that's a fairly straightforward process once we get started.


In this particular photo is a tom that was not affected by the chalky residue problem. Here you'll see the detail level from factory still shows the “orange peeling” effect in the reflections of light in the clear coat paint.
In the photo below you'll see an example of the refinished shells which are finished and polished up; and again if you look at the reflections of light you'll see that we've achieved quite a high level of detail and a beautiful glossy finish which I personally think exceeds the factory finish. Now we just reassemble the kit with all the hardware also being cleaned + polished, the bass drum hoops were also refinished along with the shells.
Overall it has been an immensely big project to undertake and absolutely not for the faint-hearted but the results speak for themselves. Both myself and the client were absolutely stoked with the results and happy to see this beautiful kit actually live on and live its best life the way it was always intended!


