November > December 2024
Scroll through and enjoy this post which covers a lot of the smaller projects that have come through Brisbane Drums workshop throughout the November and December 2024 period. Things like cymbal repairs, bass drum cut-downs, simple snare drum repairs + maintenance, some bongo skin repairs, bearing edges being recut, marching drums serviced and much more!
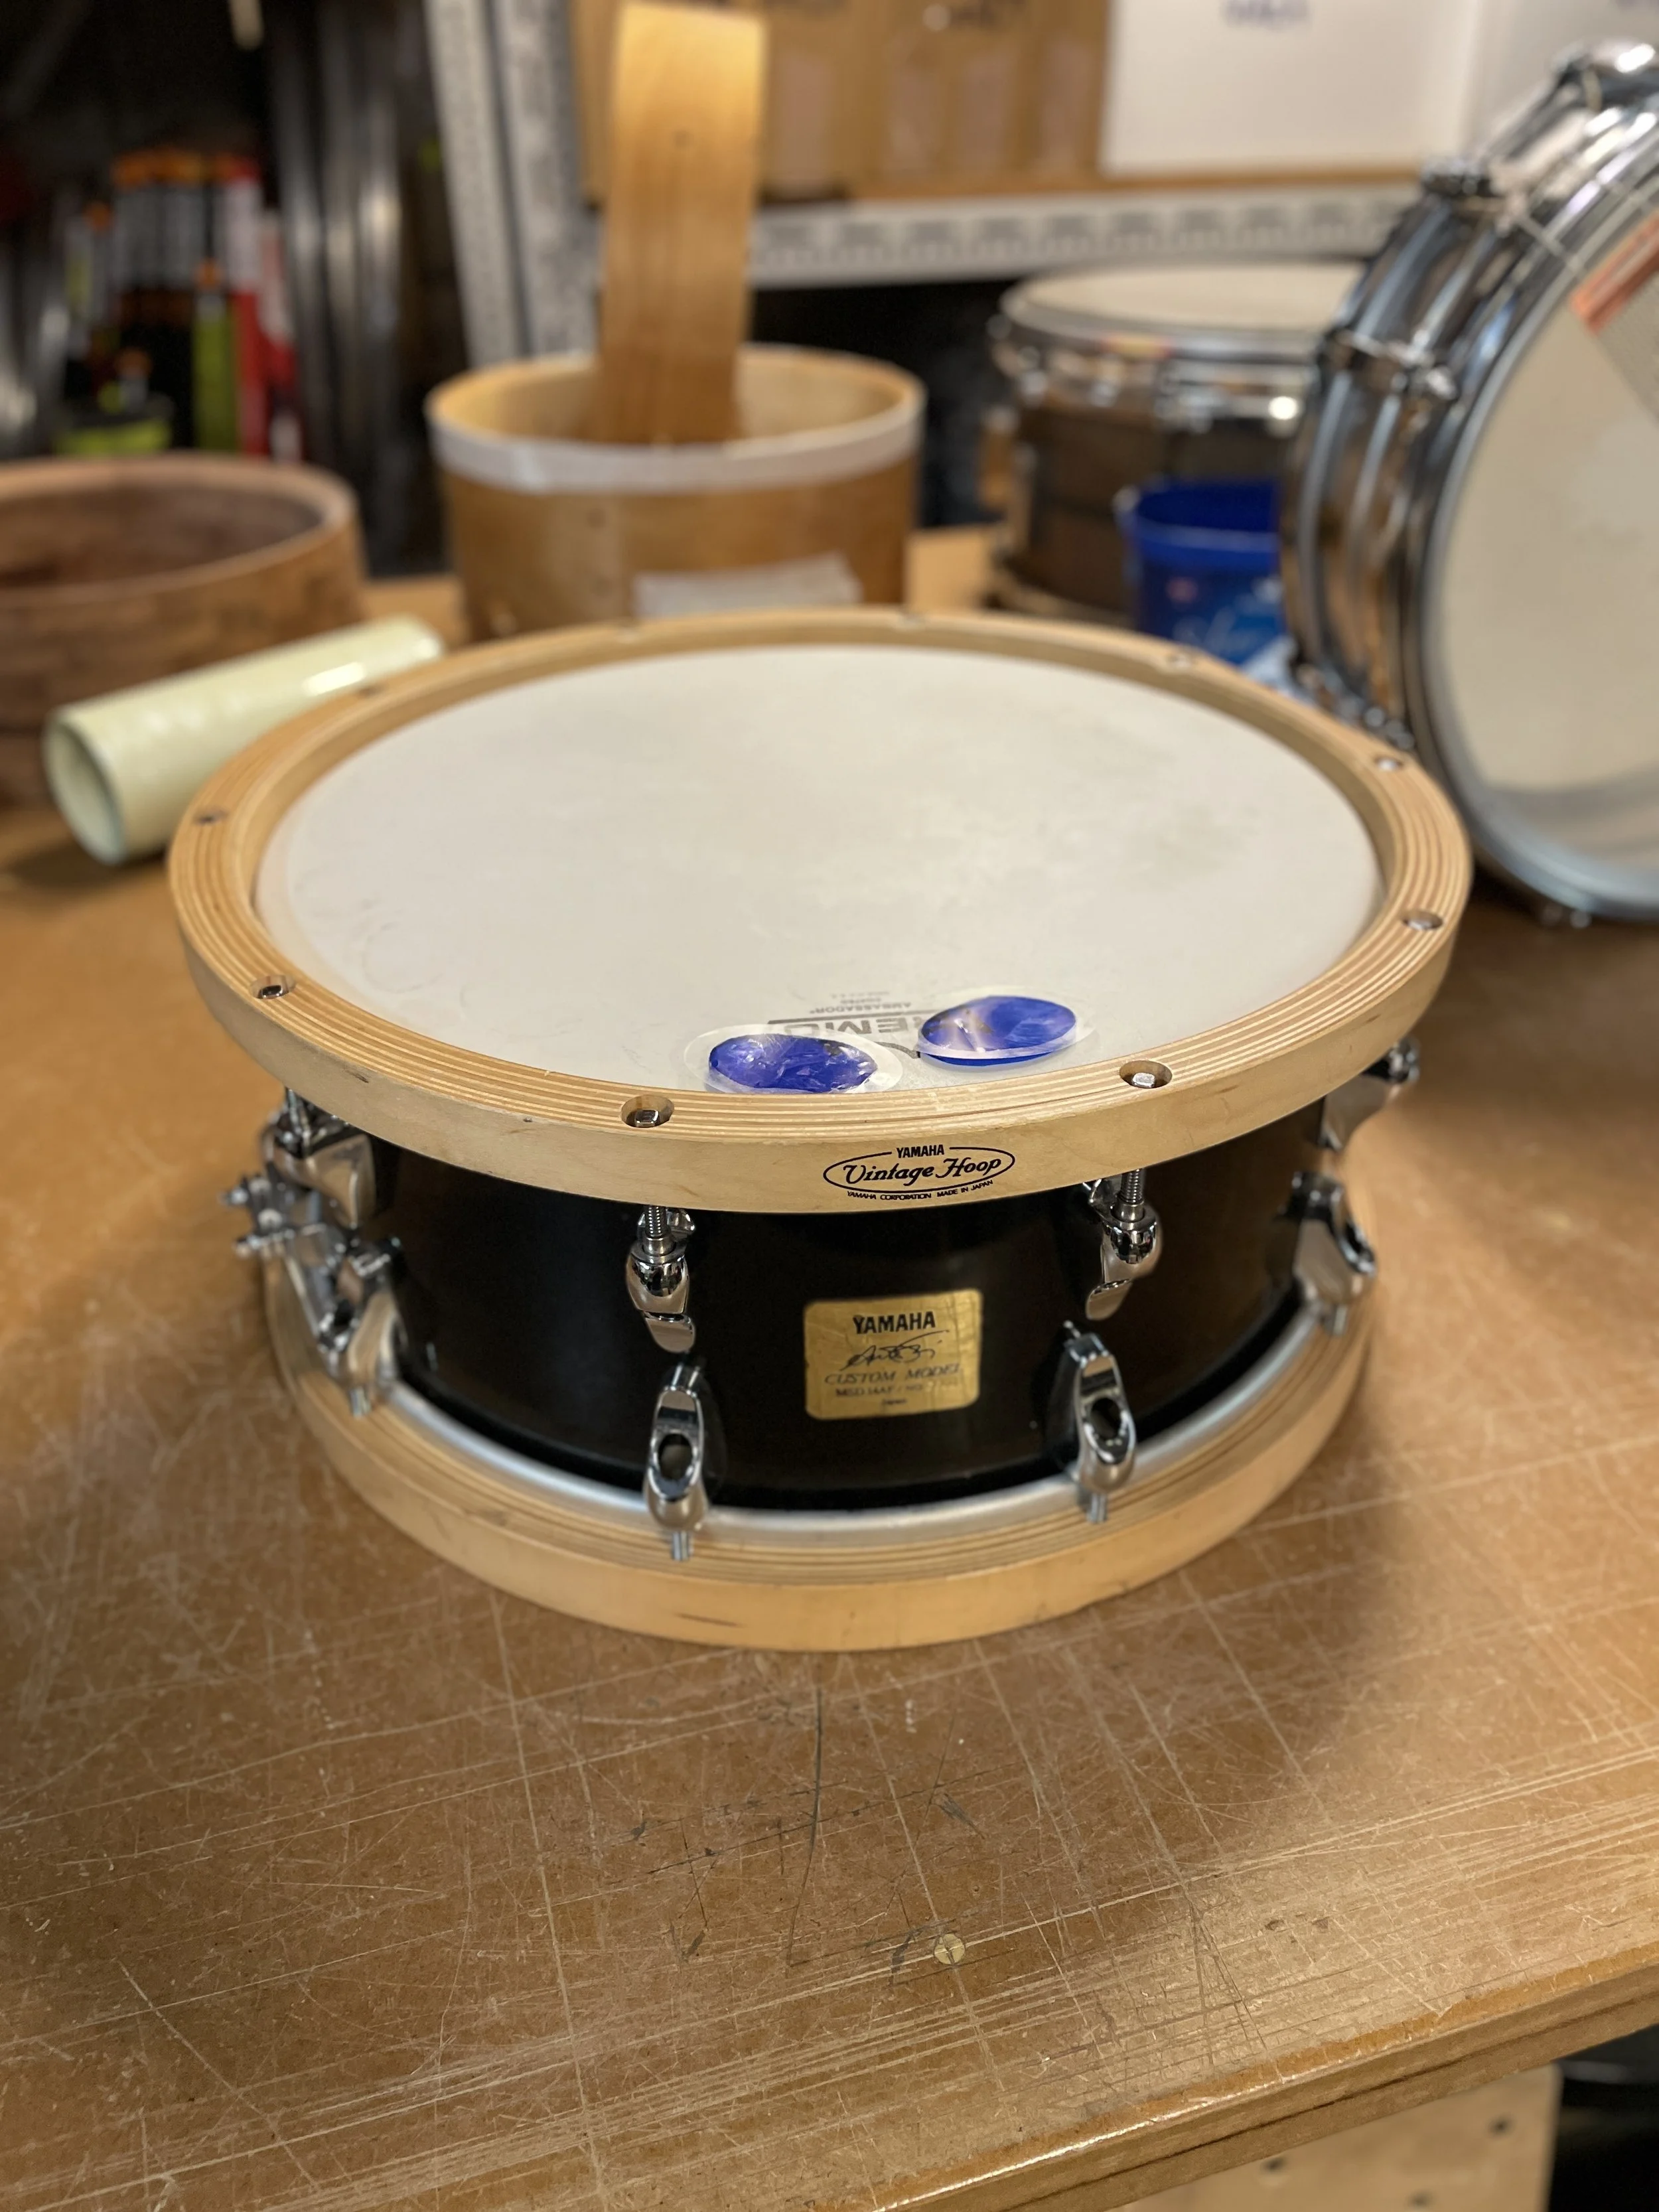
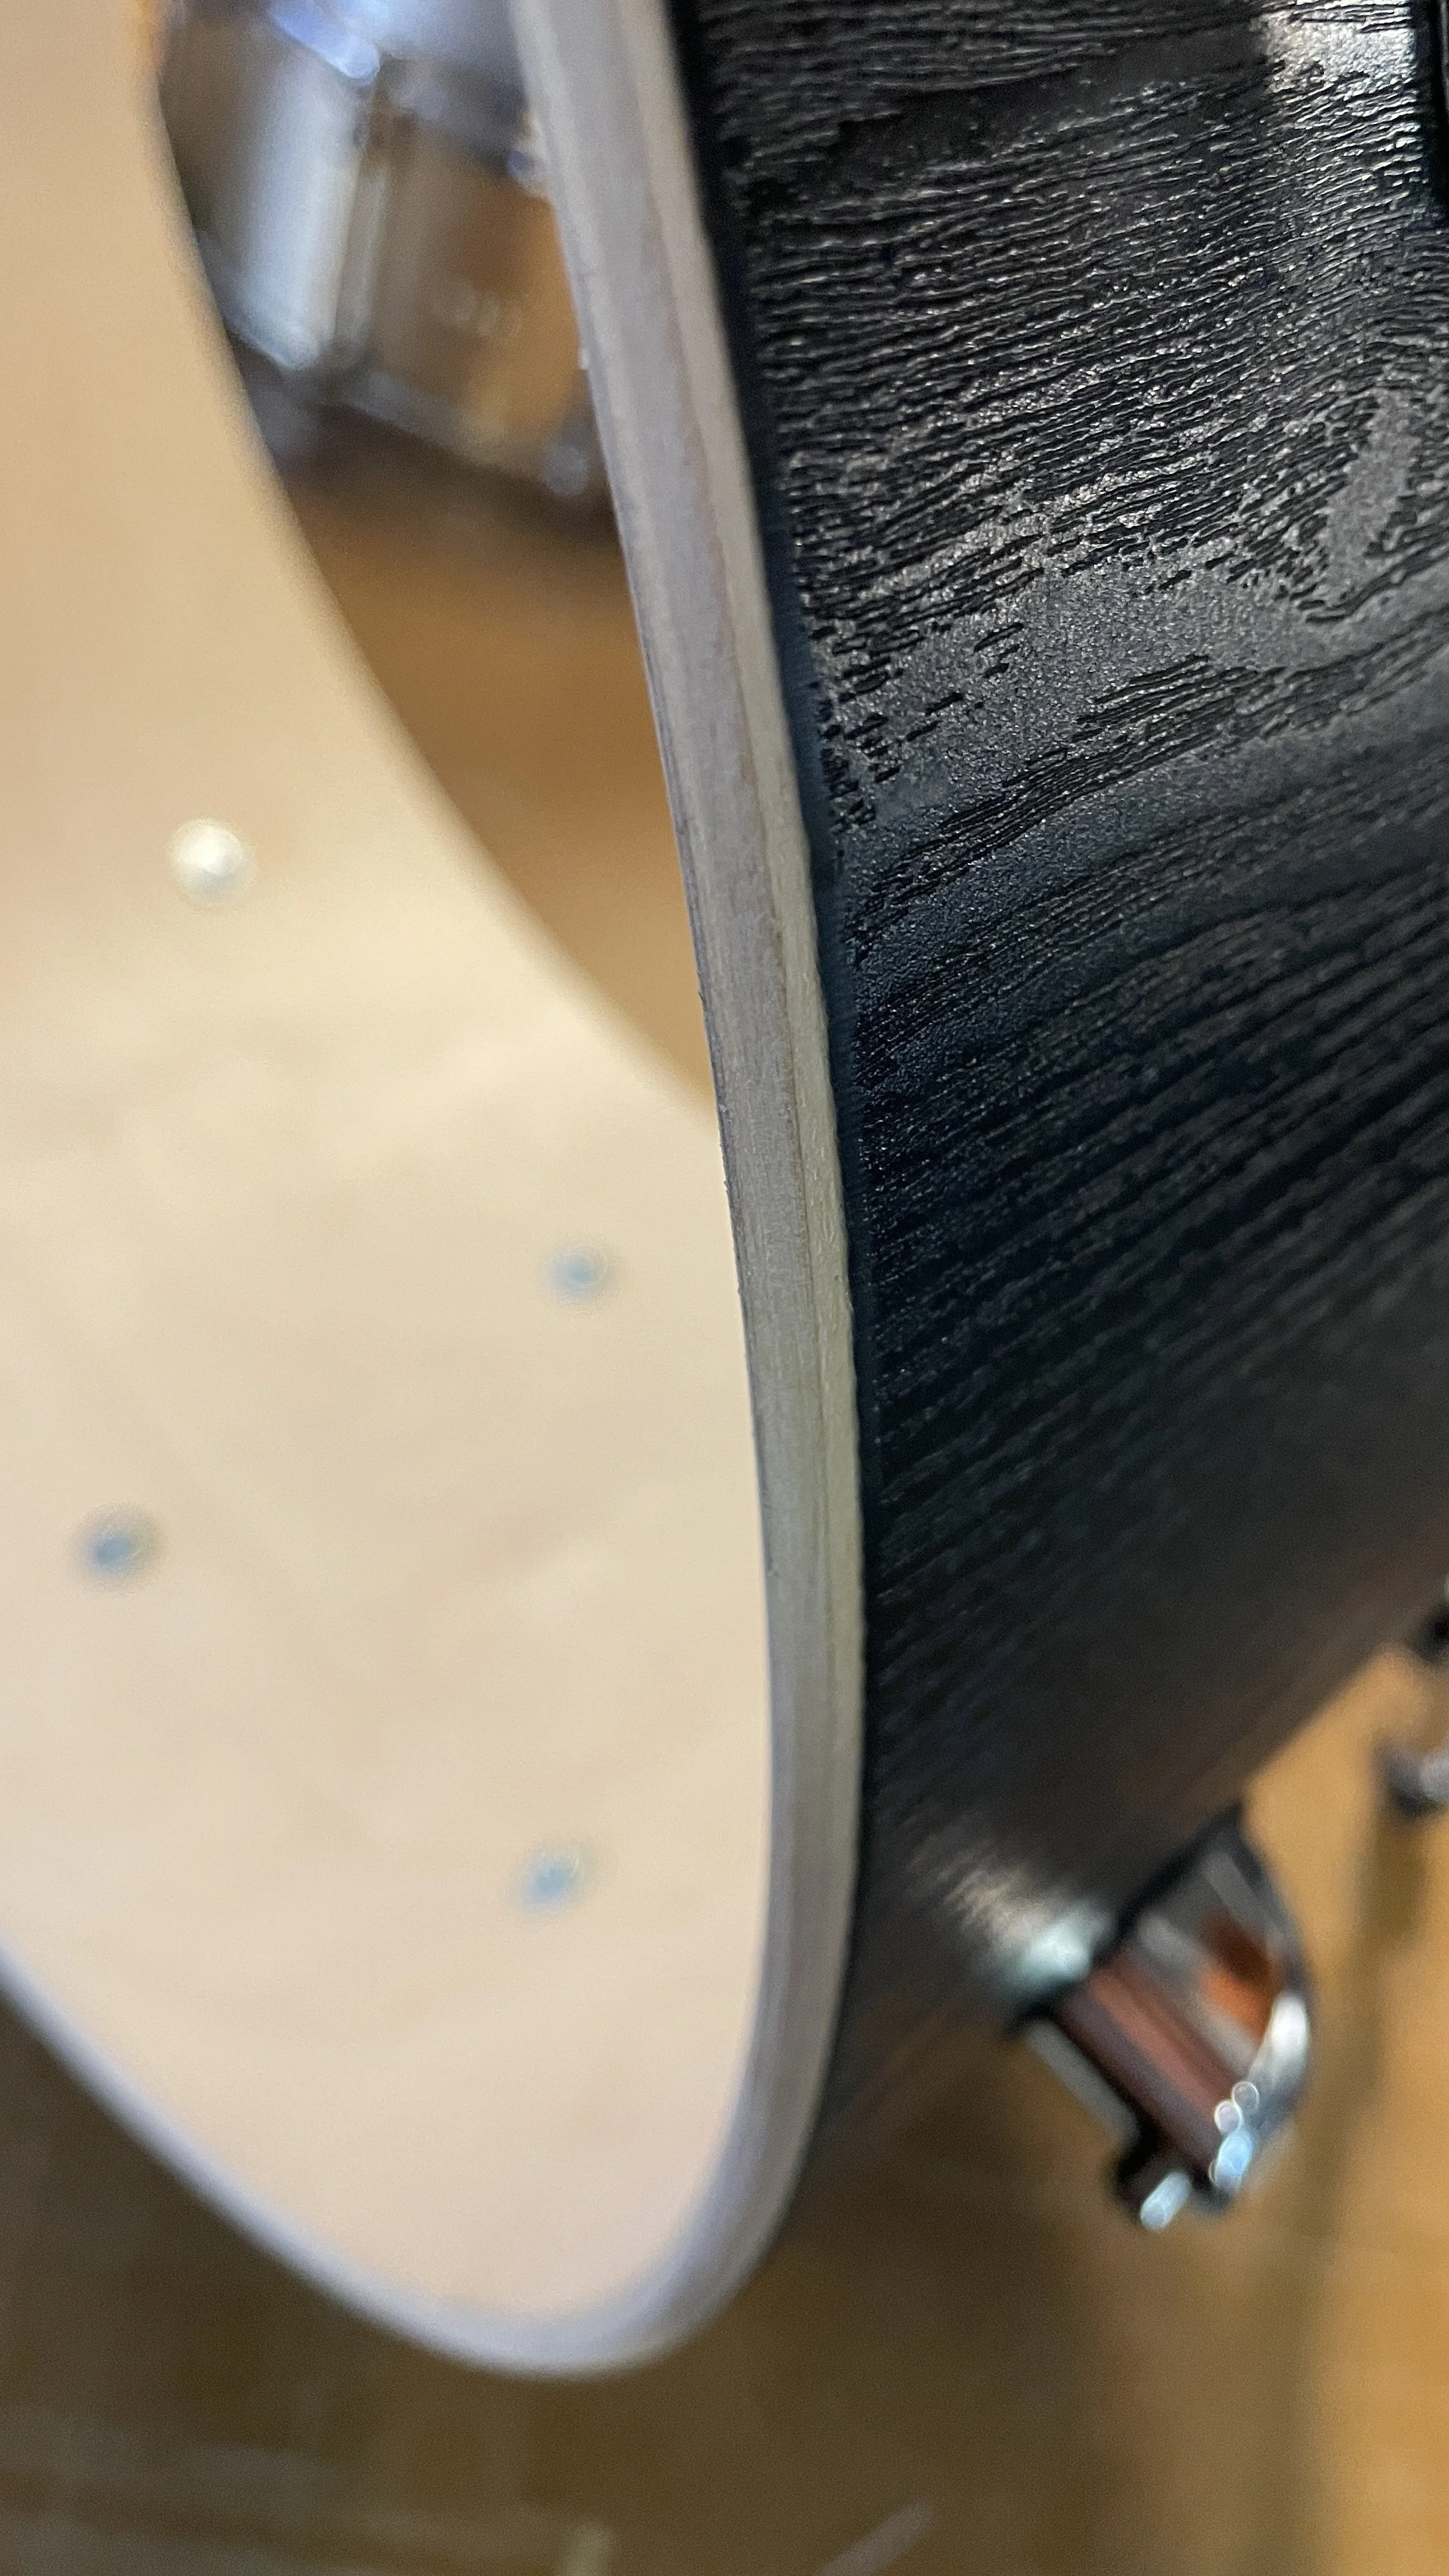
Yamaha Anton Fig Signature Snare drum (Hoop Repair)
Here we have a Yamaha Anton Fig Signature Custom model snare.
The snare drum itself didn't really need any attention but the wooden hoops that were de-laminating a little between two of the lug points. So I set out to carefully inspect the rest of the hoop for any other damage and found none, then we went ahead and began to very carefully just open up that damaged area a little bit more, enabling me to effectively insert the right amount of glue throughout the entire damaged area. Once that was all in place I did some simple cleanup with water before clamping the affected area for 24 hours before removing the clamps leaving it for a further 24 hours to properly cure and also to allow the repair any time to show signs of a failed repair - which did not show signs, I then did some very light sanding and feathering-in around the area of the repair and to finish by very lightly rubbing down the entire hoop and giving it a light respray with a matte / satin finish. The hoop was entirely freshened up again with a nice smooth, clean look which you can see from some of the photos below; it's essentially invisible!


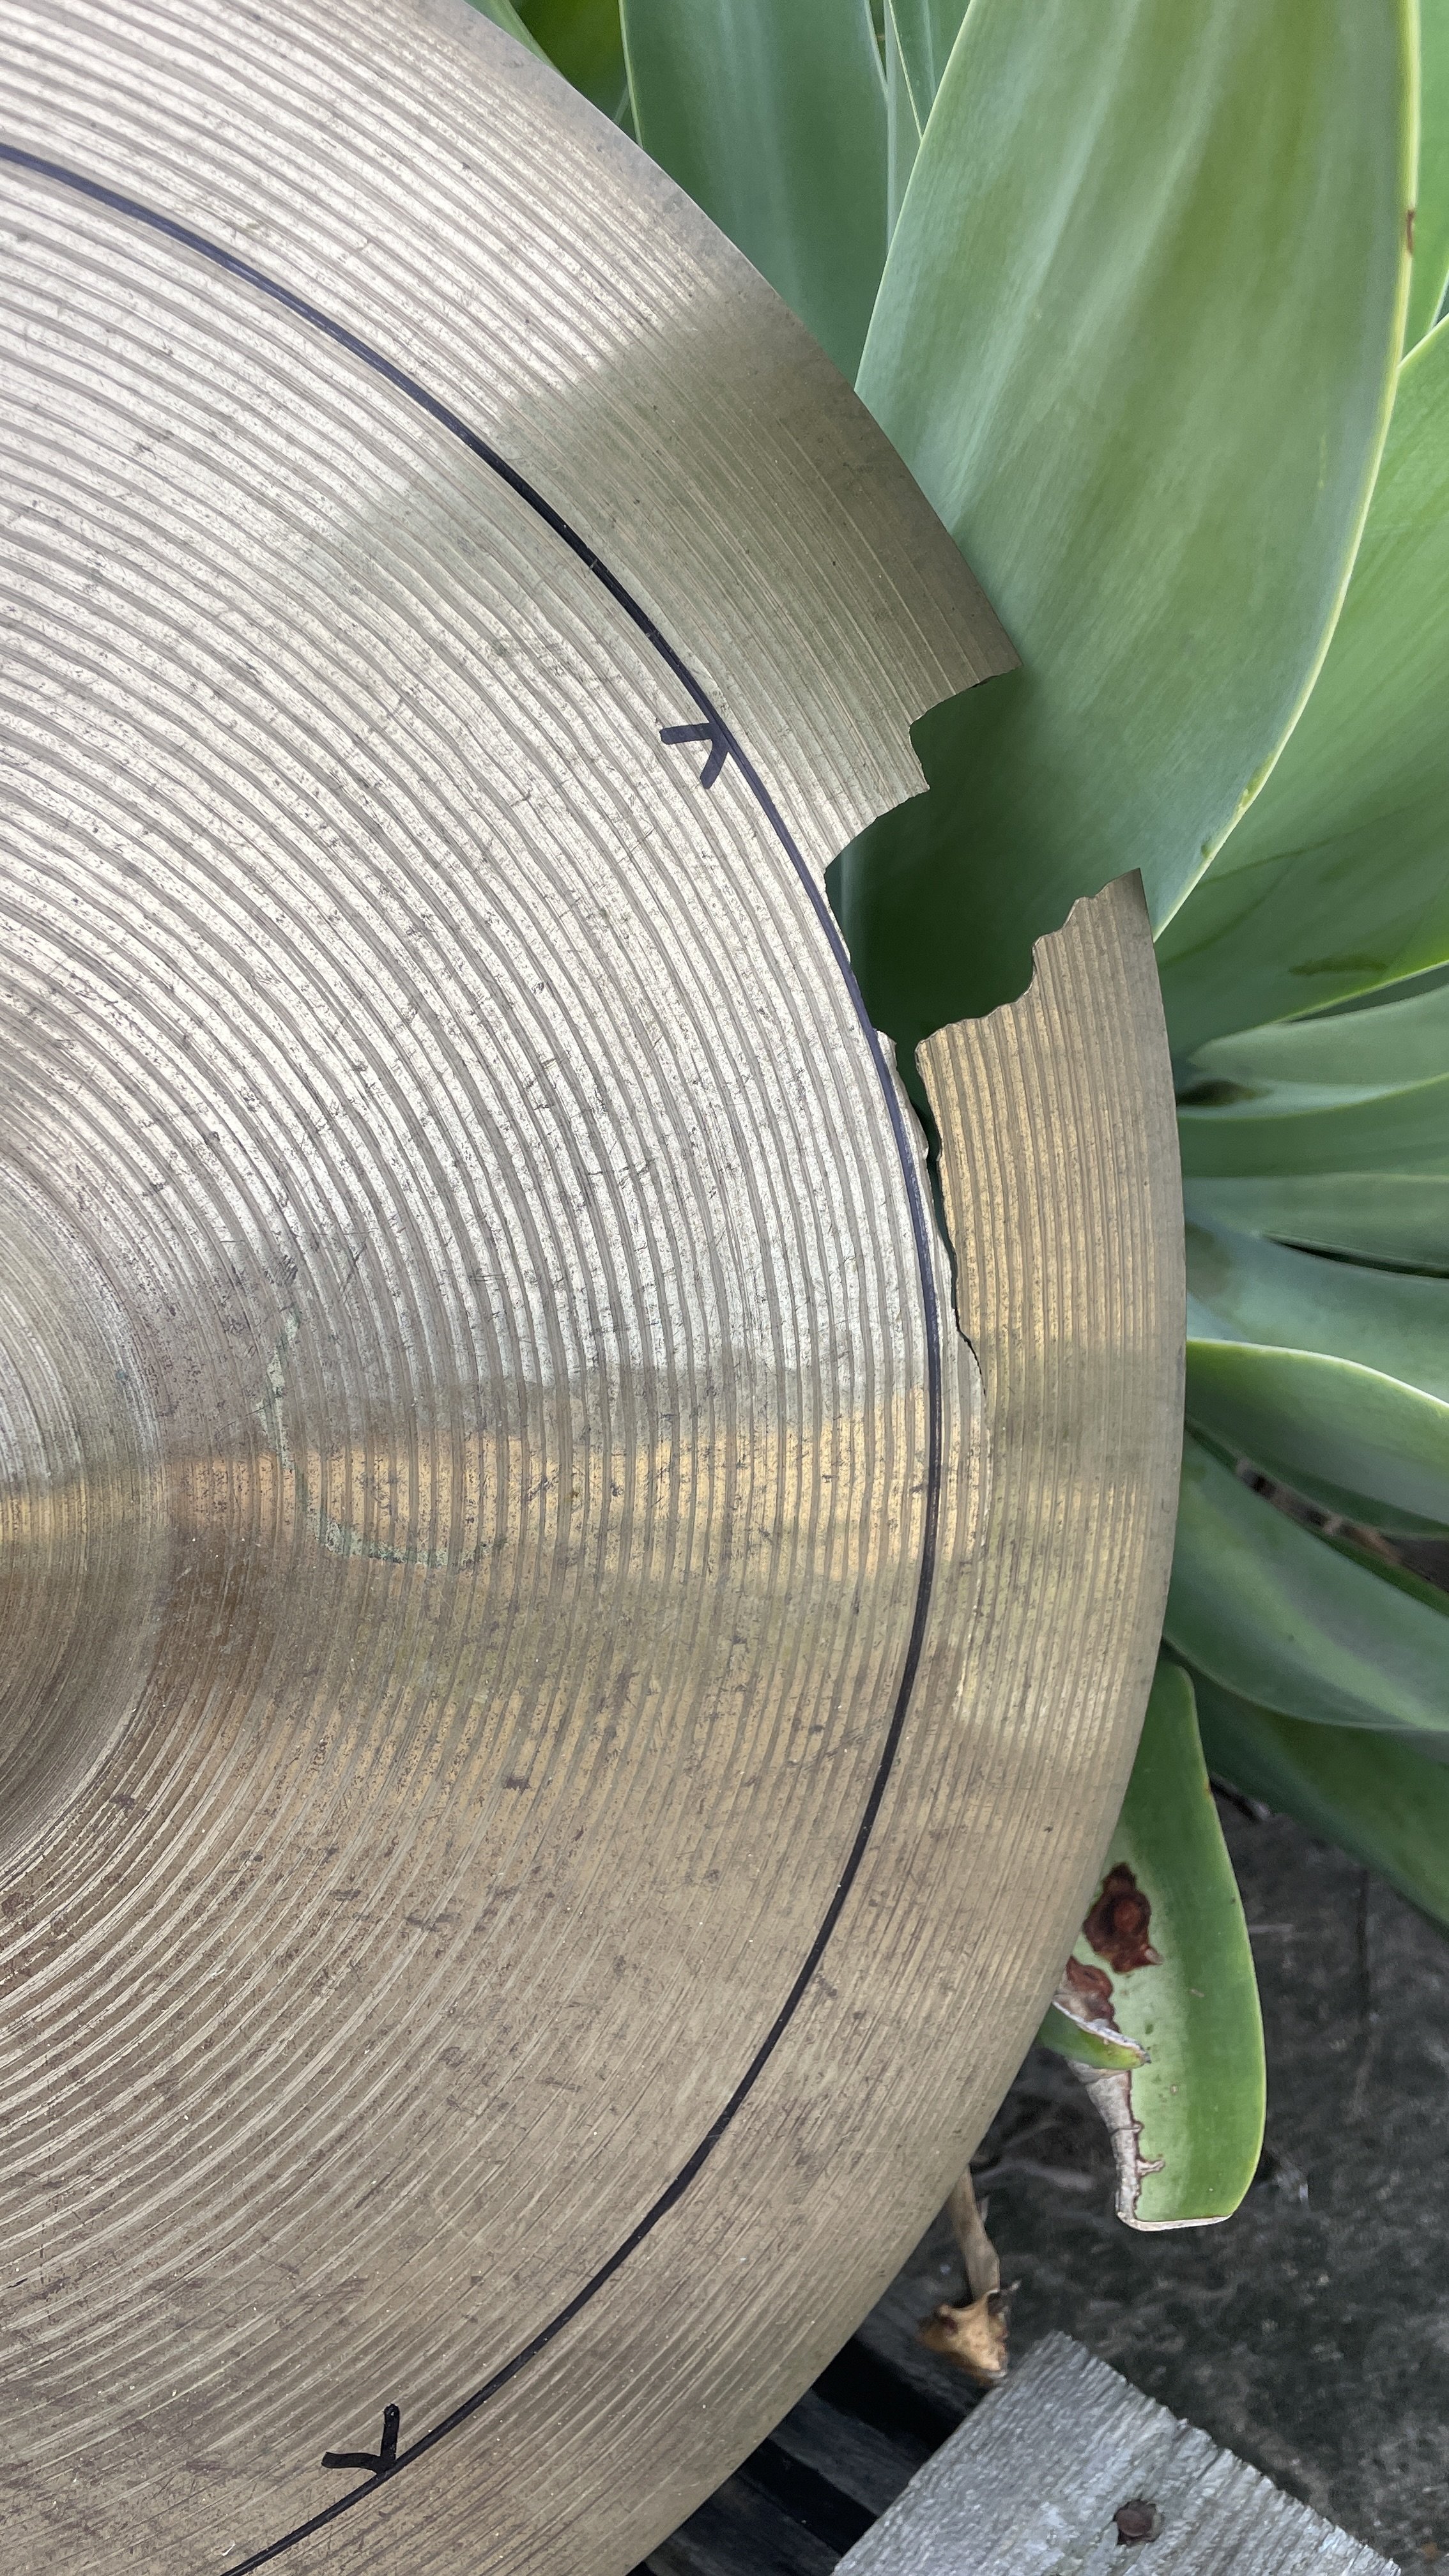
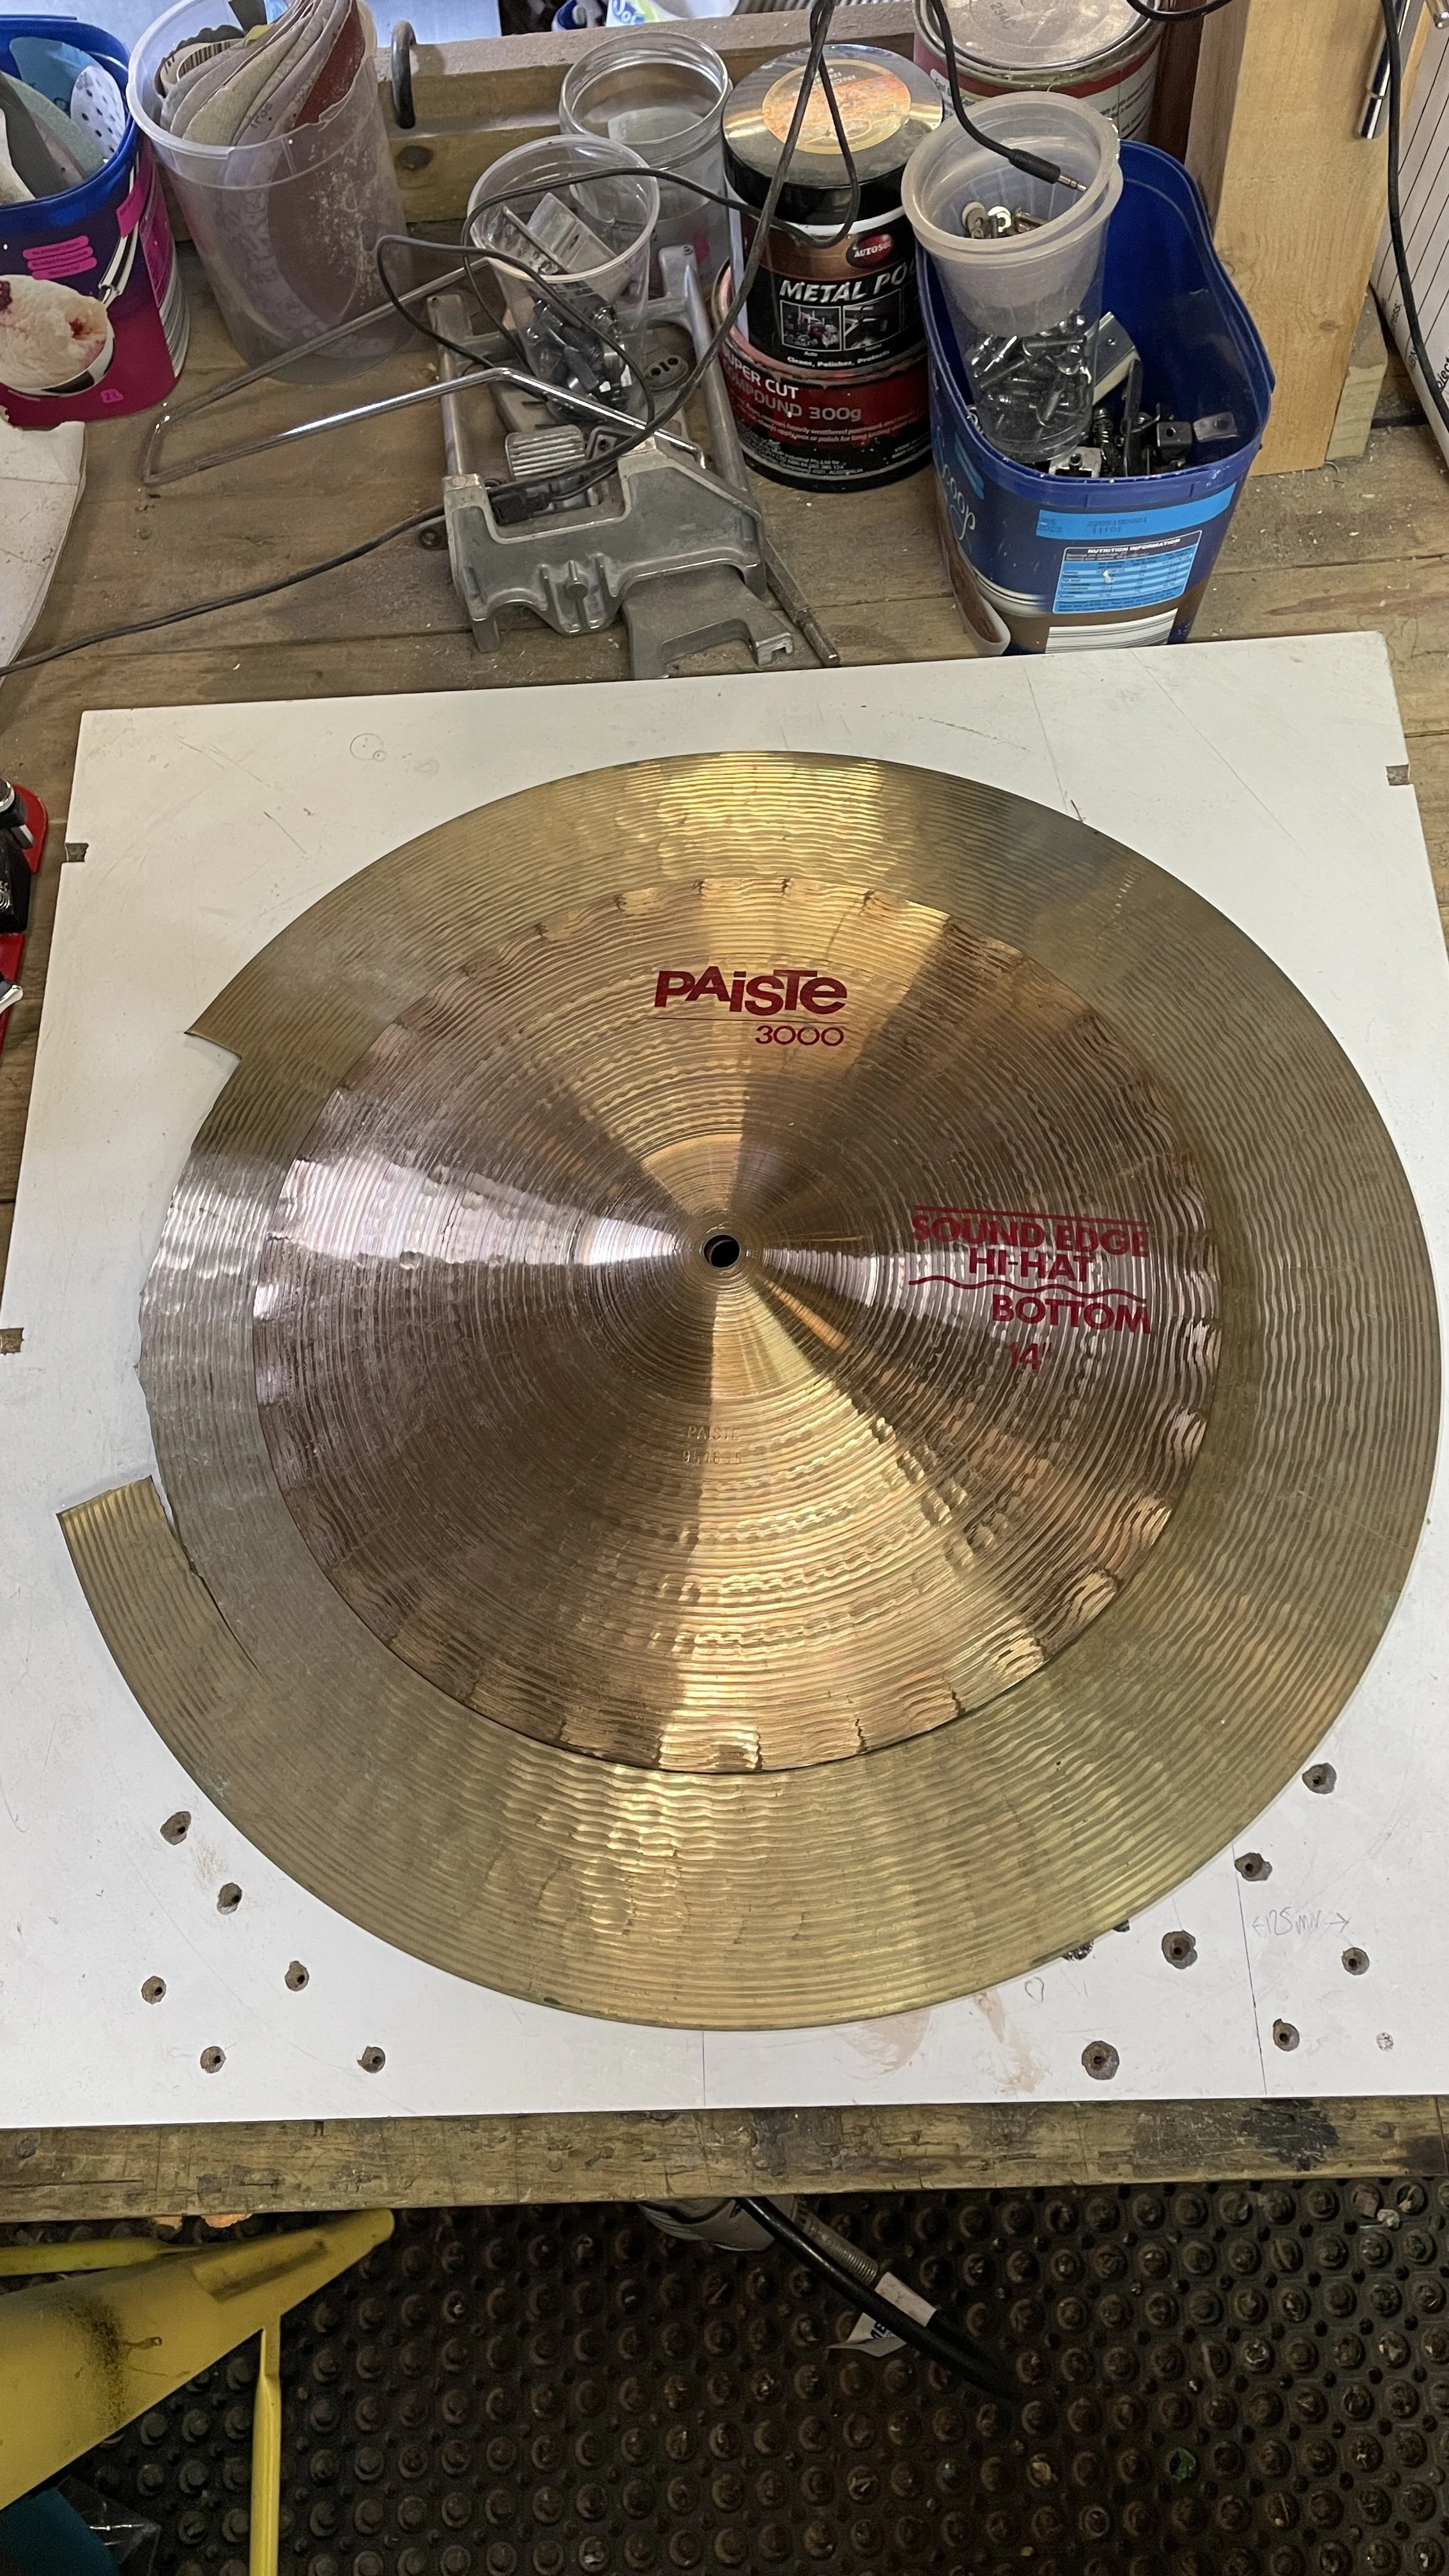
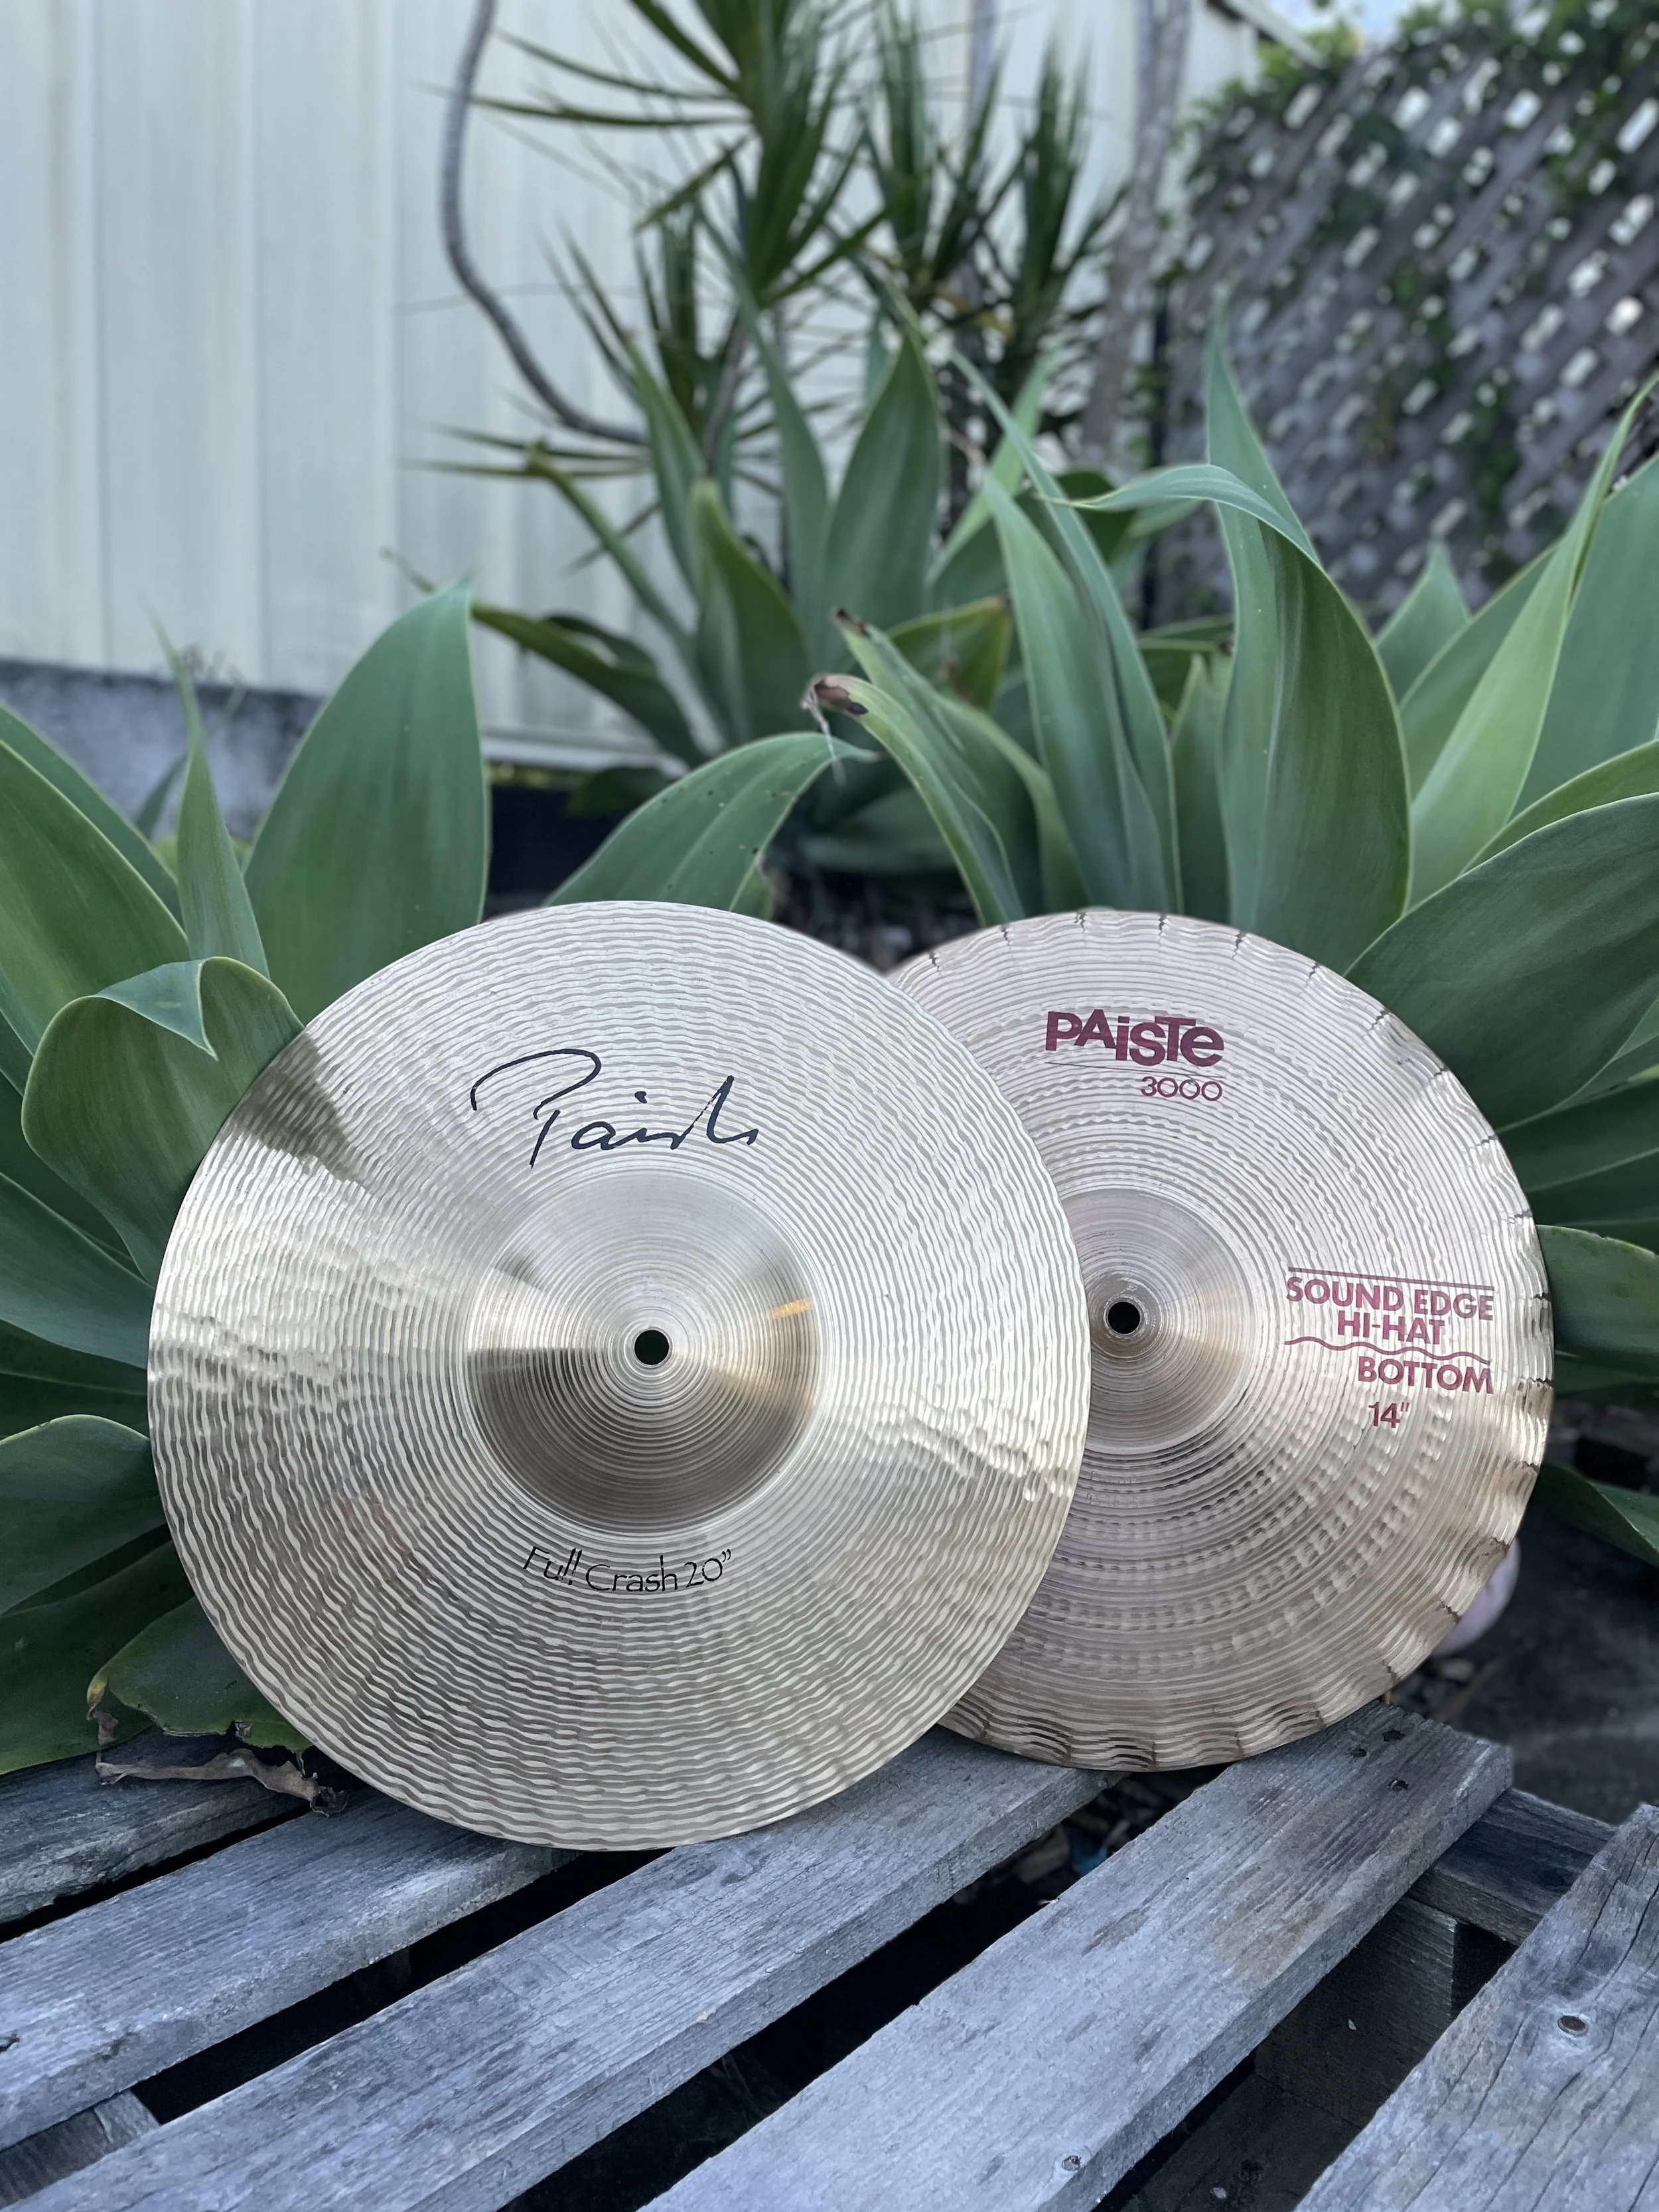
Cymbal Repairs + Mods (collective)
Cymbal repairs are always trickling through the workshop needing varying degrees of repairs or mods and the past several weeks being no exception.
Some Paiste crashes were both re-sized to suit orphan 14” single hi-hat cymbals the client already had - The Sound Edge hat I left a whisker over 1mm exxtra around the circumference to allow for the rippled outer edge desgn on the matching hat to lessen the chance of overlapping.
The 18” arrived pre-marked to where the client wanted it cut to - hard part done for me!
The Red Cymbals crash had a pretty precarious crows-foot style crack mid-outer bow; the client and myself spoke about various routes for repair or modification/Fx, but a simple clean cut was what won. It still sounds great, albeit a few hundred grams lighter.
The Zildjian K also had a not-so-common type of crack where an actual piece of bronze casting has shattered away in what appears to be a “brittle” type of break, followed by trace cracking around the lathing lines. It’s always our approach to only remove as least material as possible while working on cymbals.


Yamaha YD bass drum shell cut
A quick in + out for this Yamaha YD bass drum which the client was planning on using thier new drum studio build as a hanging shelf on the wall and simply needed the base for the project cut to size.
We planned out the cut line with the intention of using the left over shell and hoop for a future gong drum project.


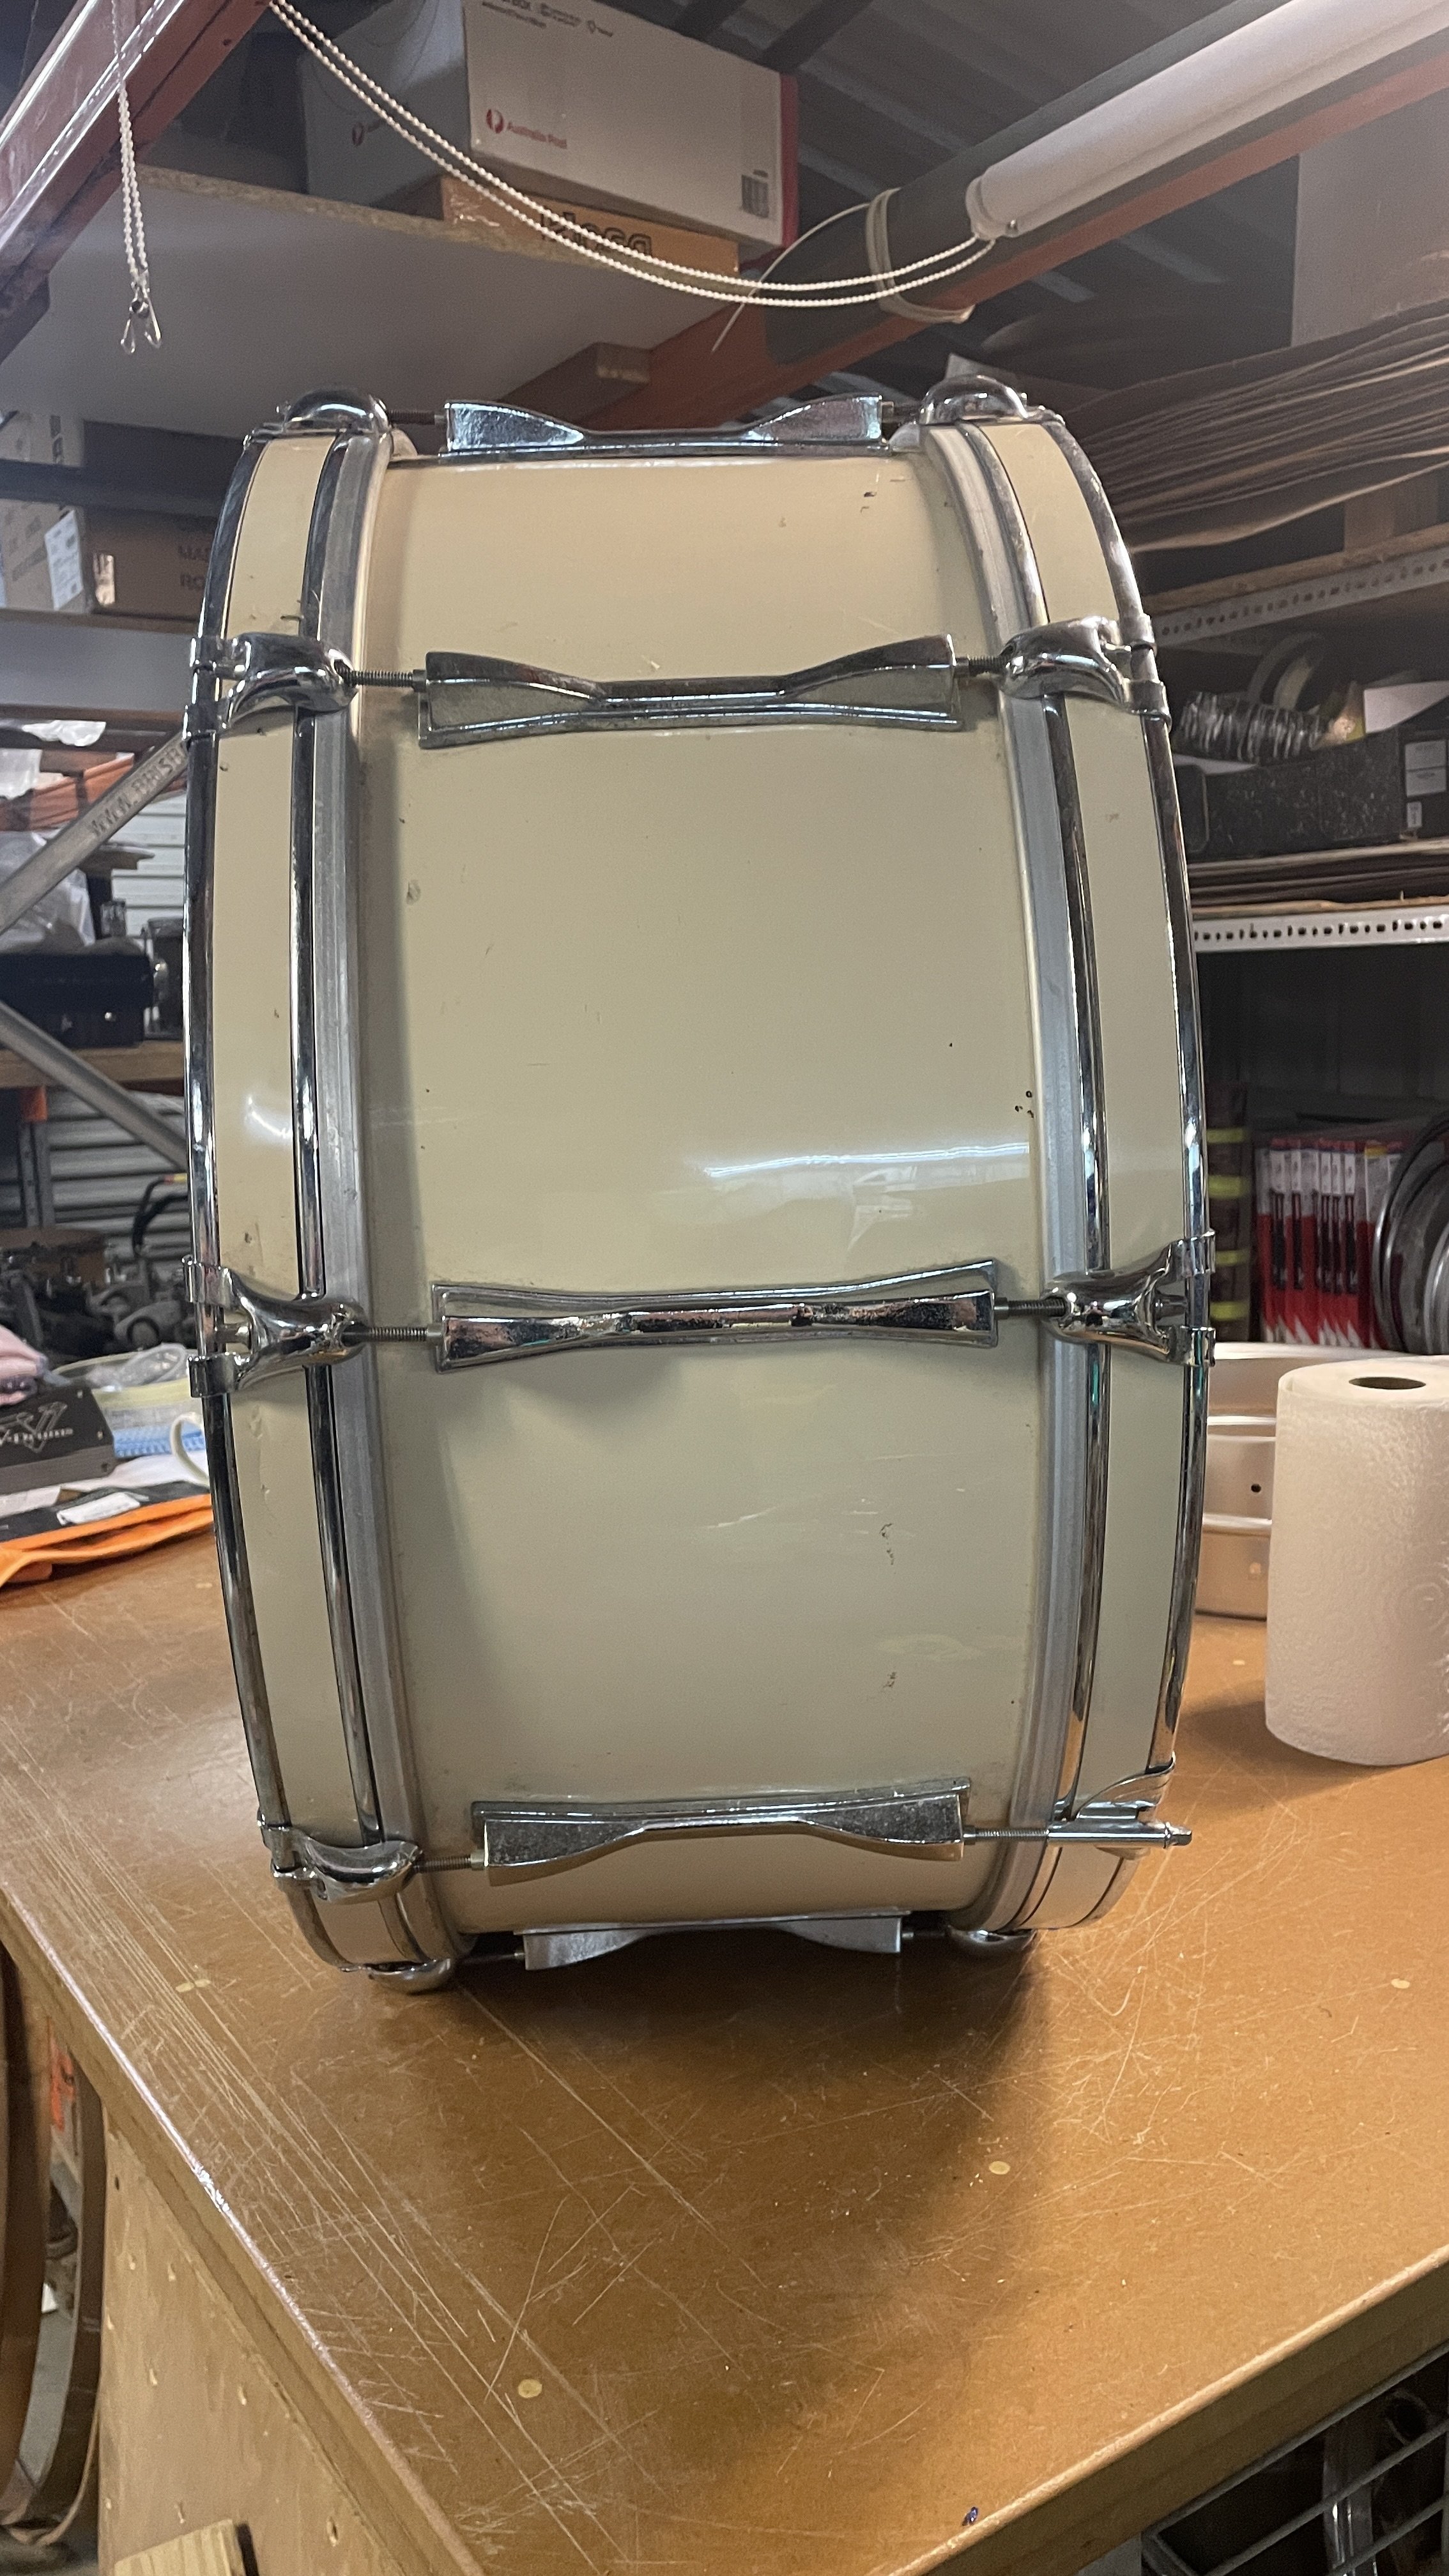
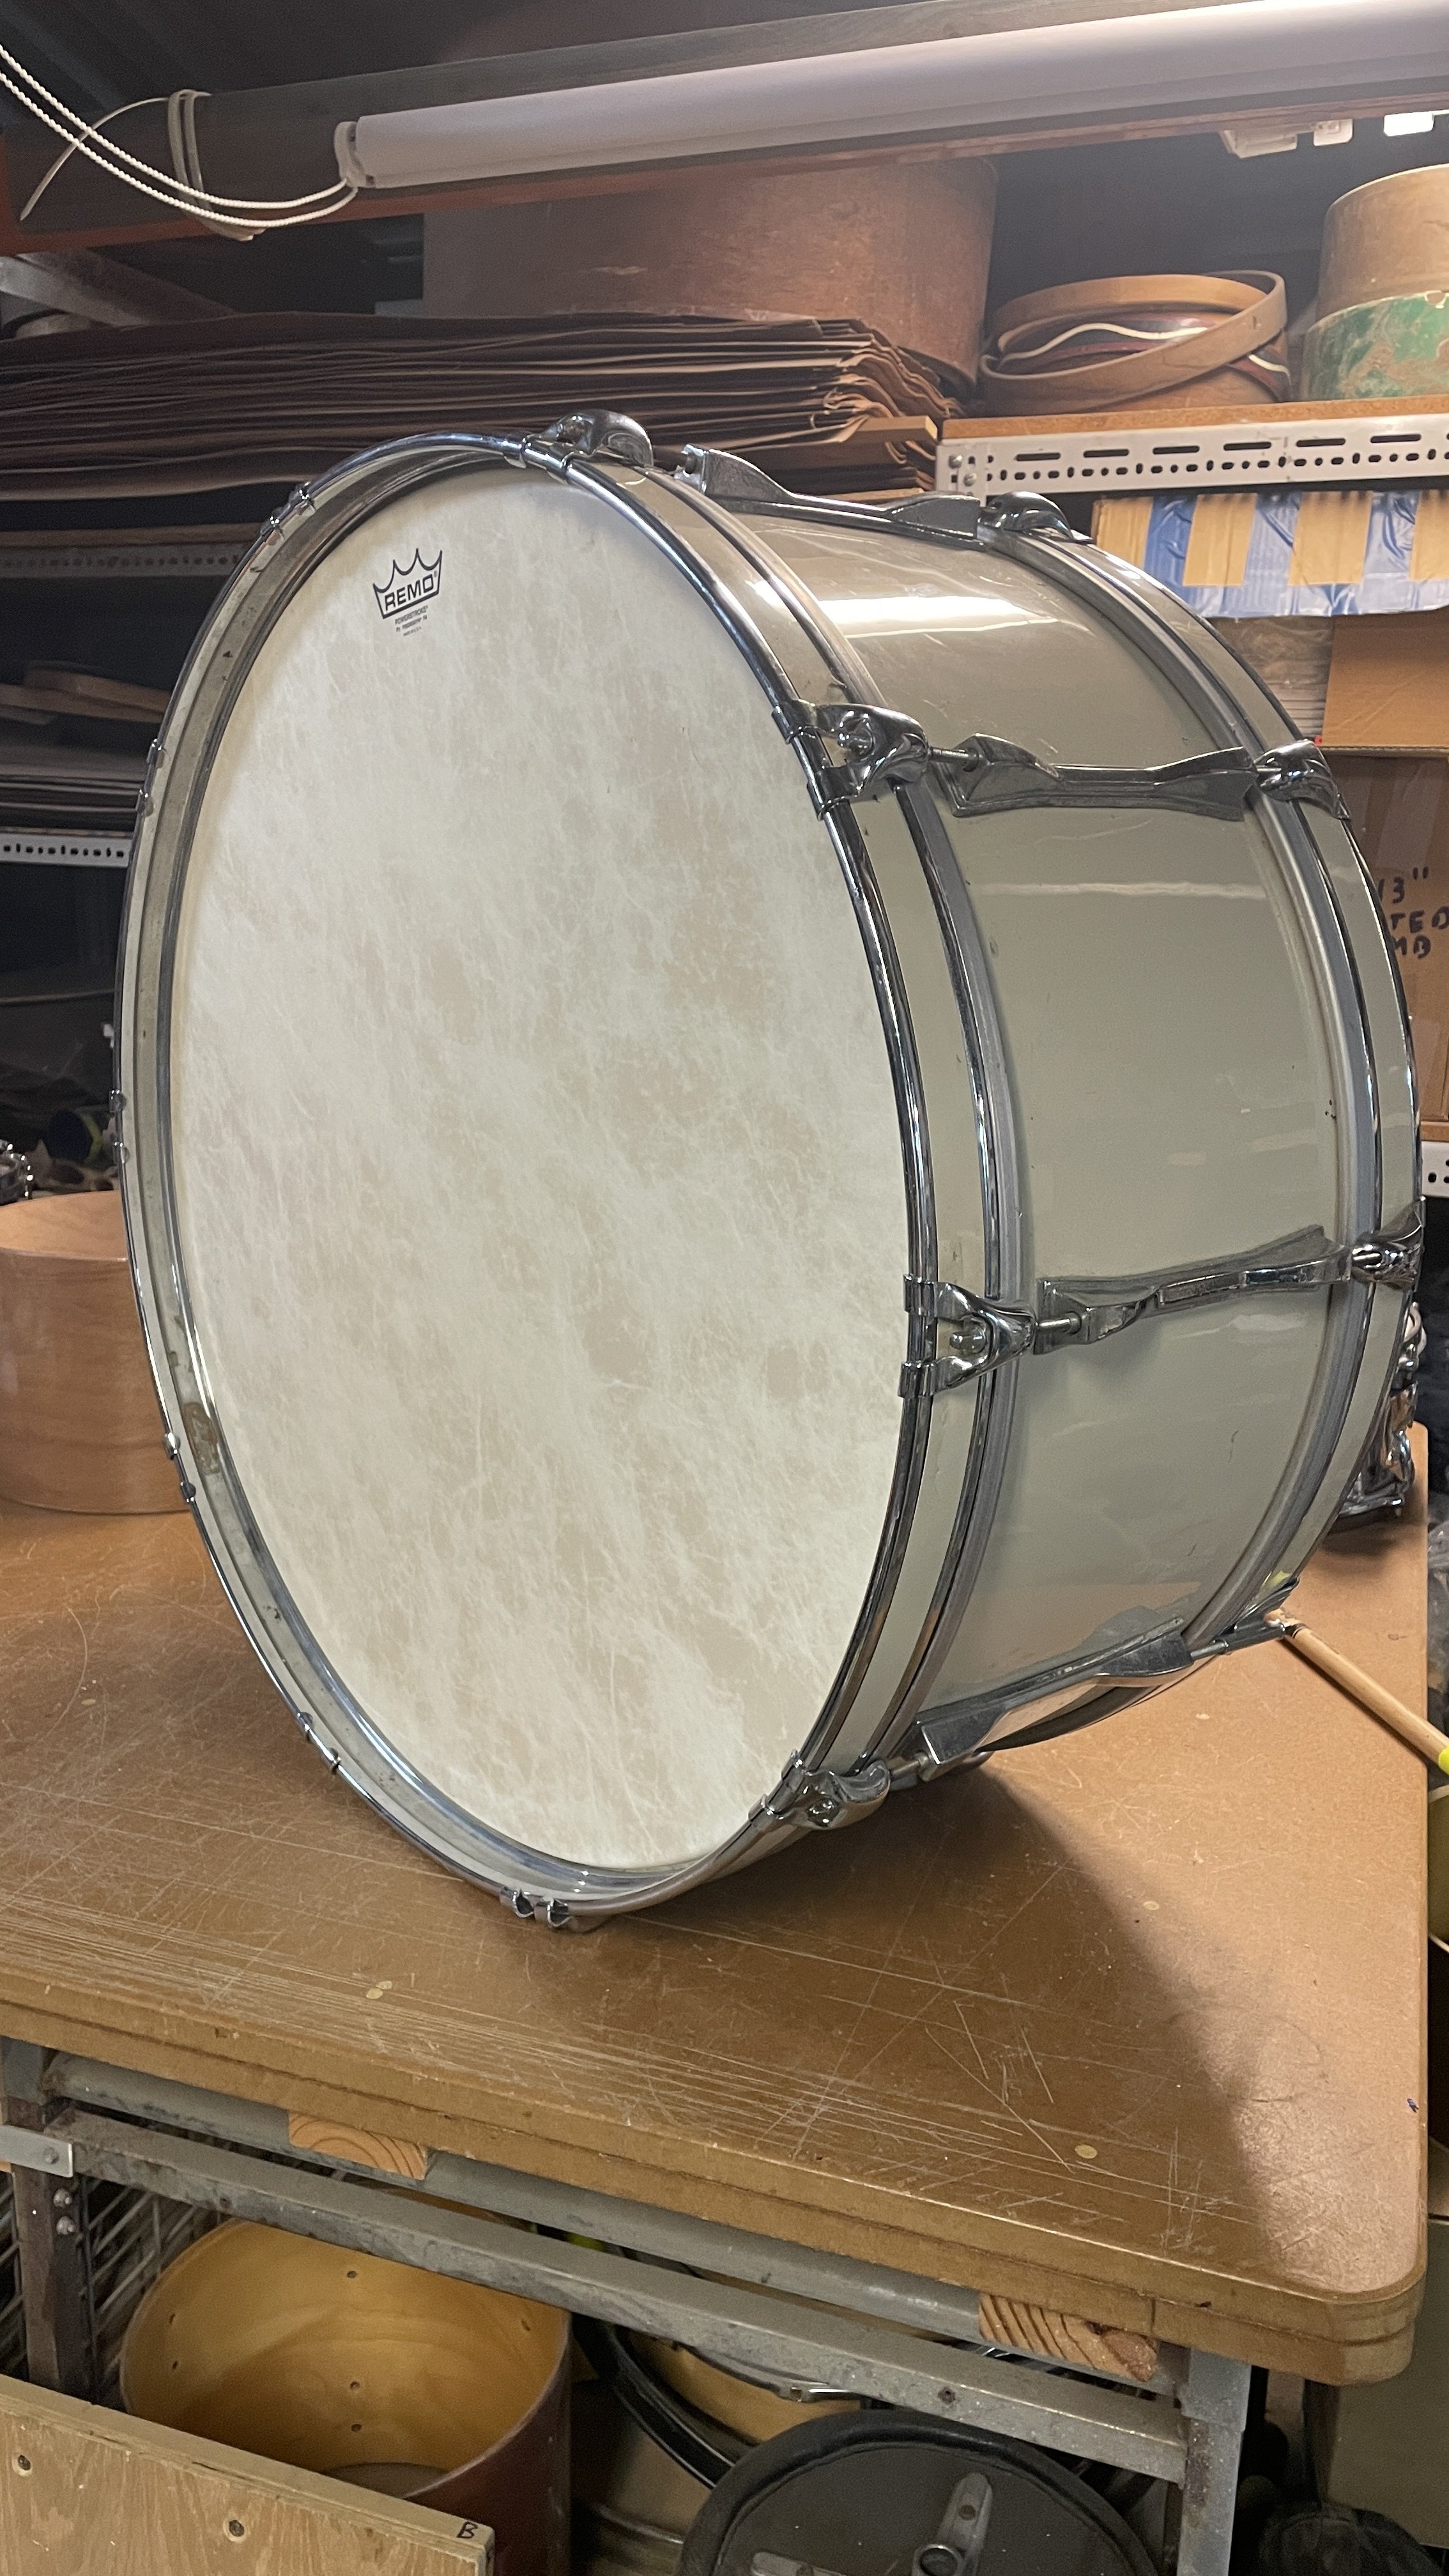
Stencil 26”x10” marching bass drum conversion project
These old marching drums were basically a dime-a-dozen at one point in the not-so-distant past coming in mainly for educational settings, they certainly are still aplenty!
They also make for the perfect “vintage” vibe option that won’t come close to breaking the bank.
We simply added some quality used leg spurs and a few other smaller replacement parts around the drum and the deal was done!
Viola! A functioning 26” bass drum.
Fitted with a fresh Evans G1 Clear.


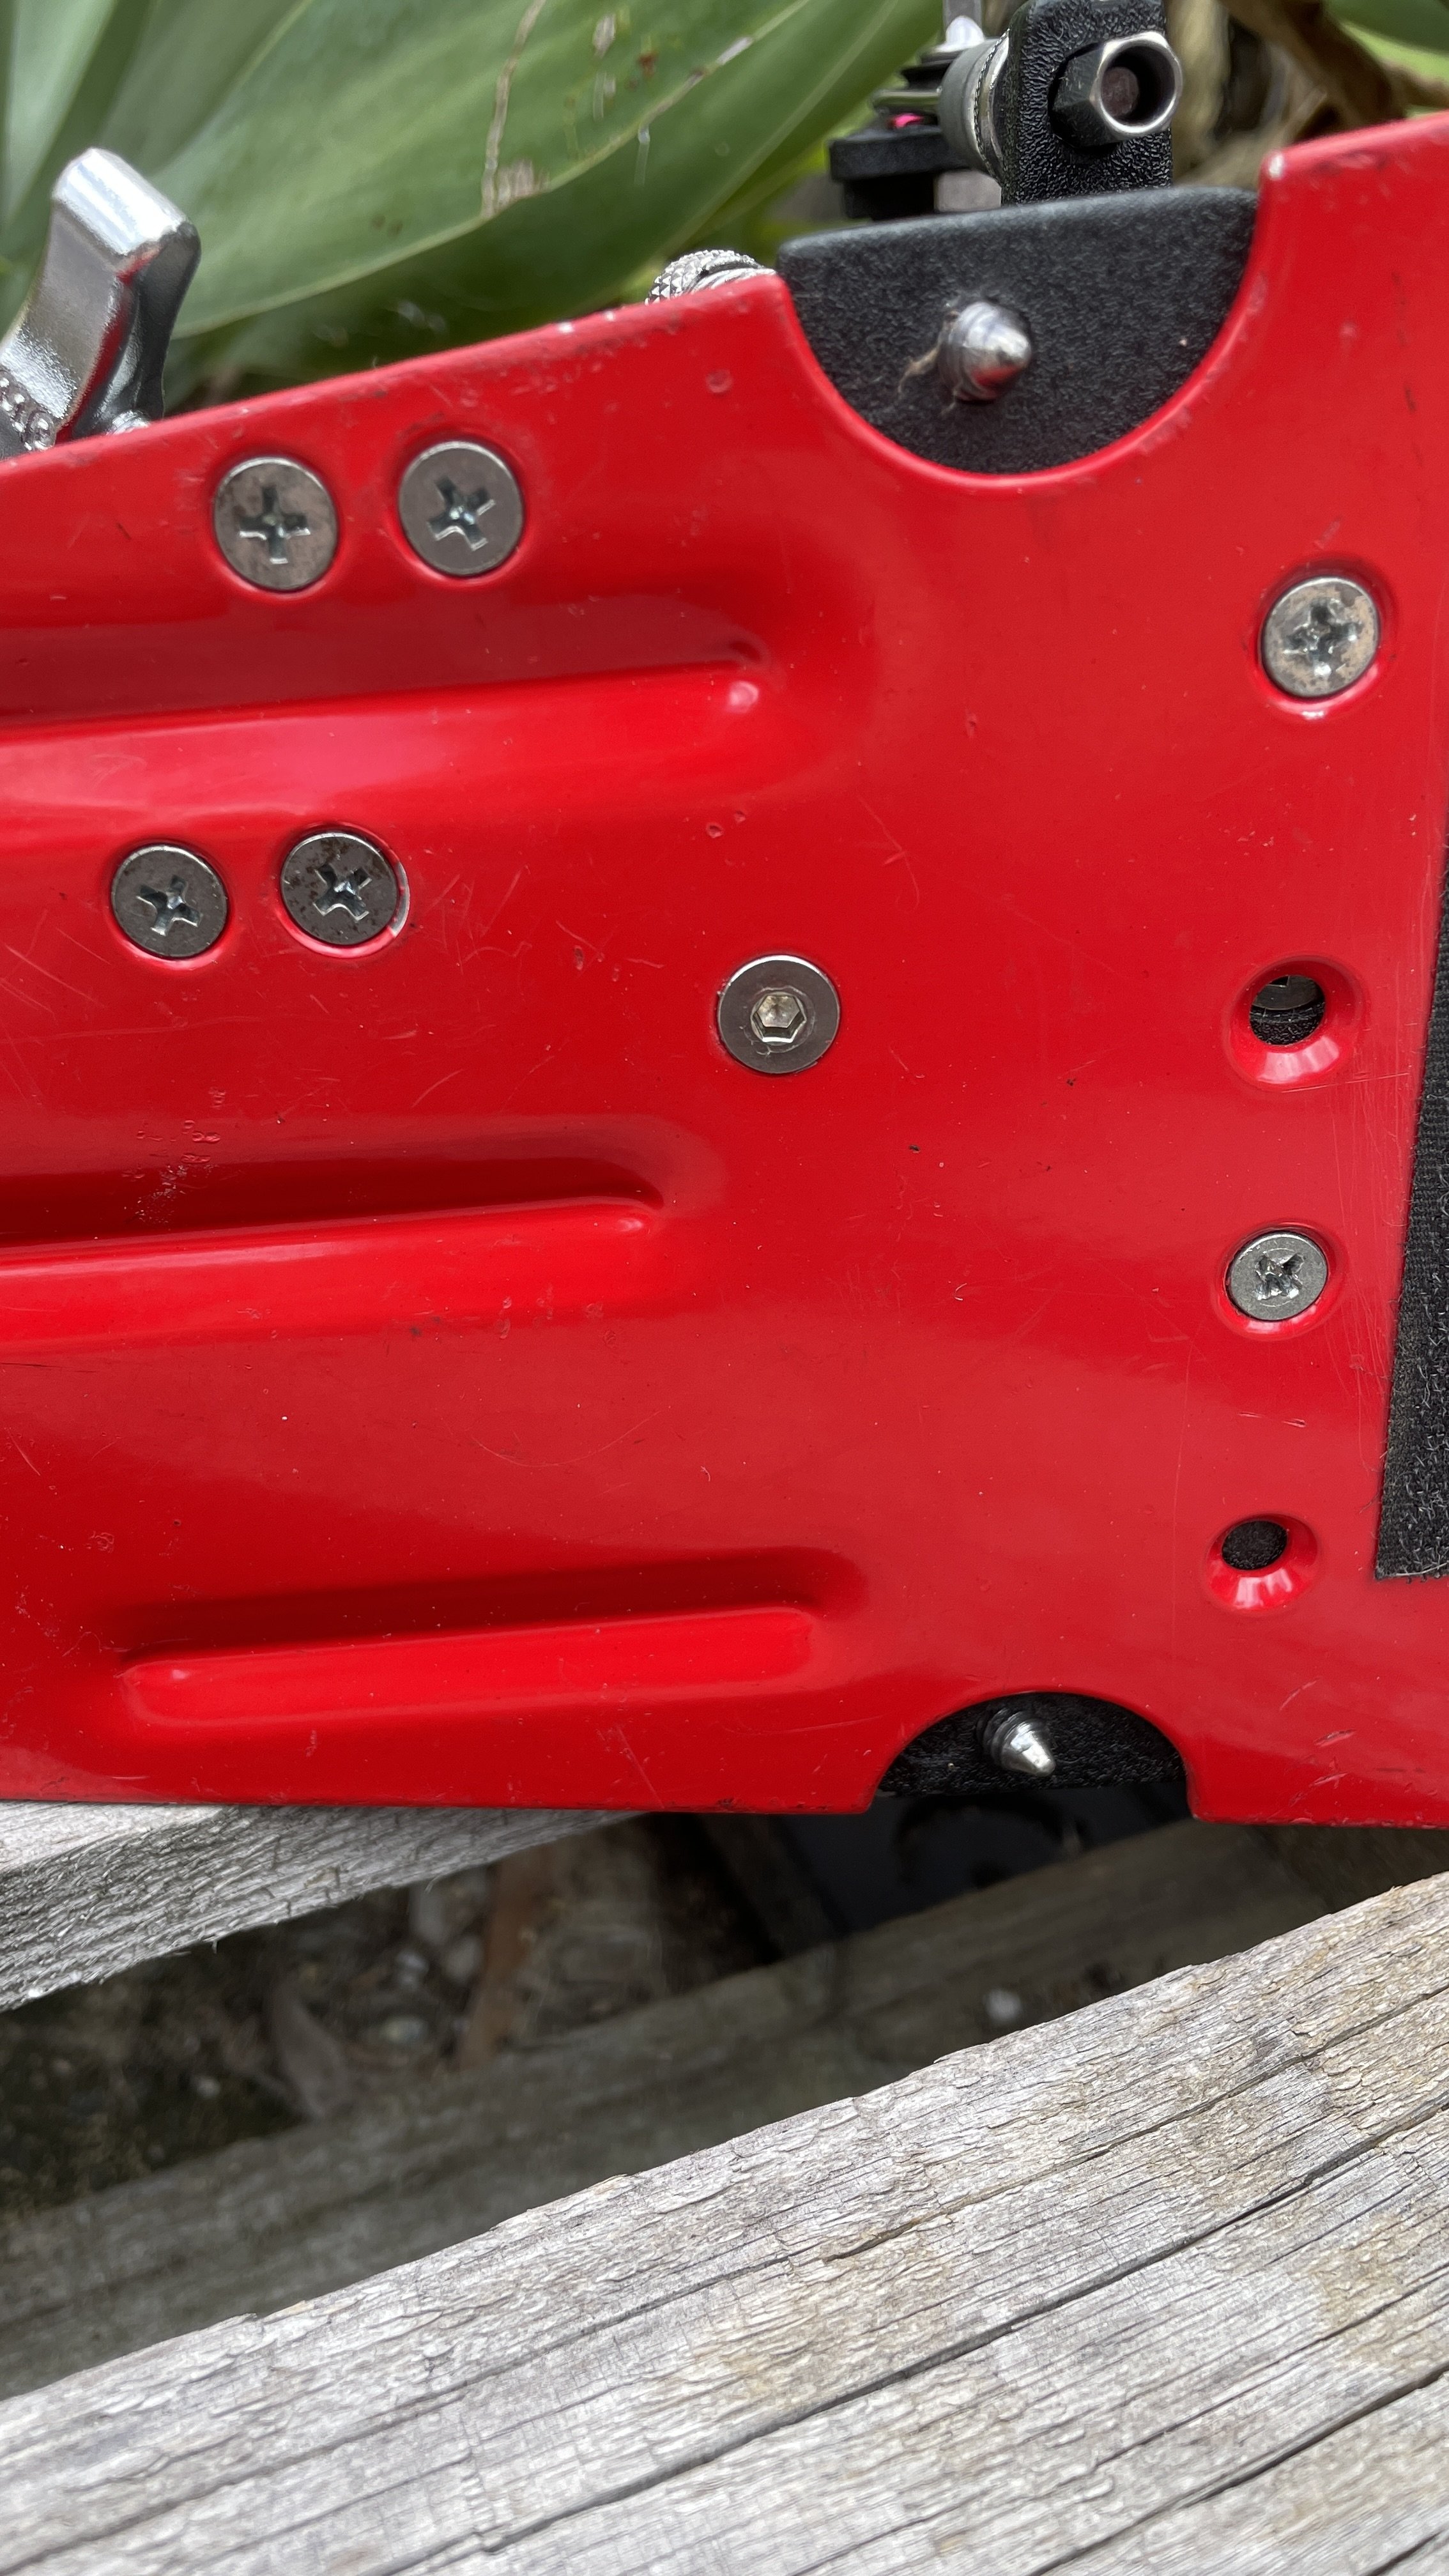
Mapex Mars 24” bass drum re-size project
Another pretty common project here are bass drum cut-downs. All drum companies always have thier own take on desgn aspects which can sometimes cause limitations to what modifications can be done, or of course, means you just need to scratch your head a little longer to ensure all the boxes are ticked before cutting! (trust me, I learned the hard way!)
This Mapex Mars had a secondary locating pin on each lug that only traveled partially through the shell, so particular attention was payed to correctly replicate this system.
After resizing the shell to approximately 24”x14” the bearing edges were recut to factory spec, fresh Aquarian front head along with Pearl hoop protector.


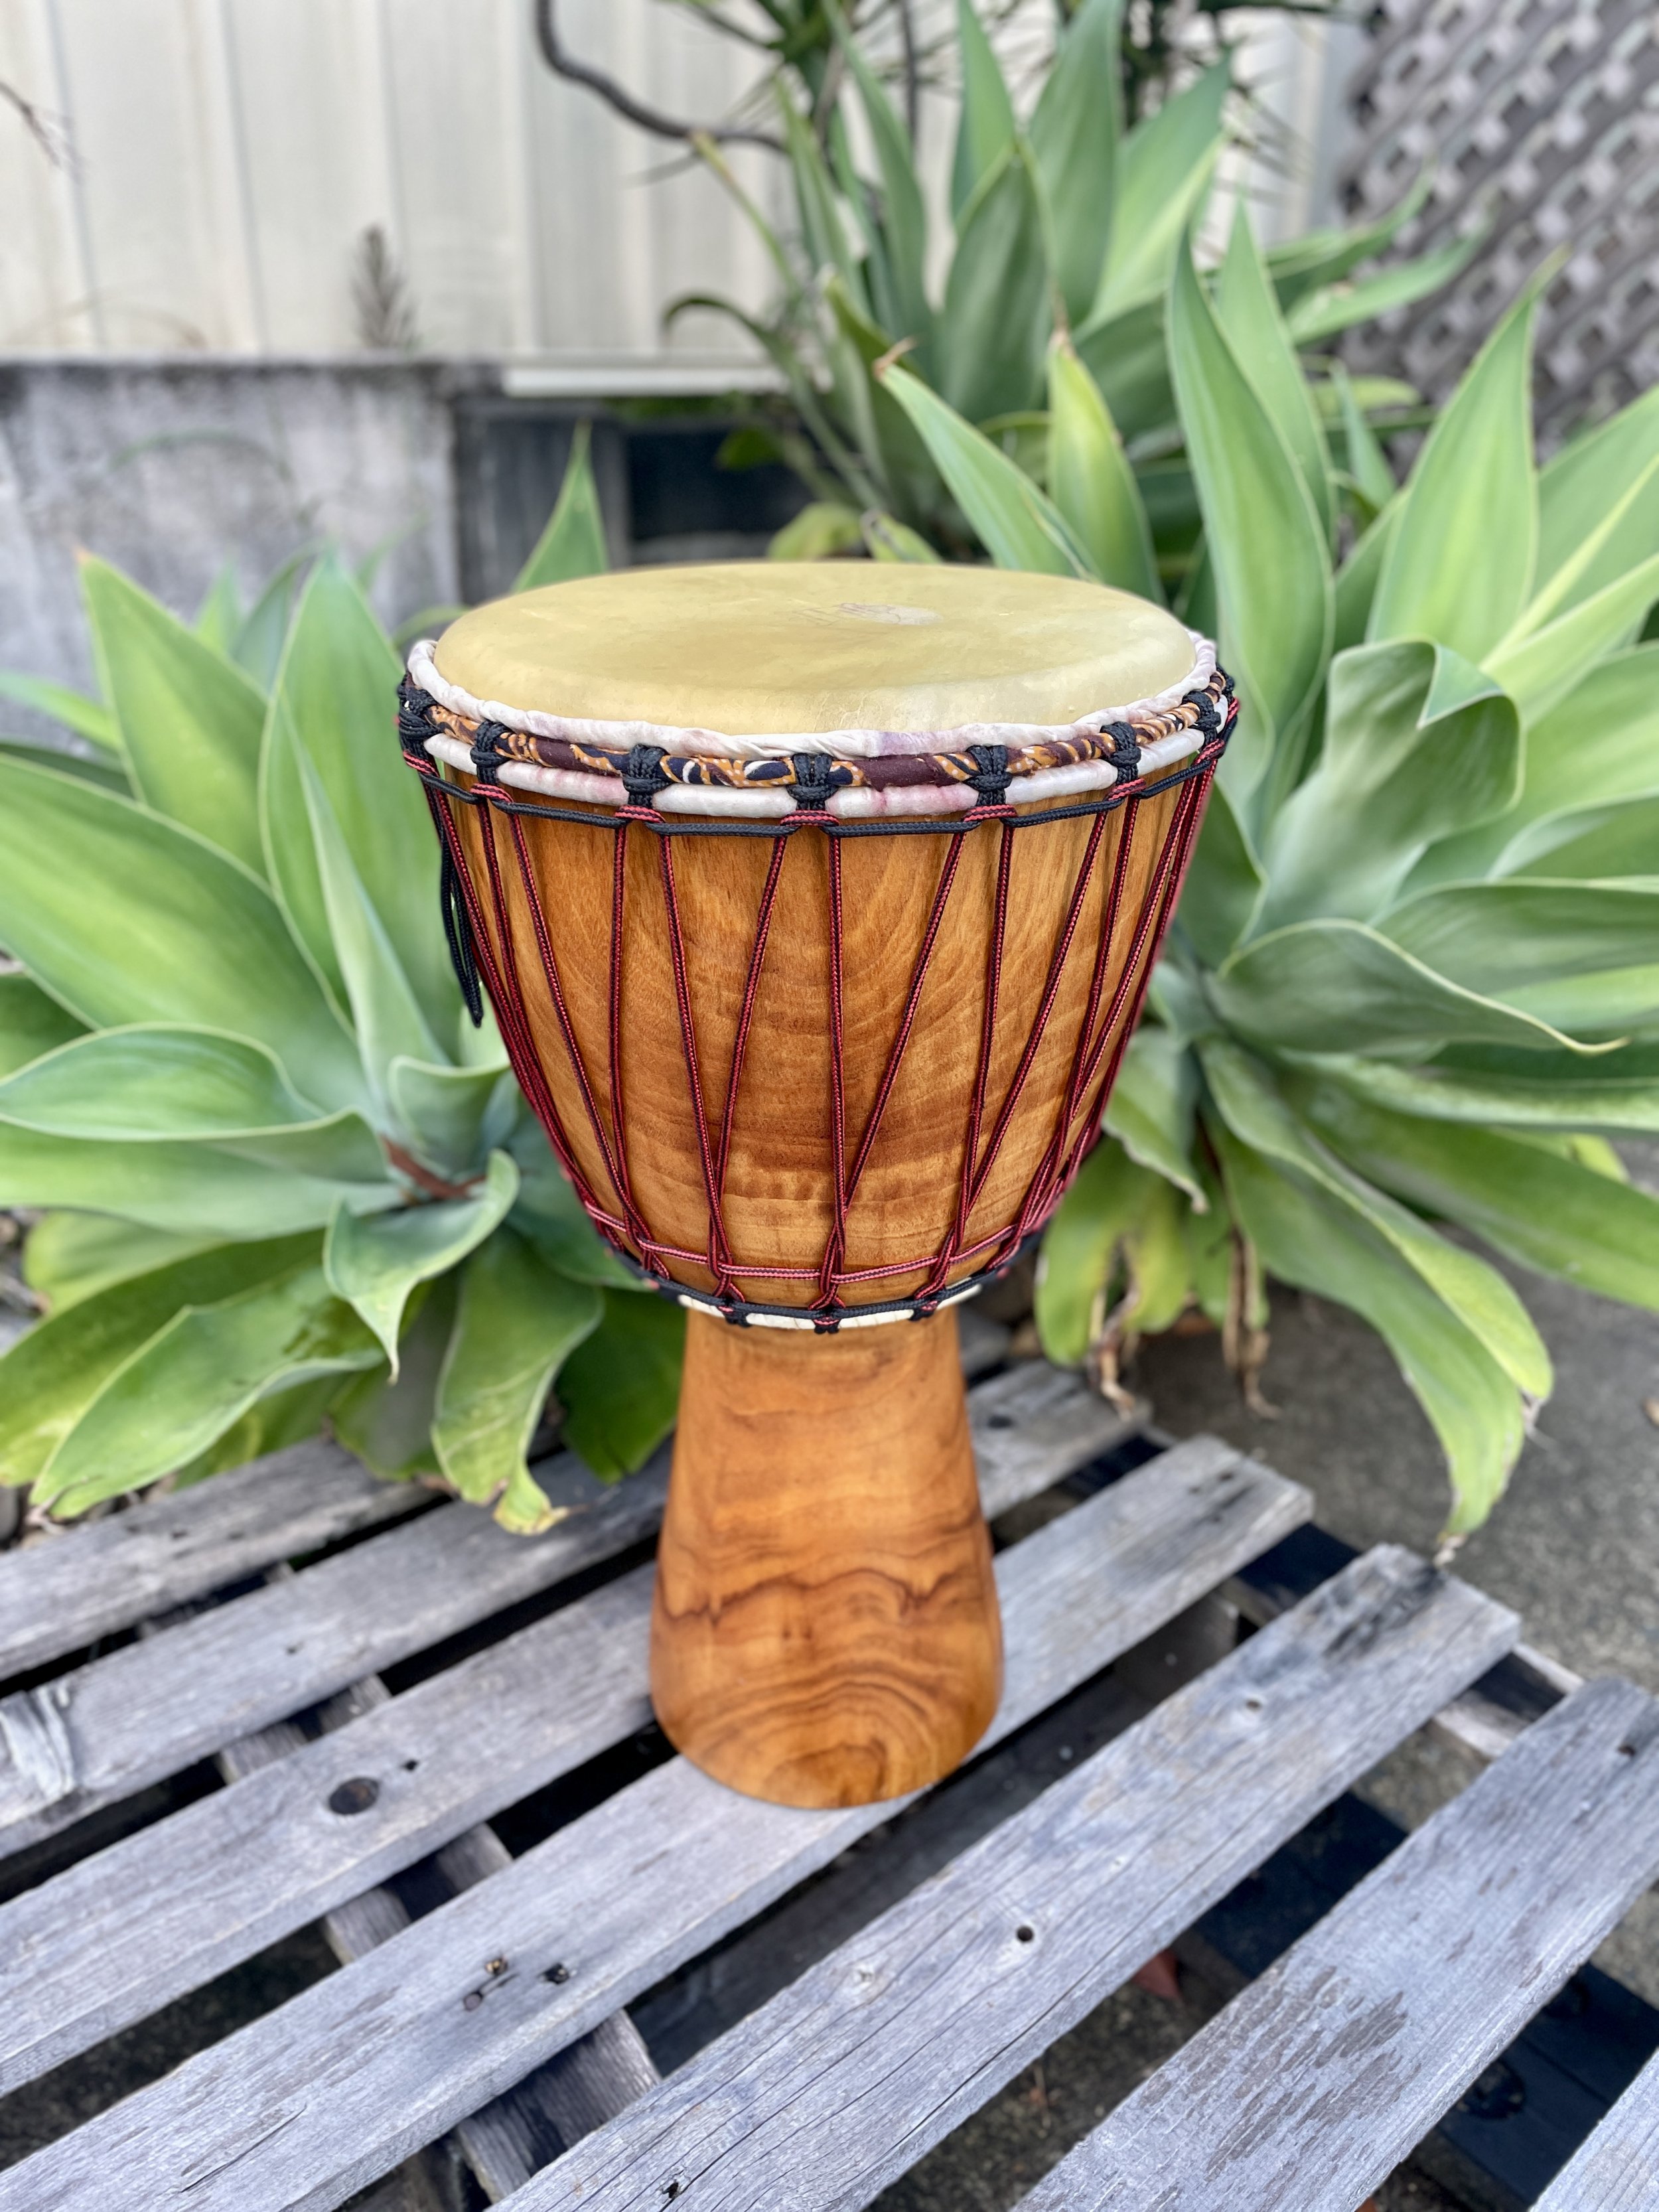
Assorted percussion repairs
A quick handful of percussion through the past month, some Meinl and Pearl Primo bongo sets along with a 12” rope-tuned Djembe for fitting of new heads.


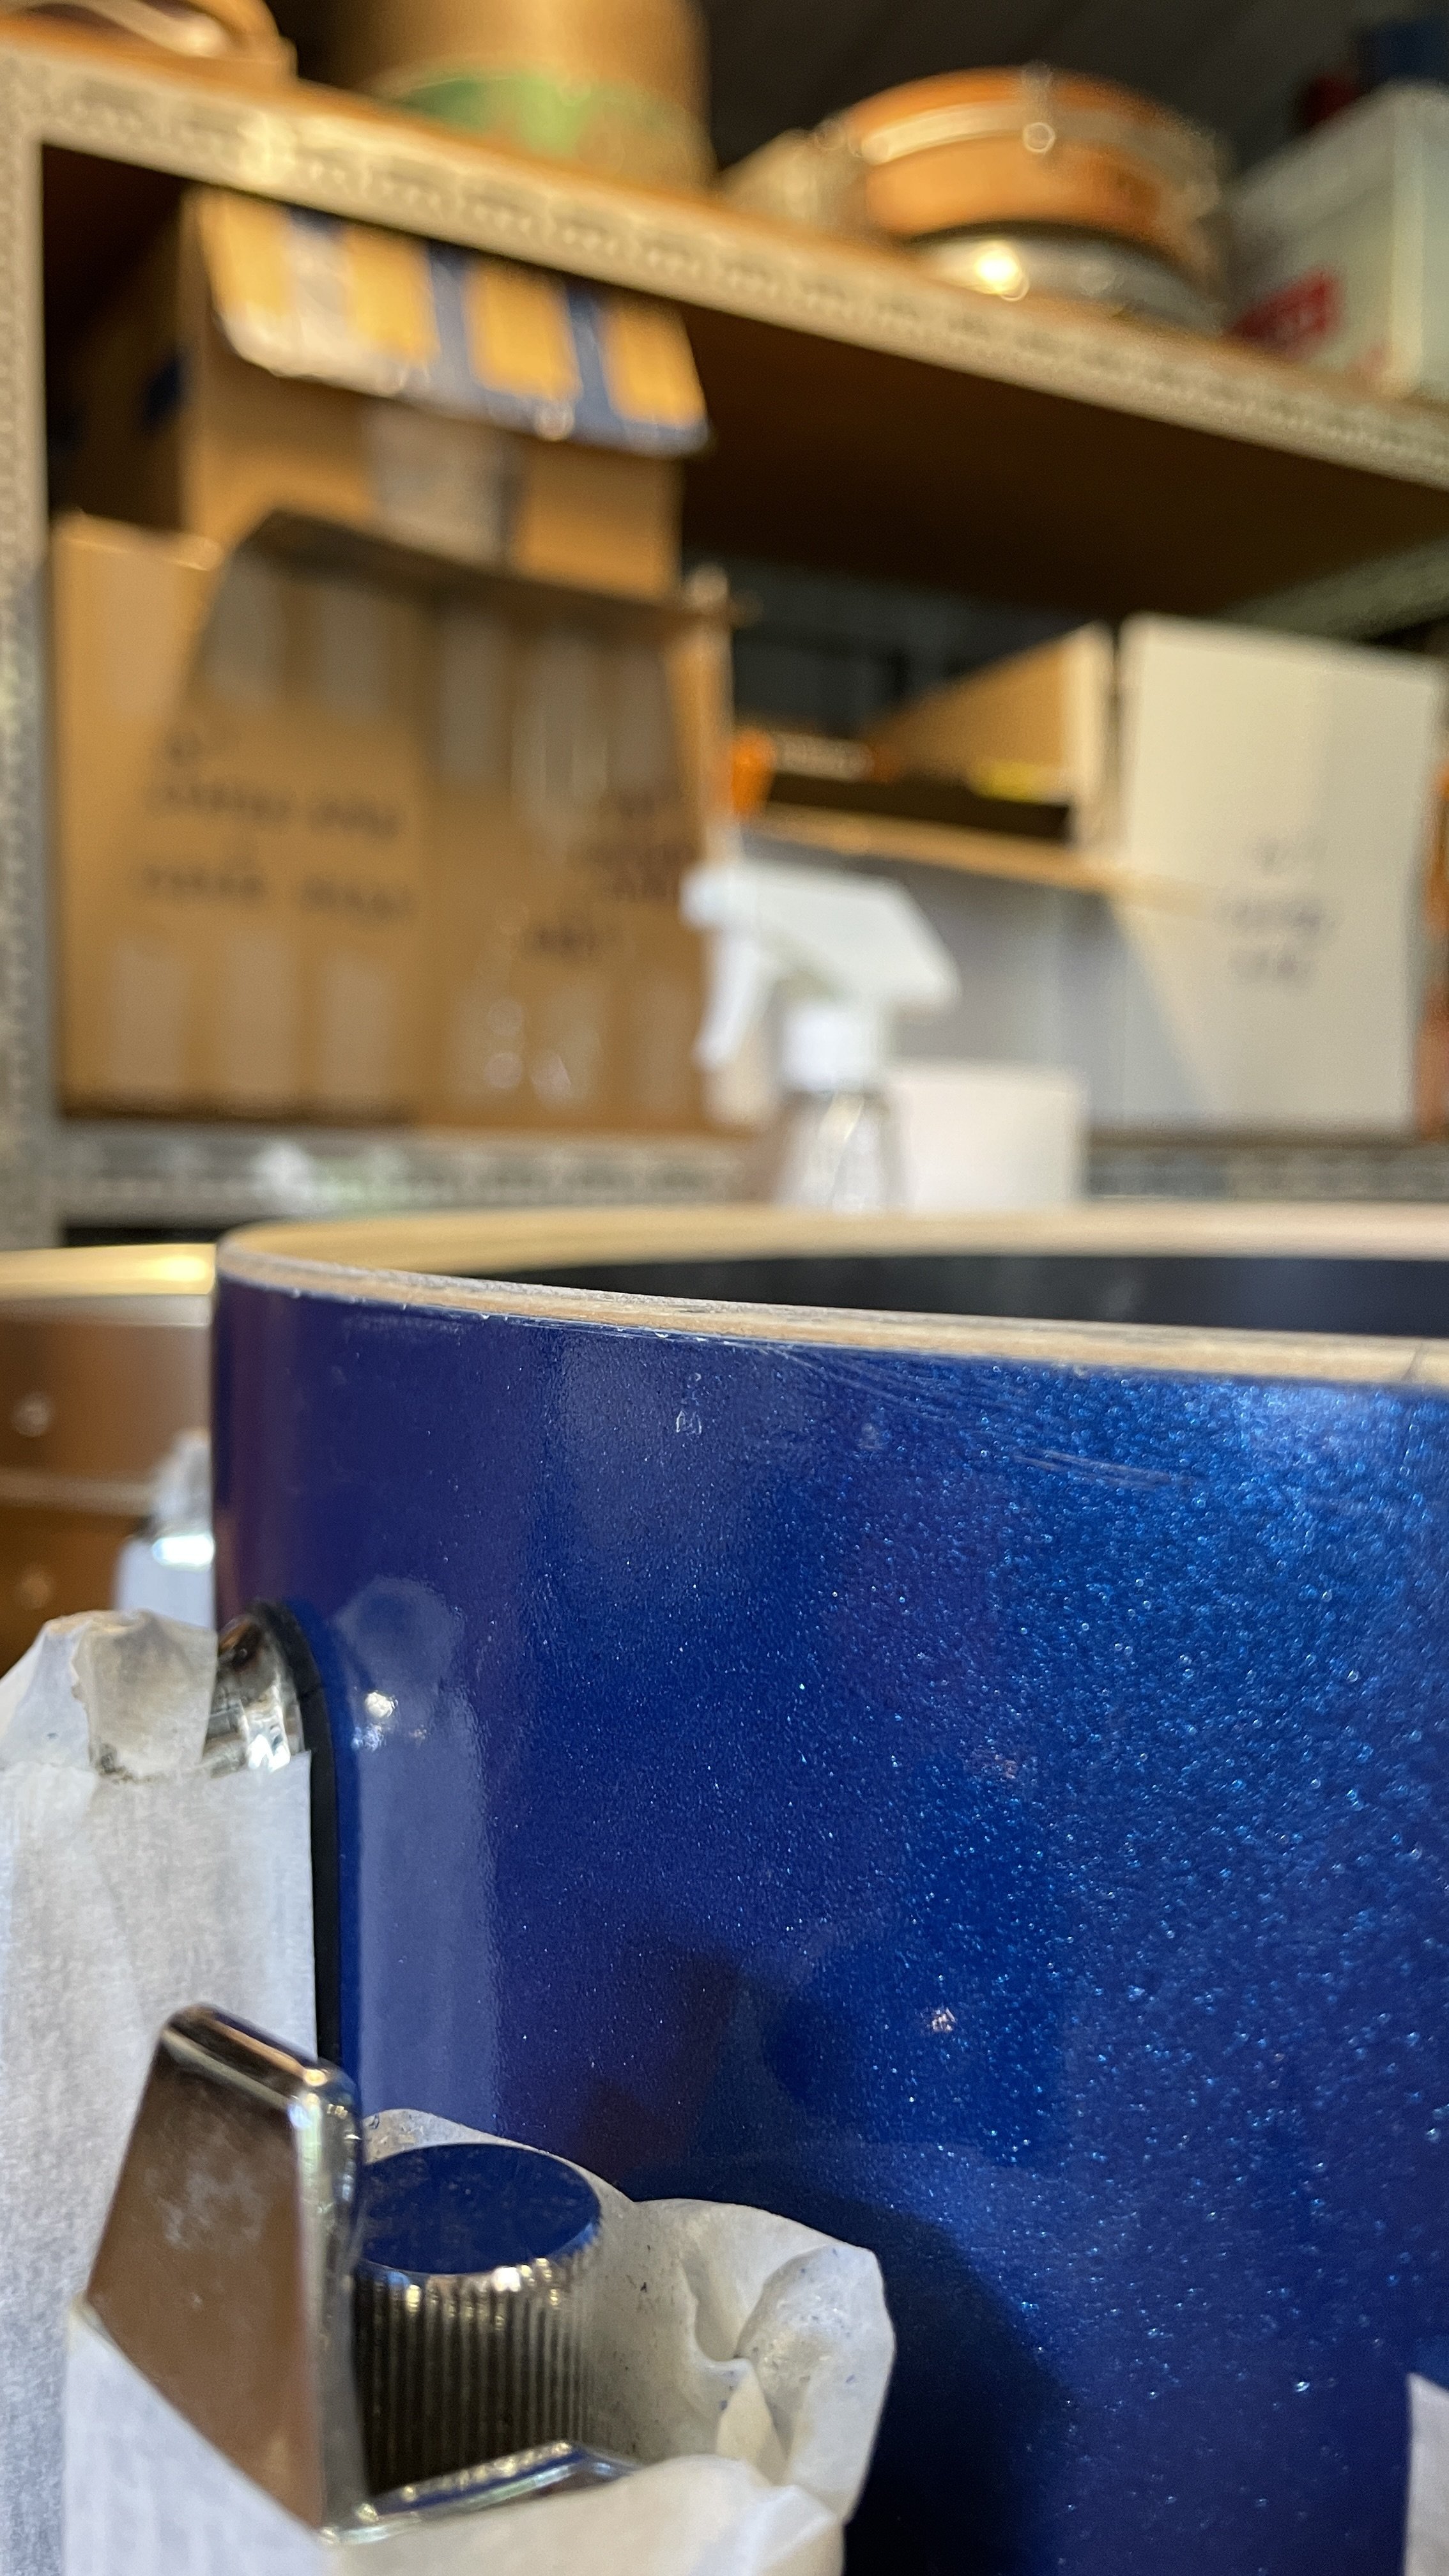
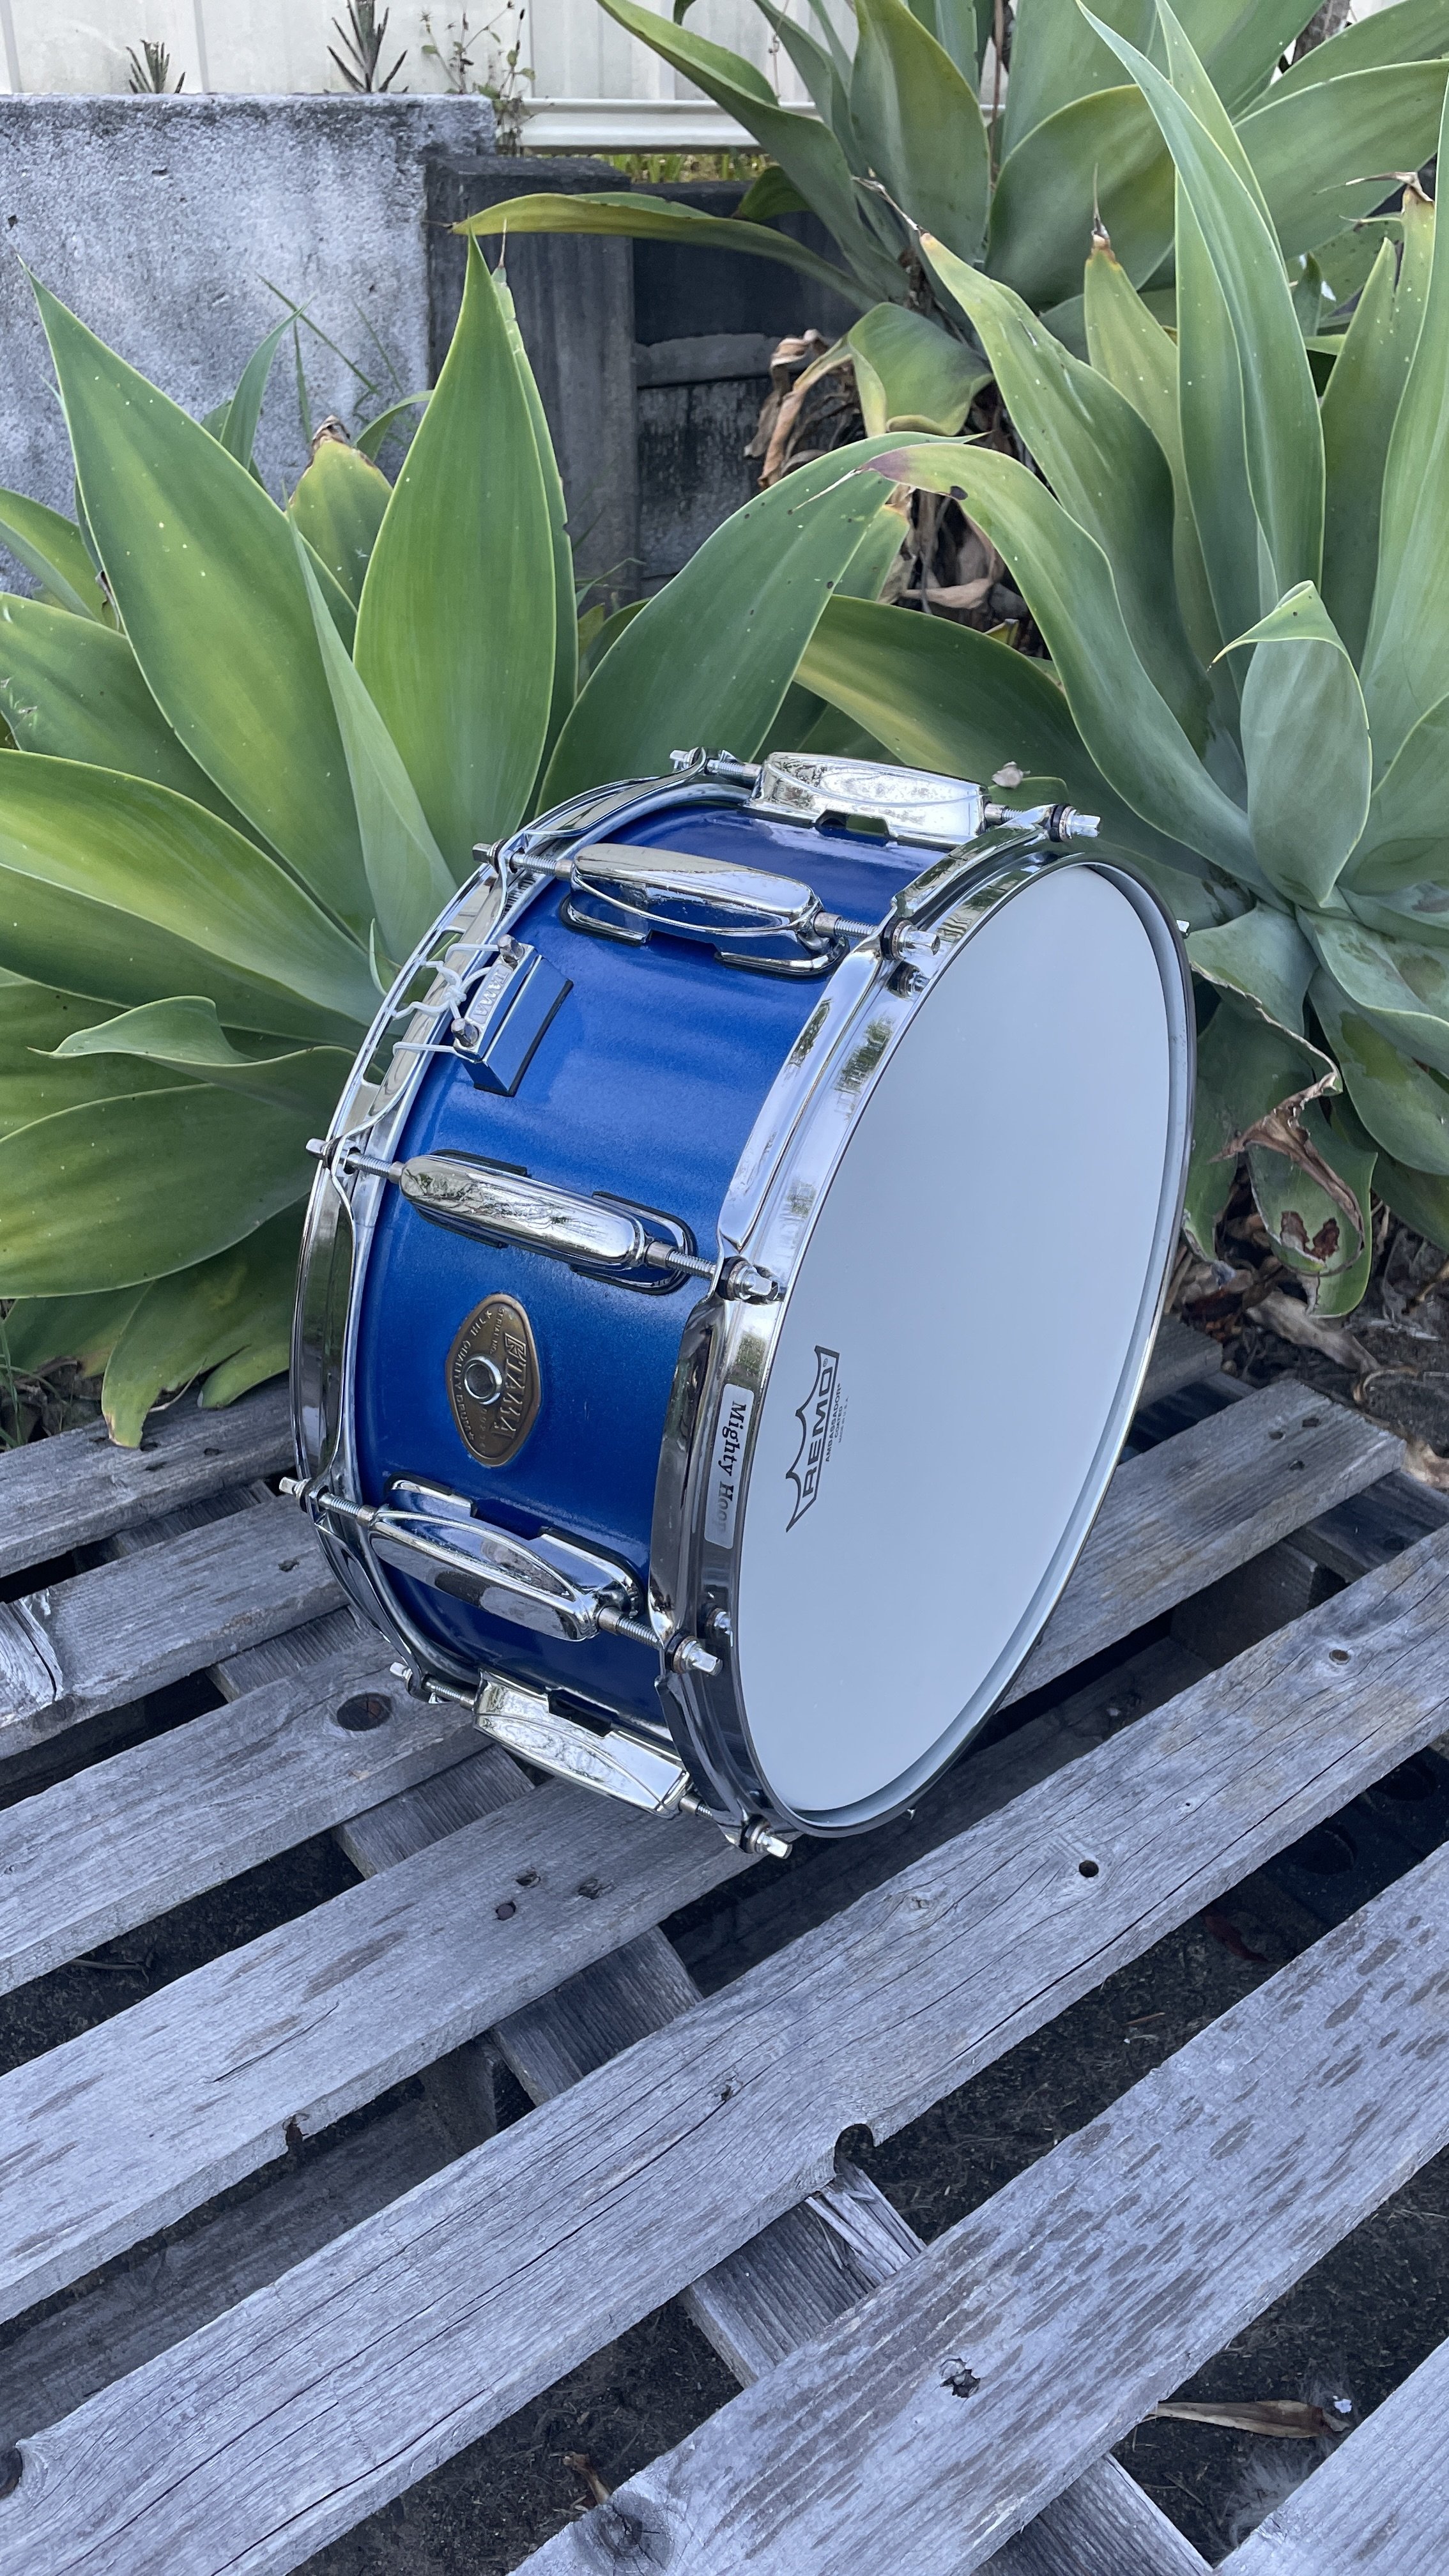
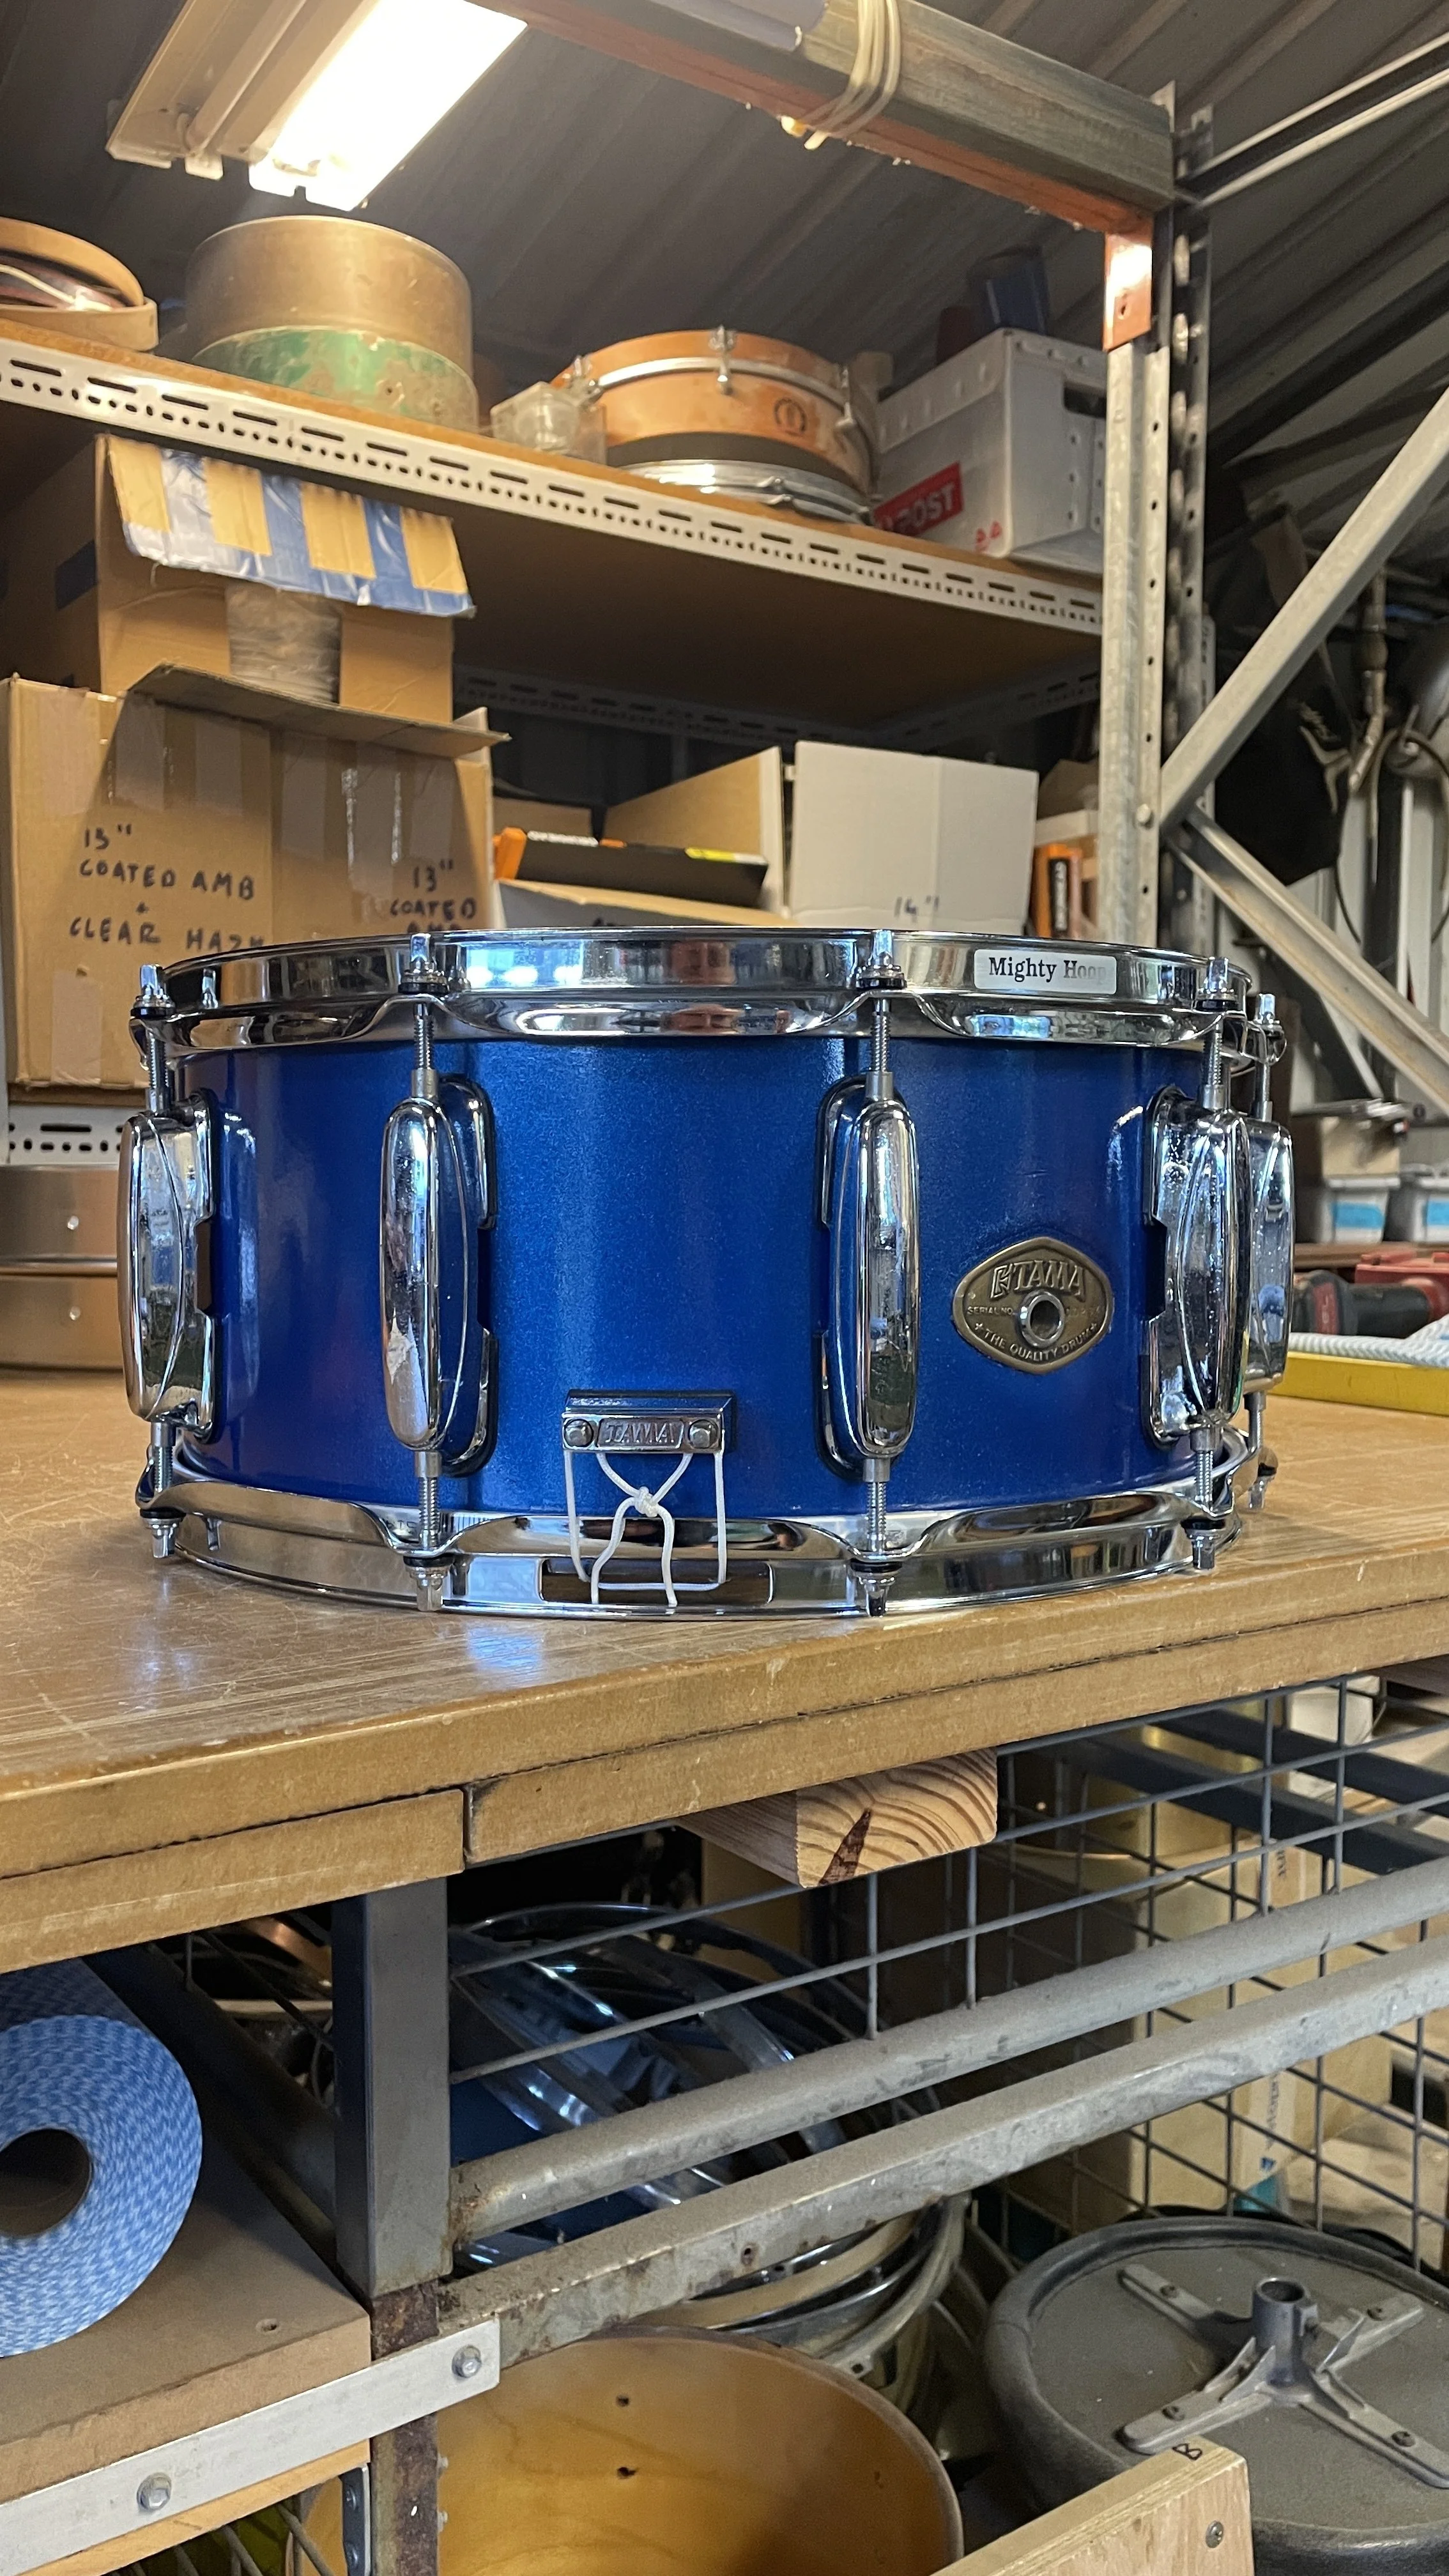
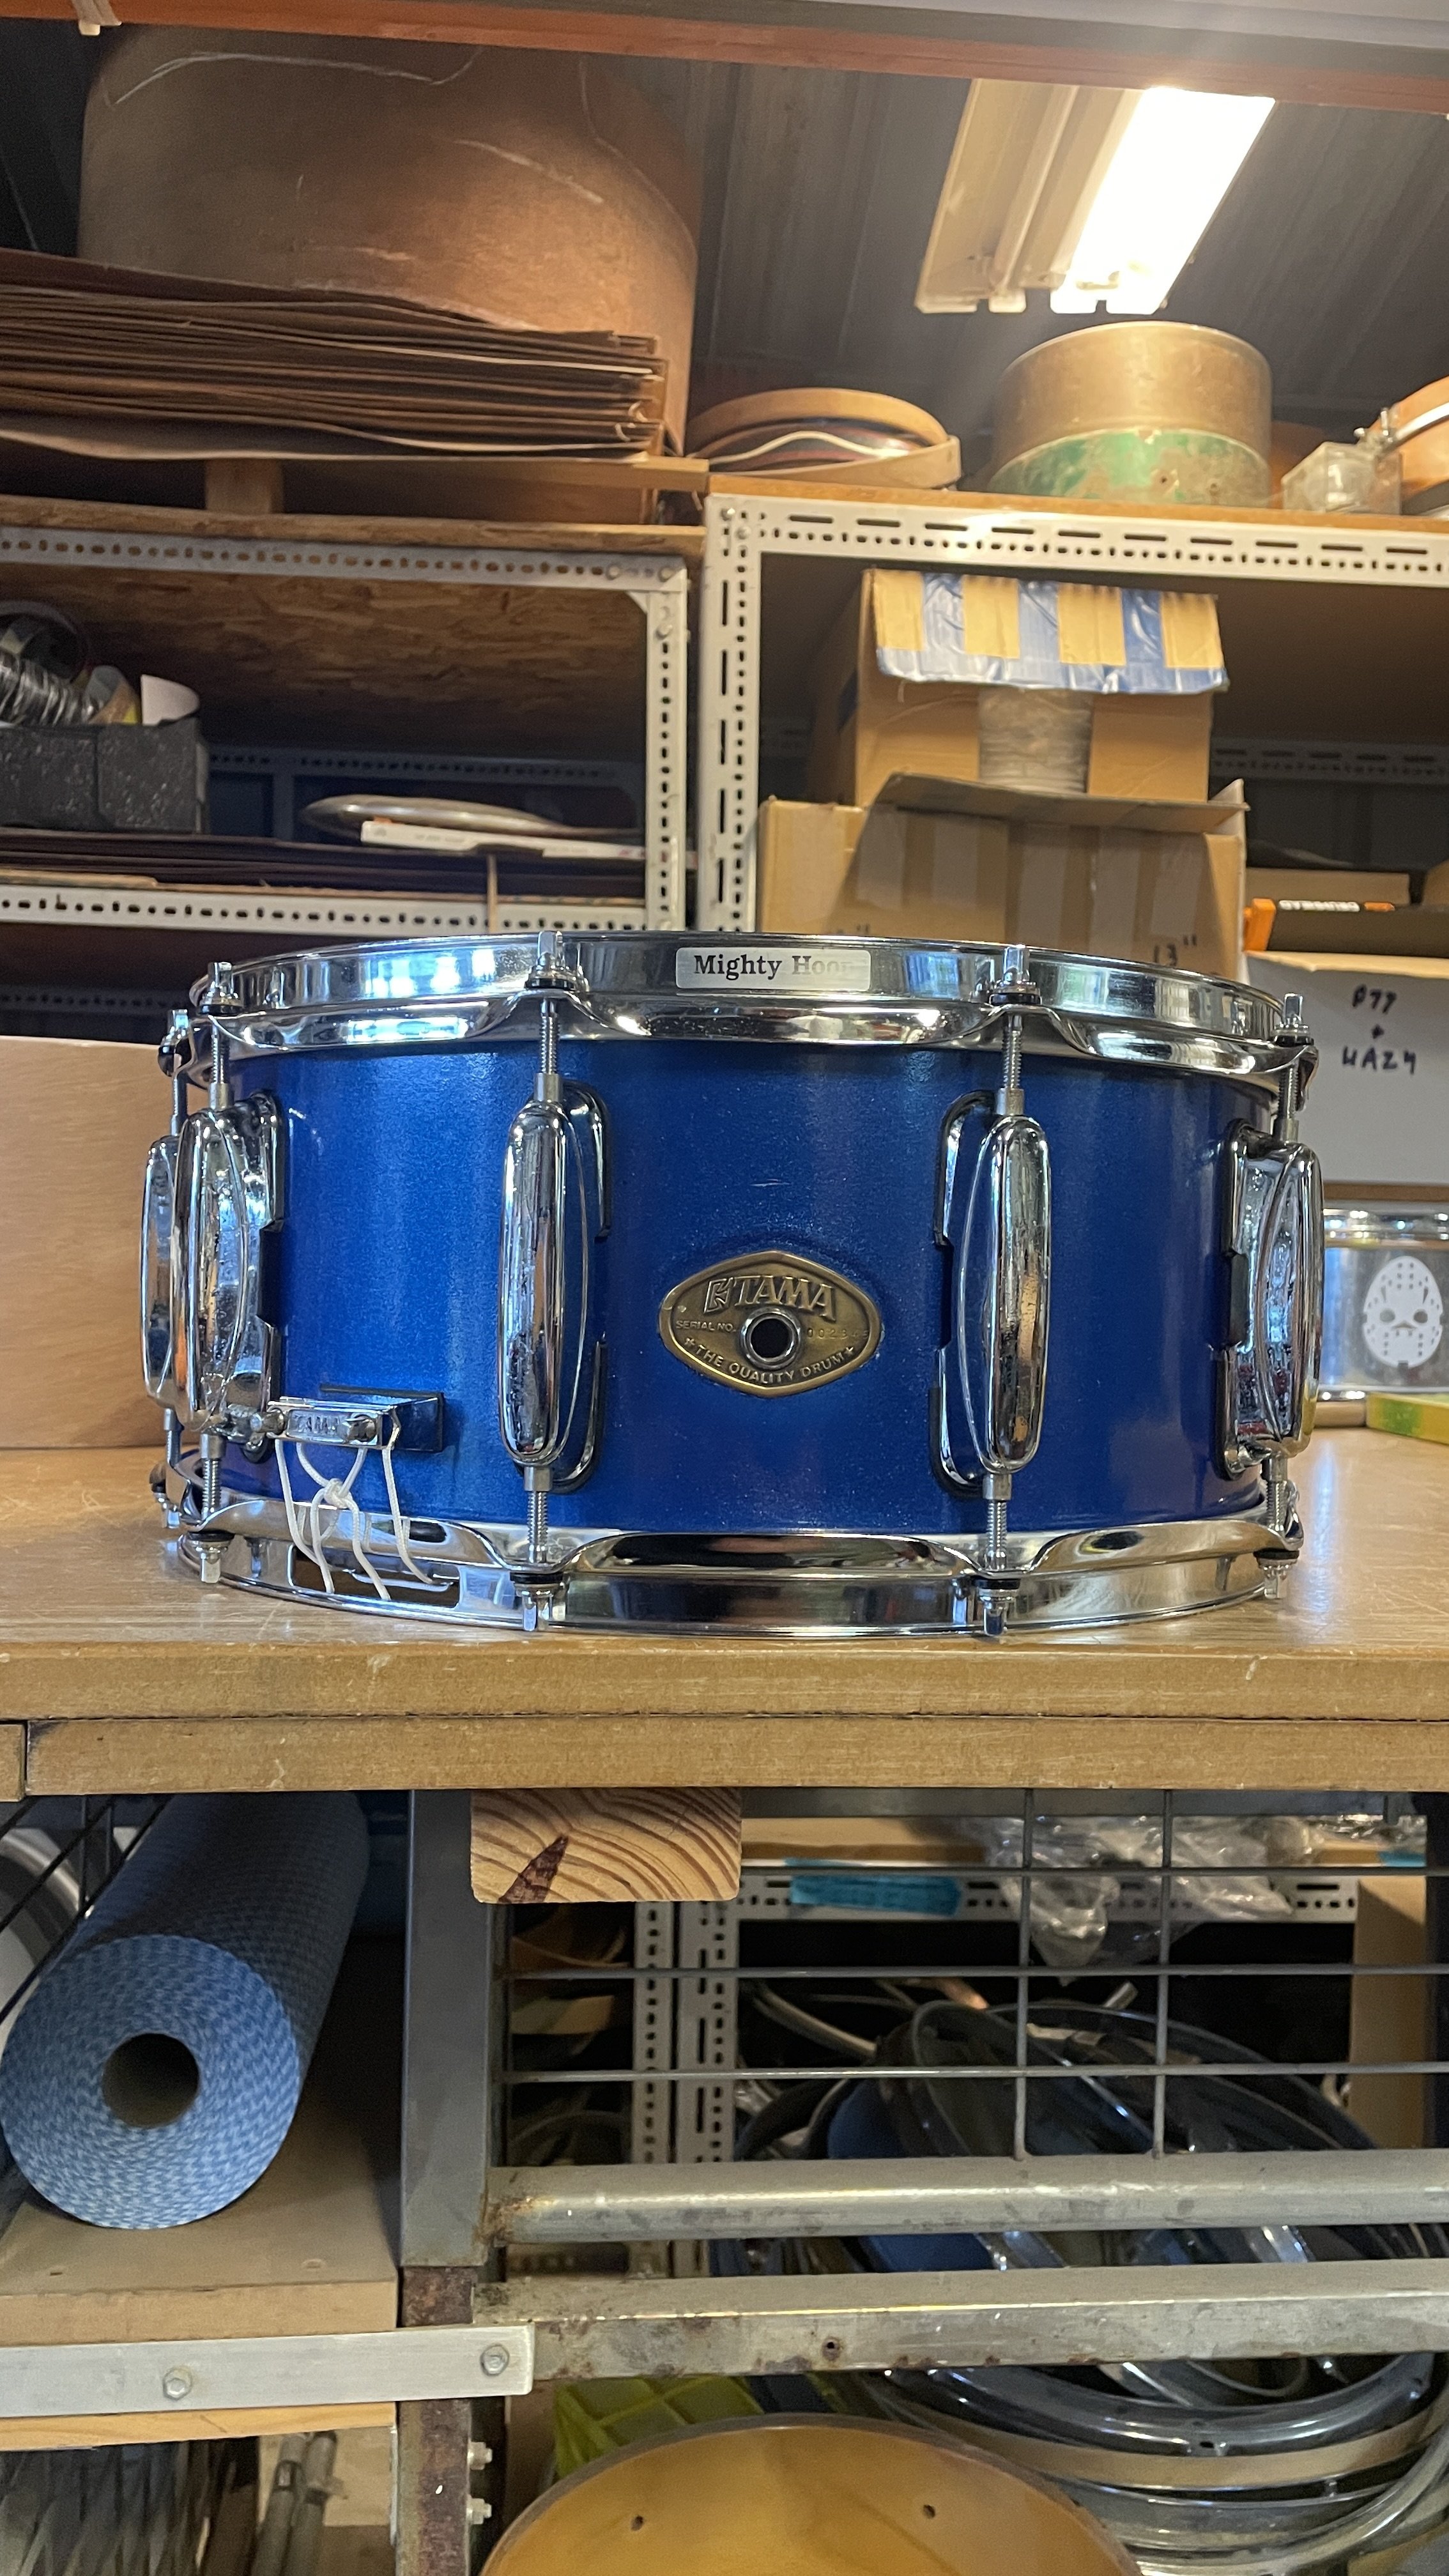
Tama (Superstar) 14” snare
This snare, although not a top shelf item to most, holds a lot of sentimental value to it’s owner, who was looking to have the much needed work donw to the bearinf edges and snare beds along with some other light and thoughtful restoration work in order to preserve it’s aesthtic - particularly the obvious blue respray paint job.
The snares from this period were often treated on the interiors with stains, paints or other wizard-esque “tone enhancing” concotions of the time. which I was tasked with colour matching and reapplying after the bearing edge work had been completed.
partial disassembly, cleaning, lubricating etc. was carried out along with the shell being protected with a final liquid wax coat.
Fresh heads + wire set to complete the project giving us a very freshened up version of it’s former self.


Premier Marching Snares (14” x 12”)
This set of 4 Premier 14” Marching snares were in for thier regular maintenance routine, fresh headsm wire sets, clean, lube, tune up.
Not shown here were also the 4 matching harnesses + additional bass drum harness all receiving new strapping and chrome clips each fitted with stainless stell fixings.


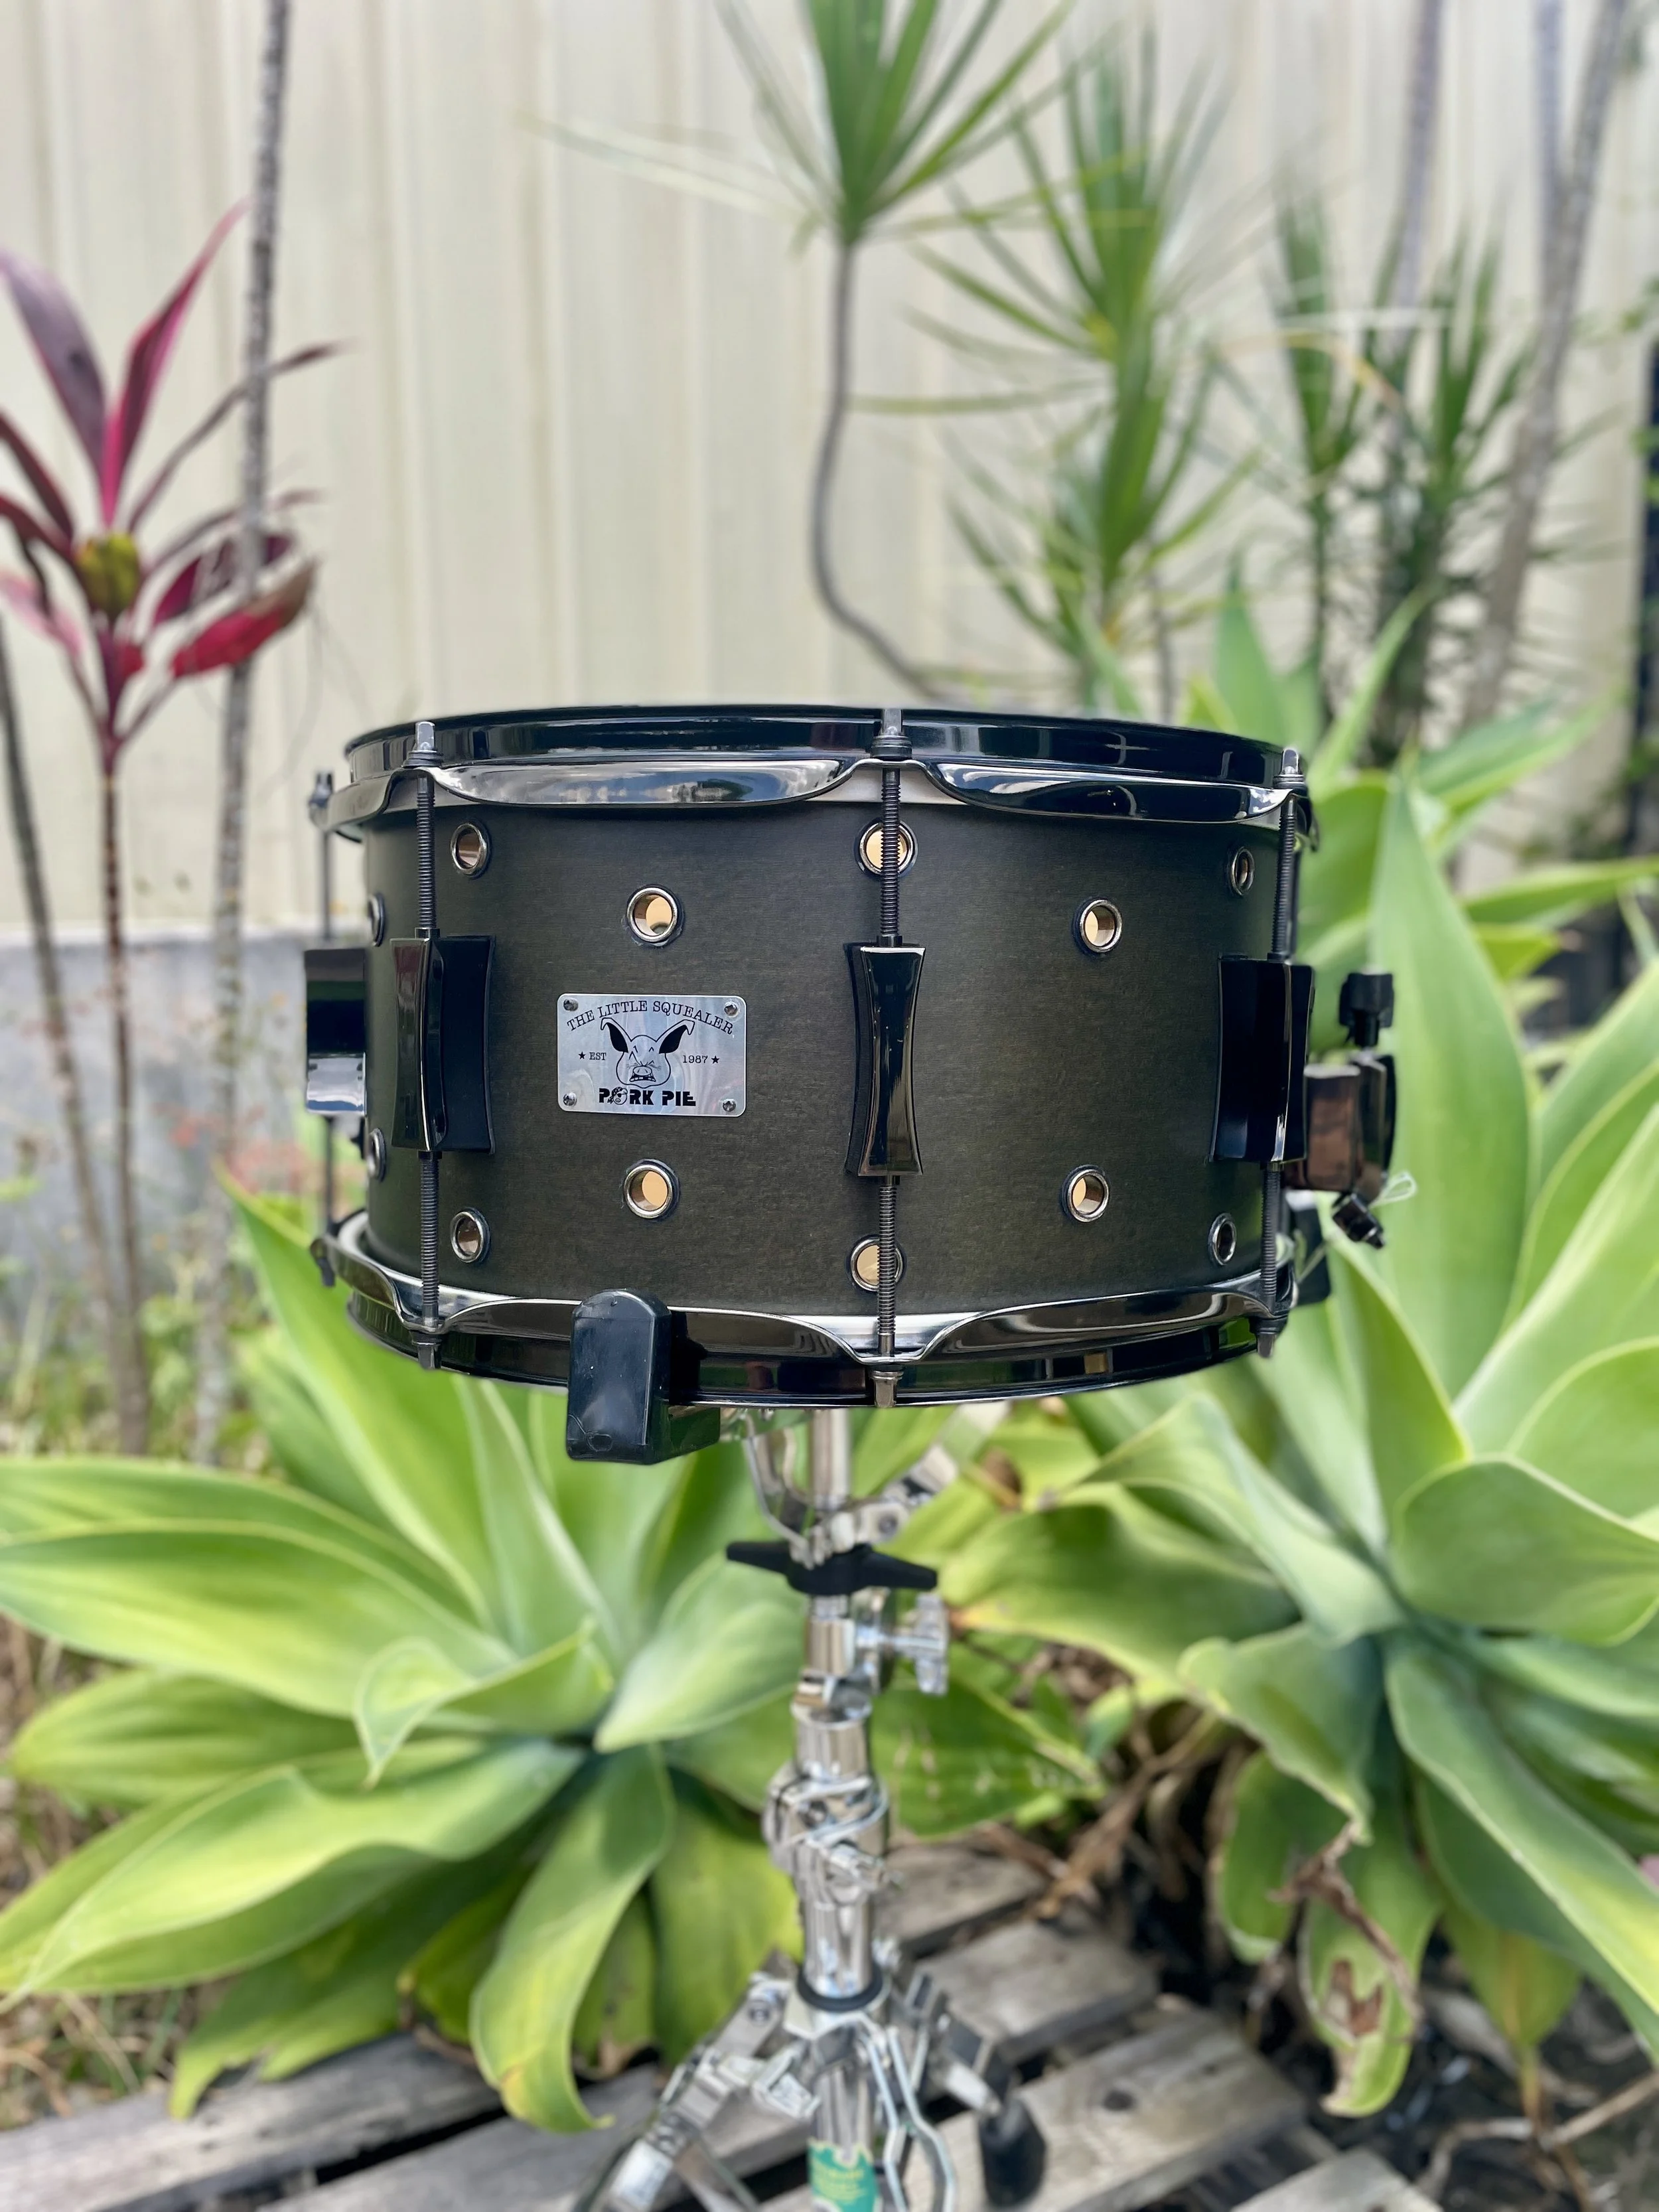
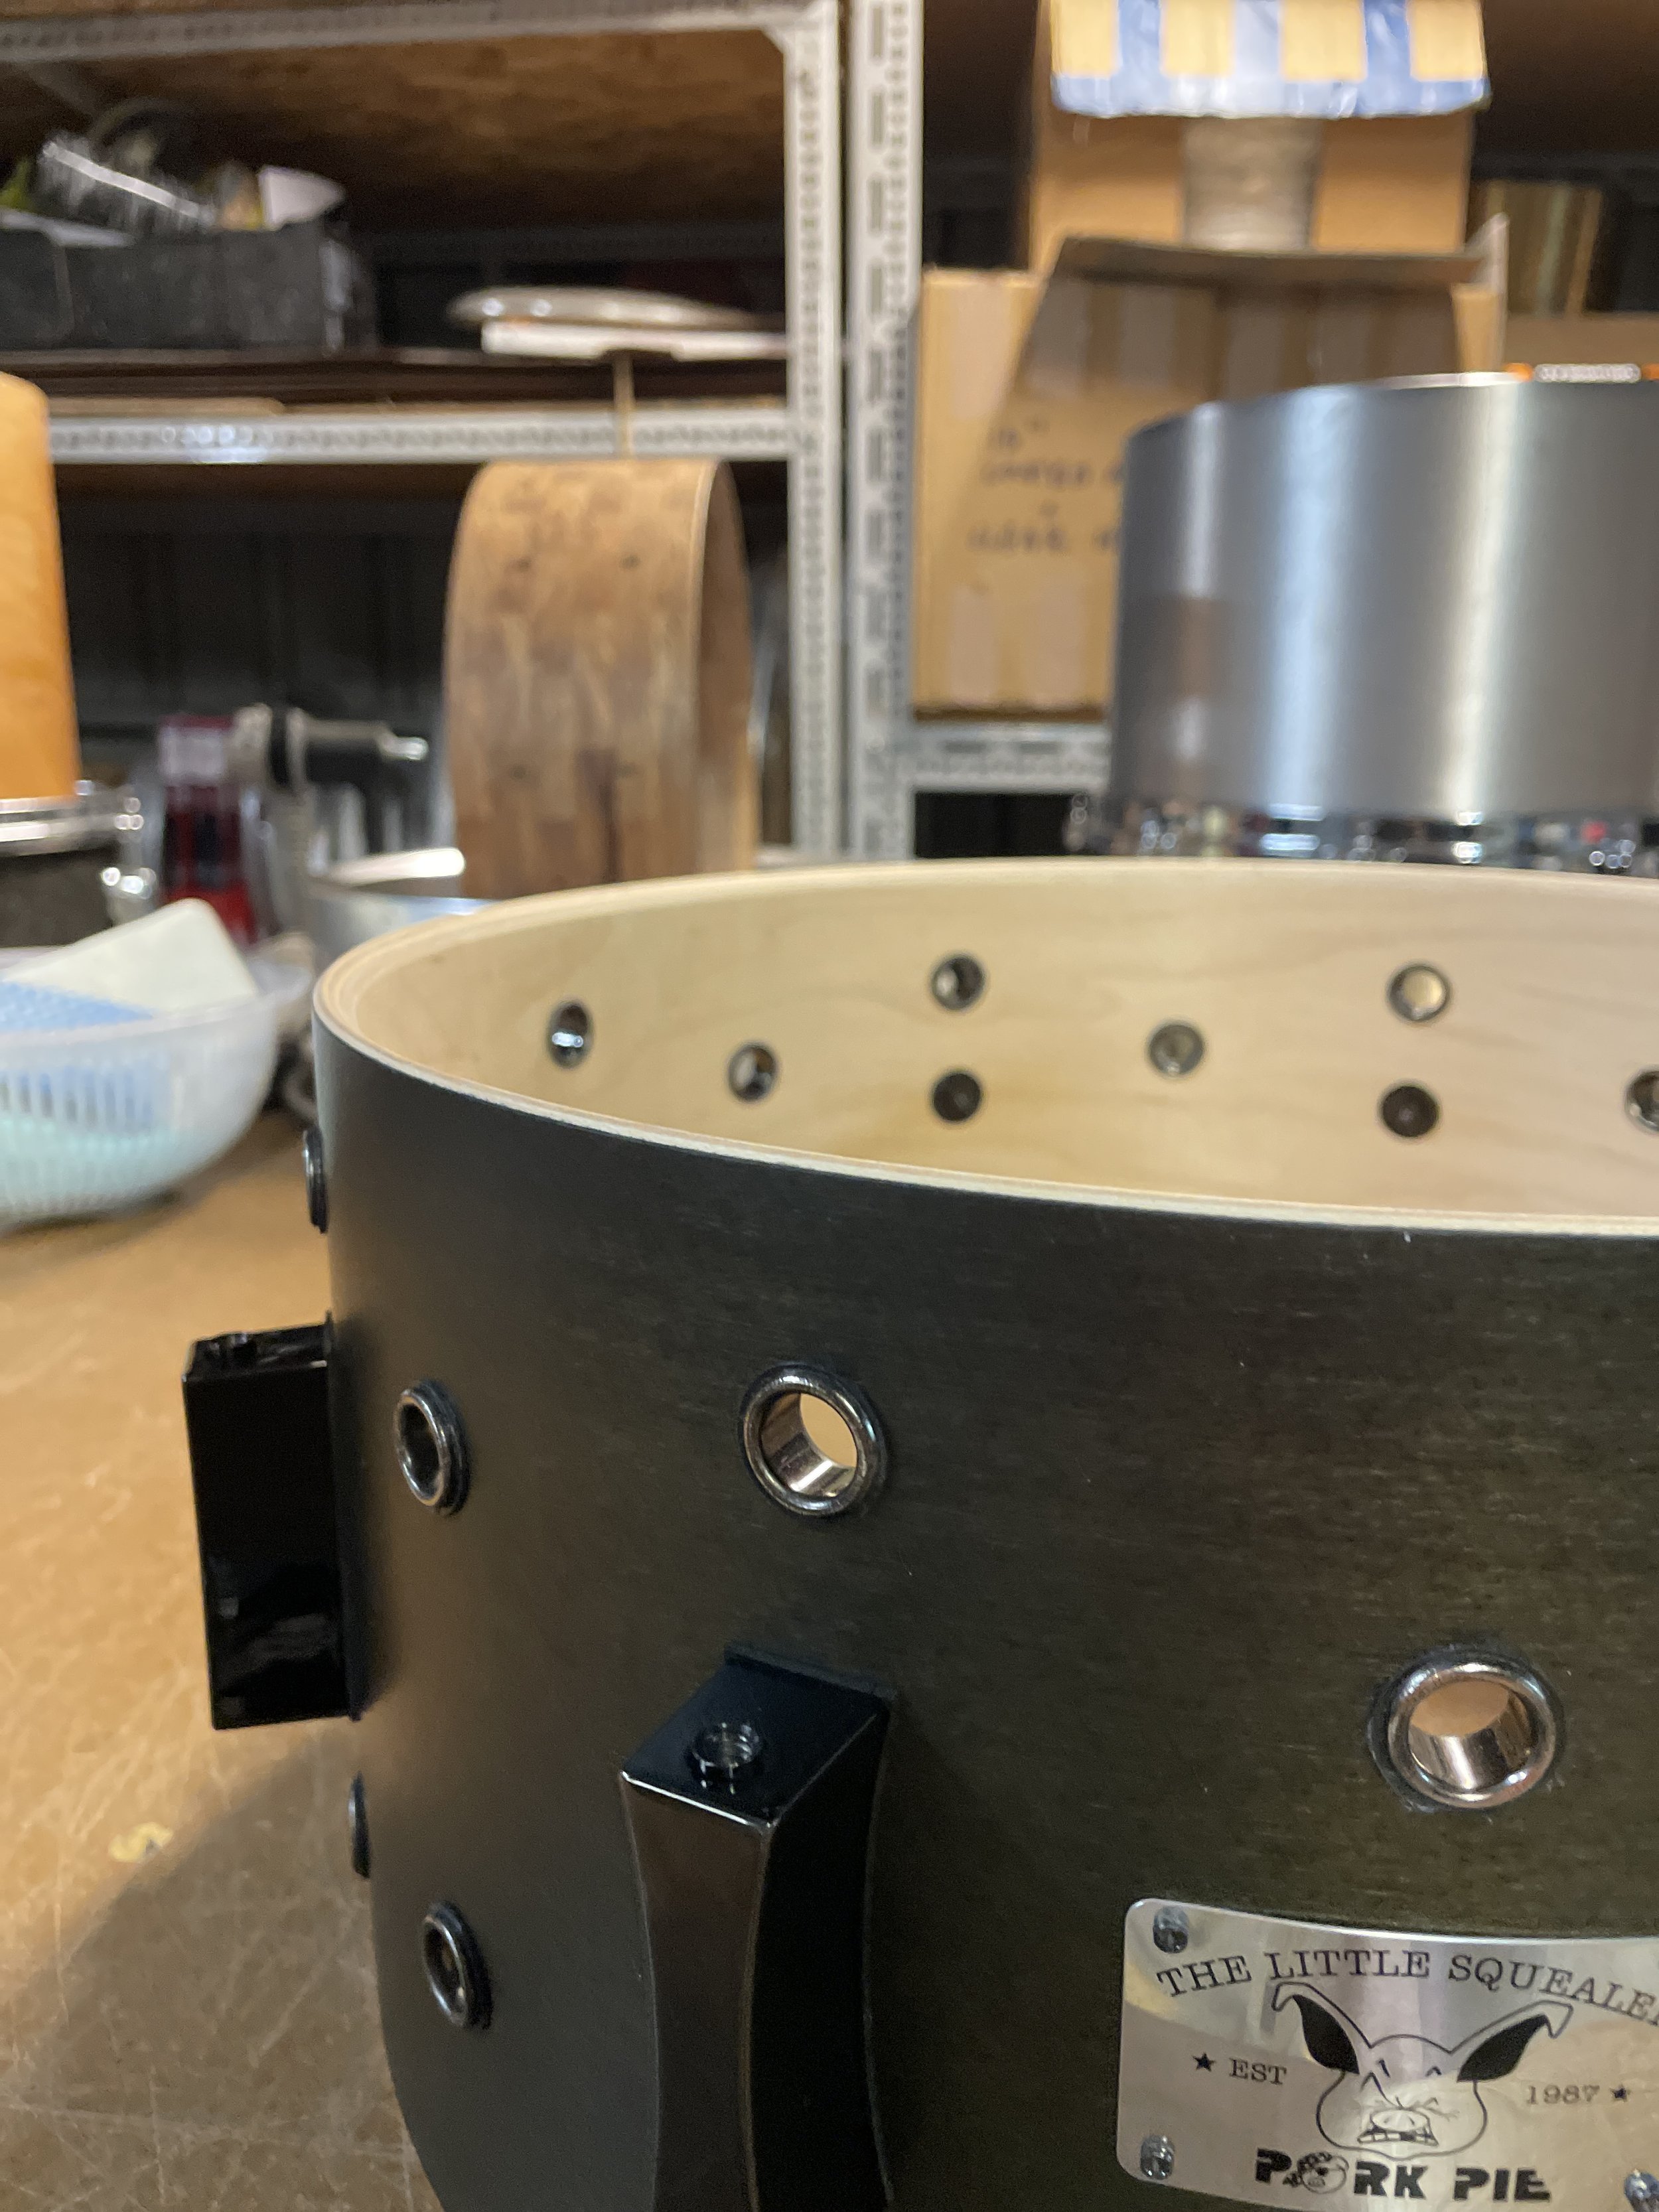
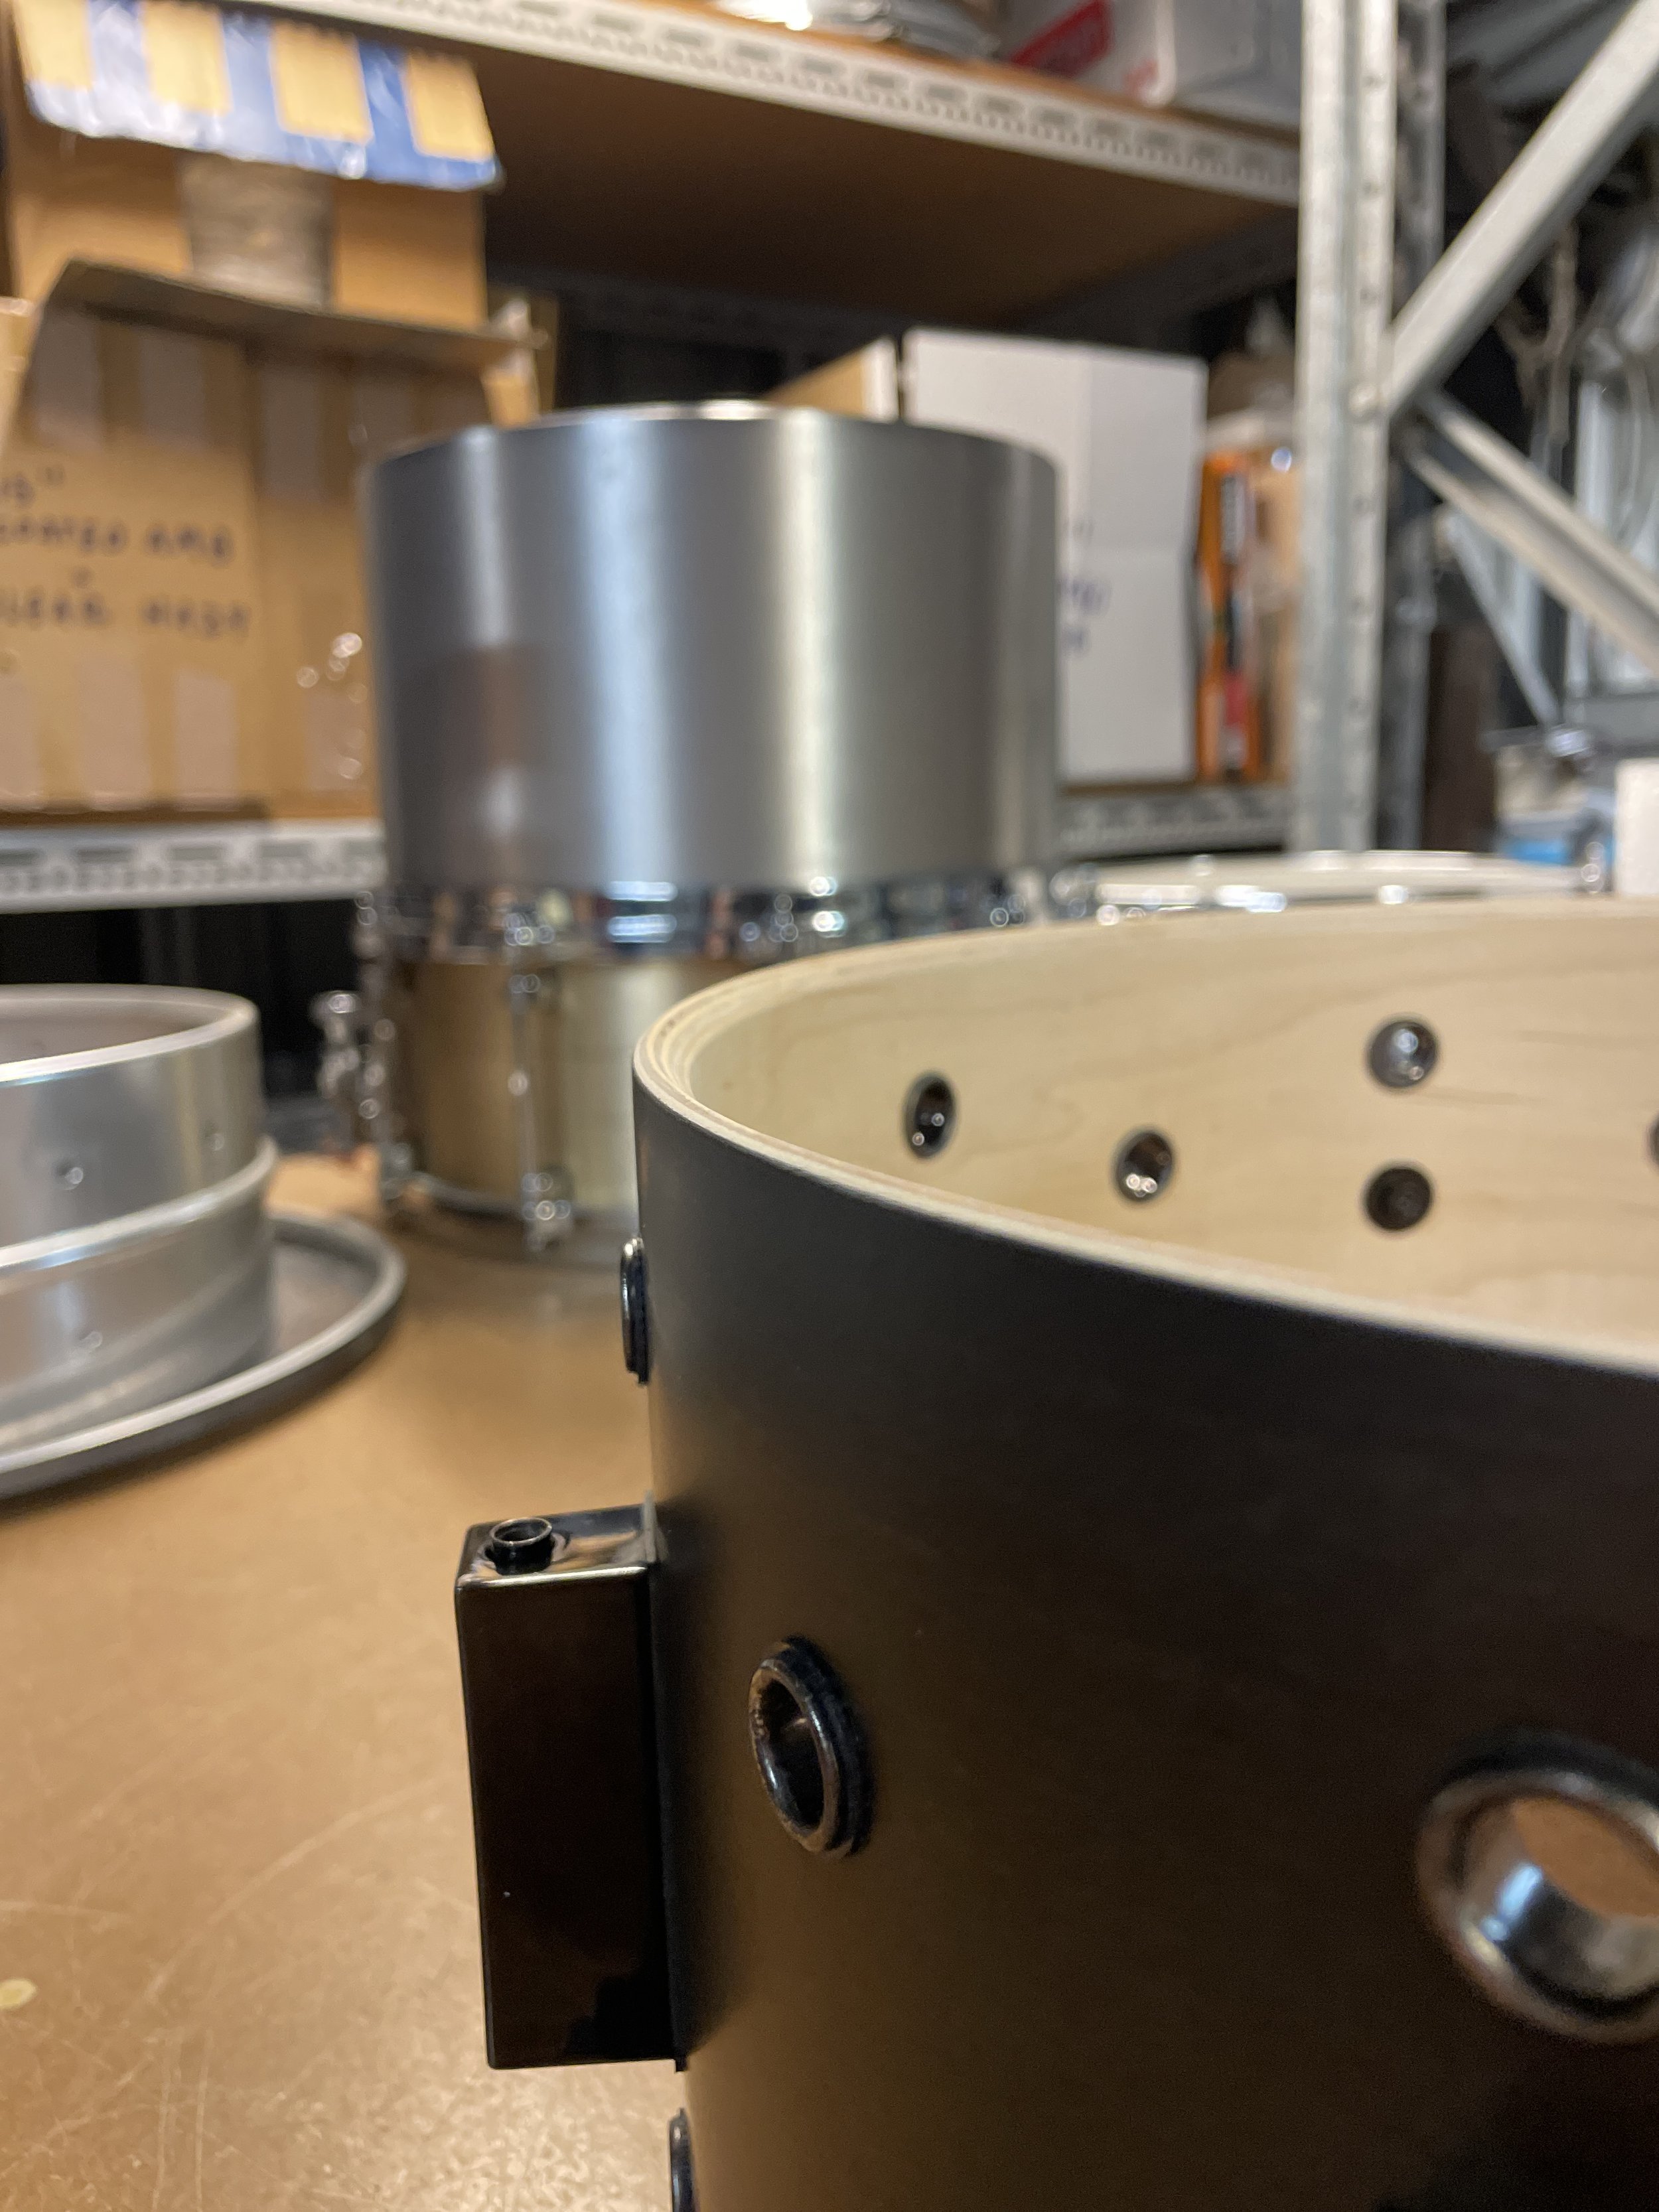
Pork Pie Little Squealer 13” x 6.5”
These snares became quite the staple in the Pork Pie offerings over the years and rightly so!
The combination of American Ply Maple and 13”x6.5” size is an unmistakaby agressive combo for this in the know!
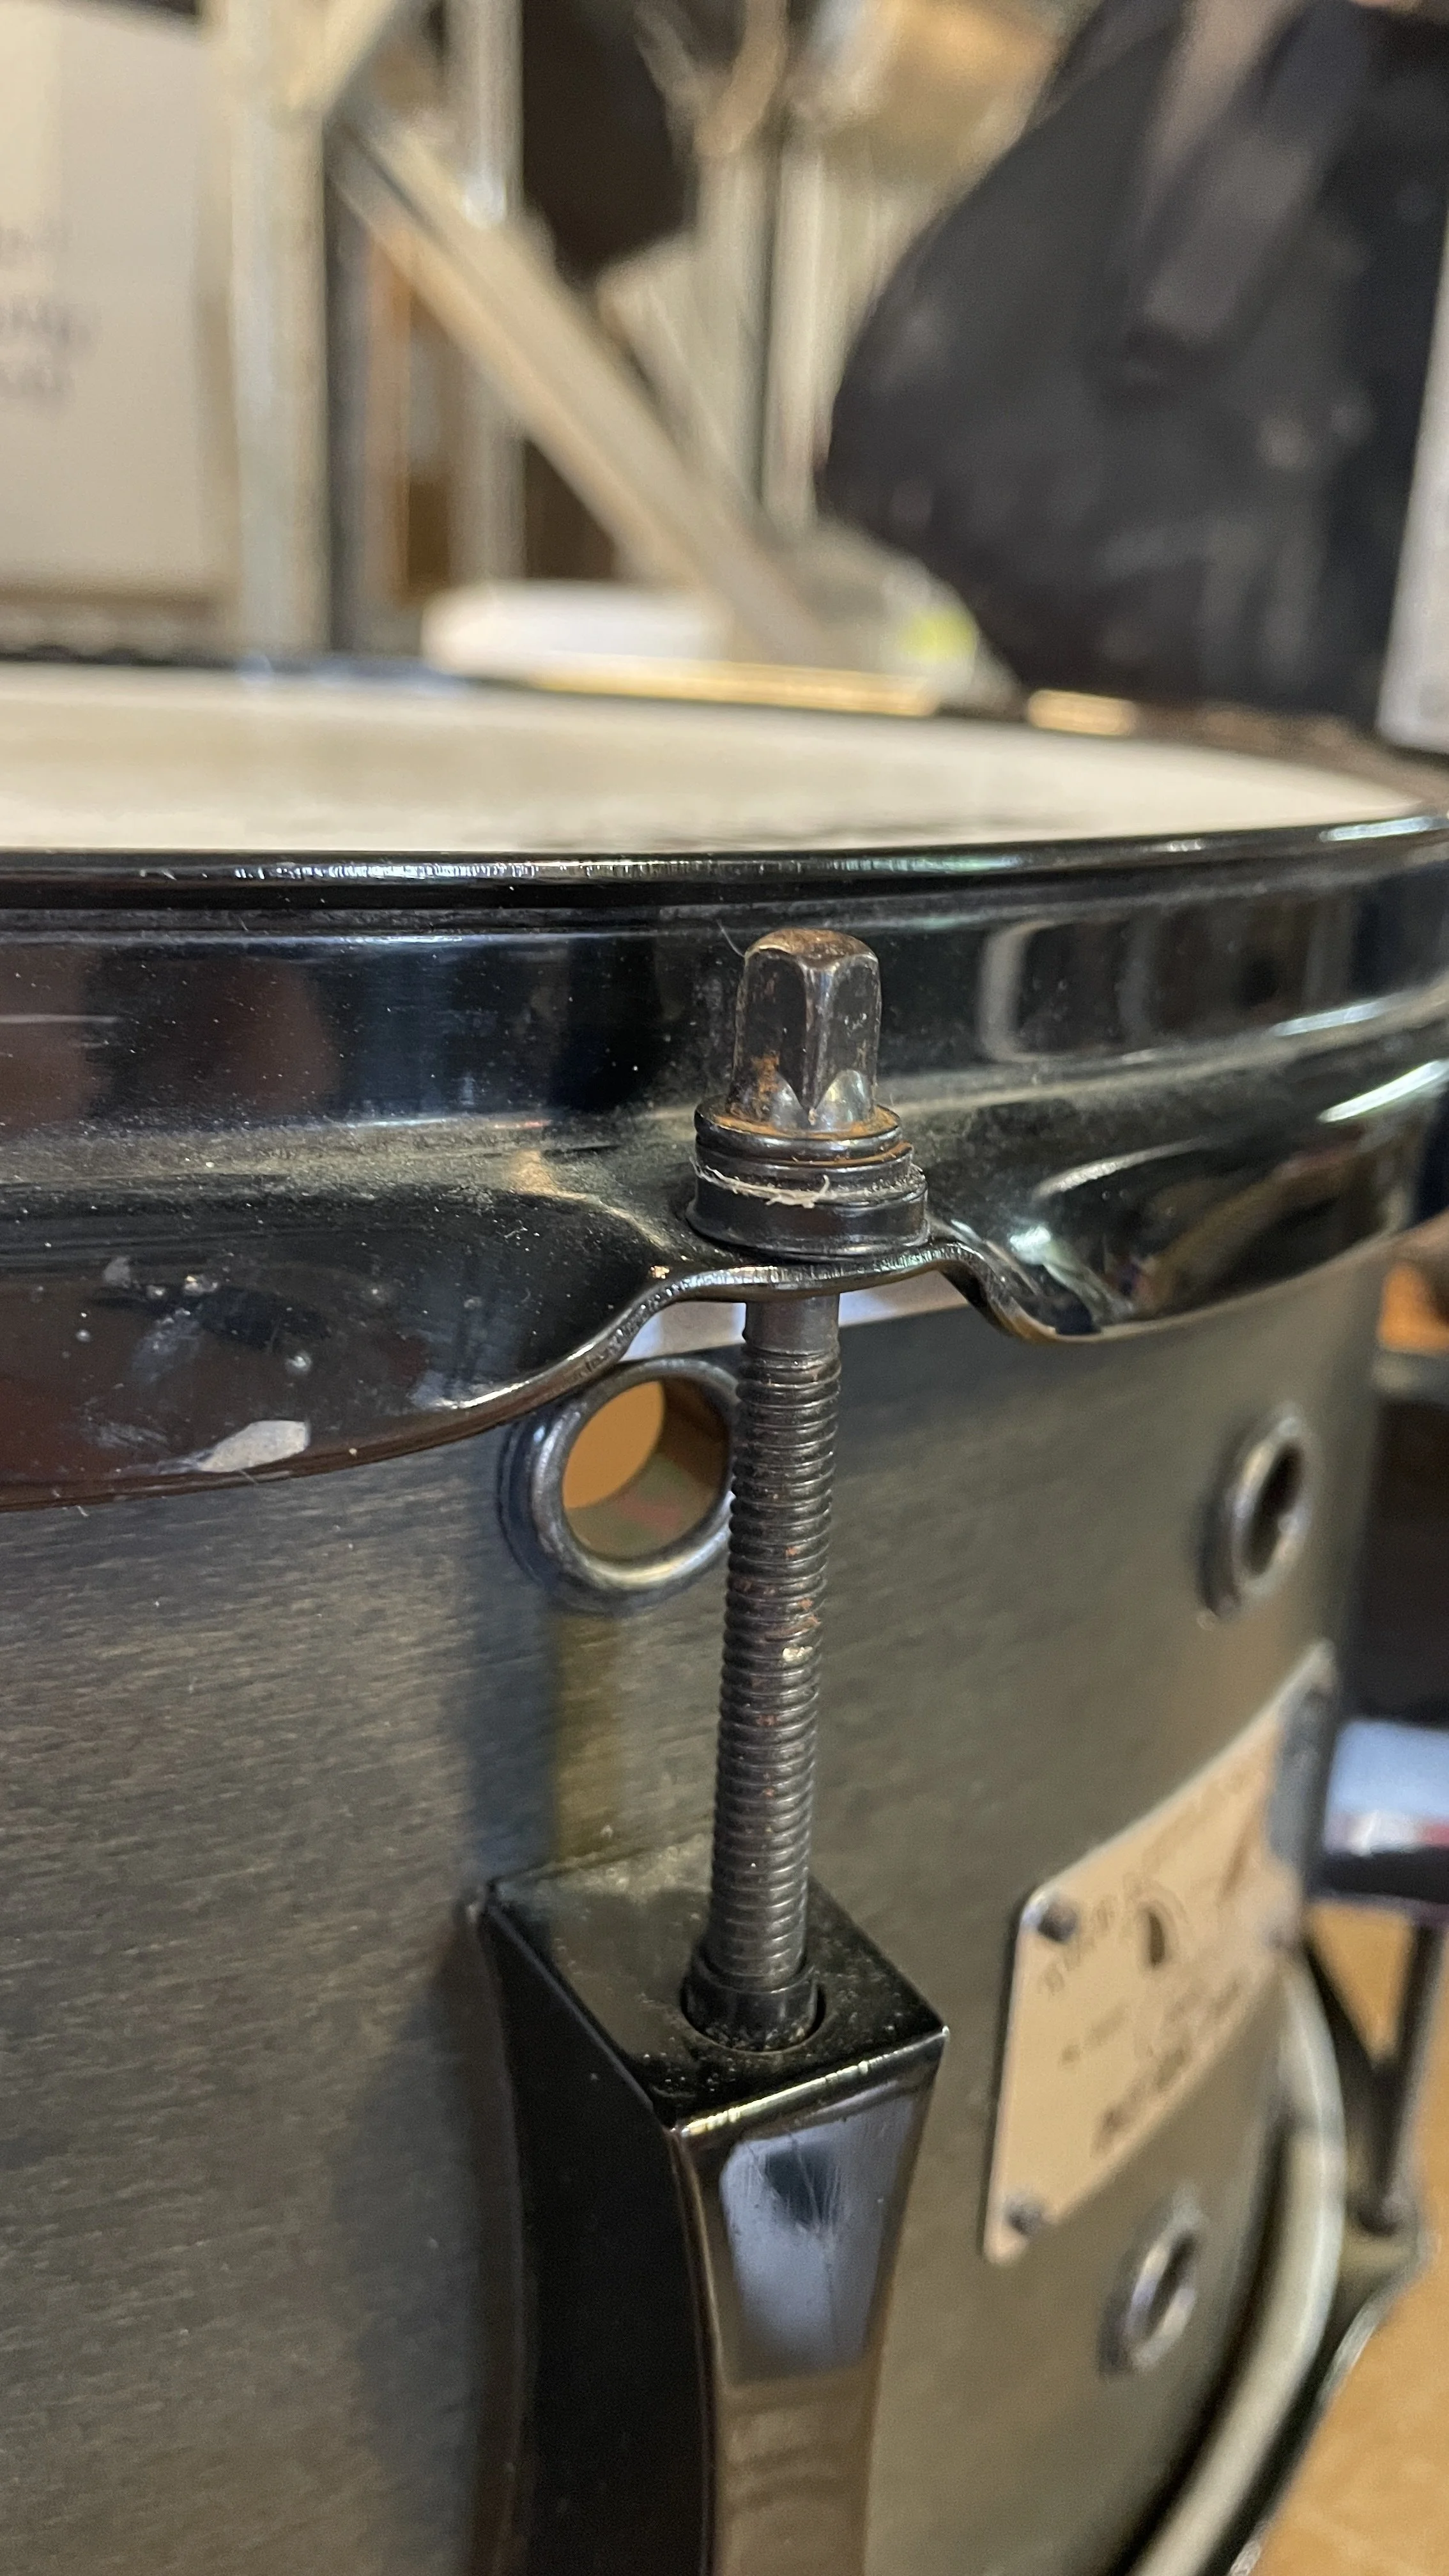
The aim here was just a straight forward strip, clean, light bearing edge re-dress - basically a factory reset.
The throw-off was really the only part that gave me greif being a mix of “loose” and a bit “sticky” at the same time.
Some disassembly, small tweaks did improve the function of the throw, but I wasn’t entirely happy with the feel despite it still fully working reliably it felt a little to sticky for my liking, although replacing this one wasn’t an option at the time, so we stuck with this one.
Tied together with some fresh Evans Heads + Pearl Ultrasound wires.


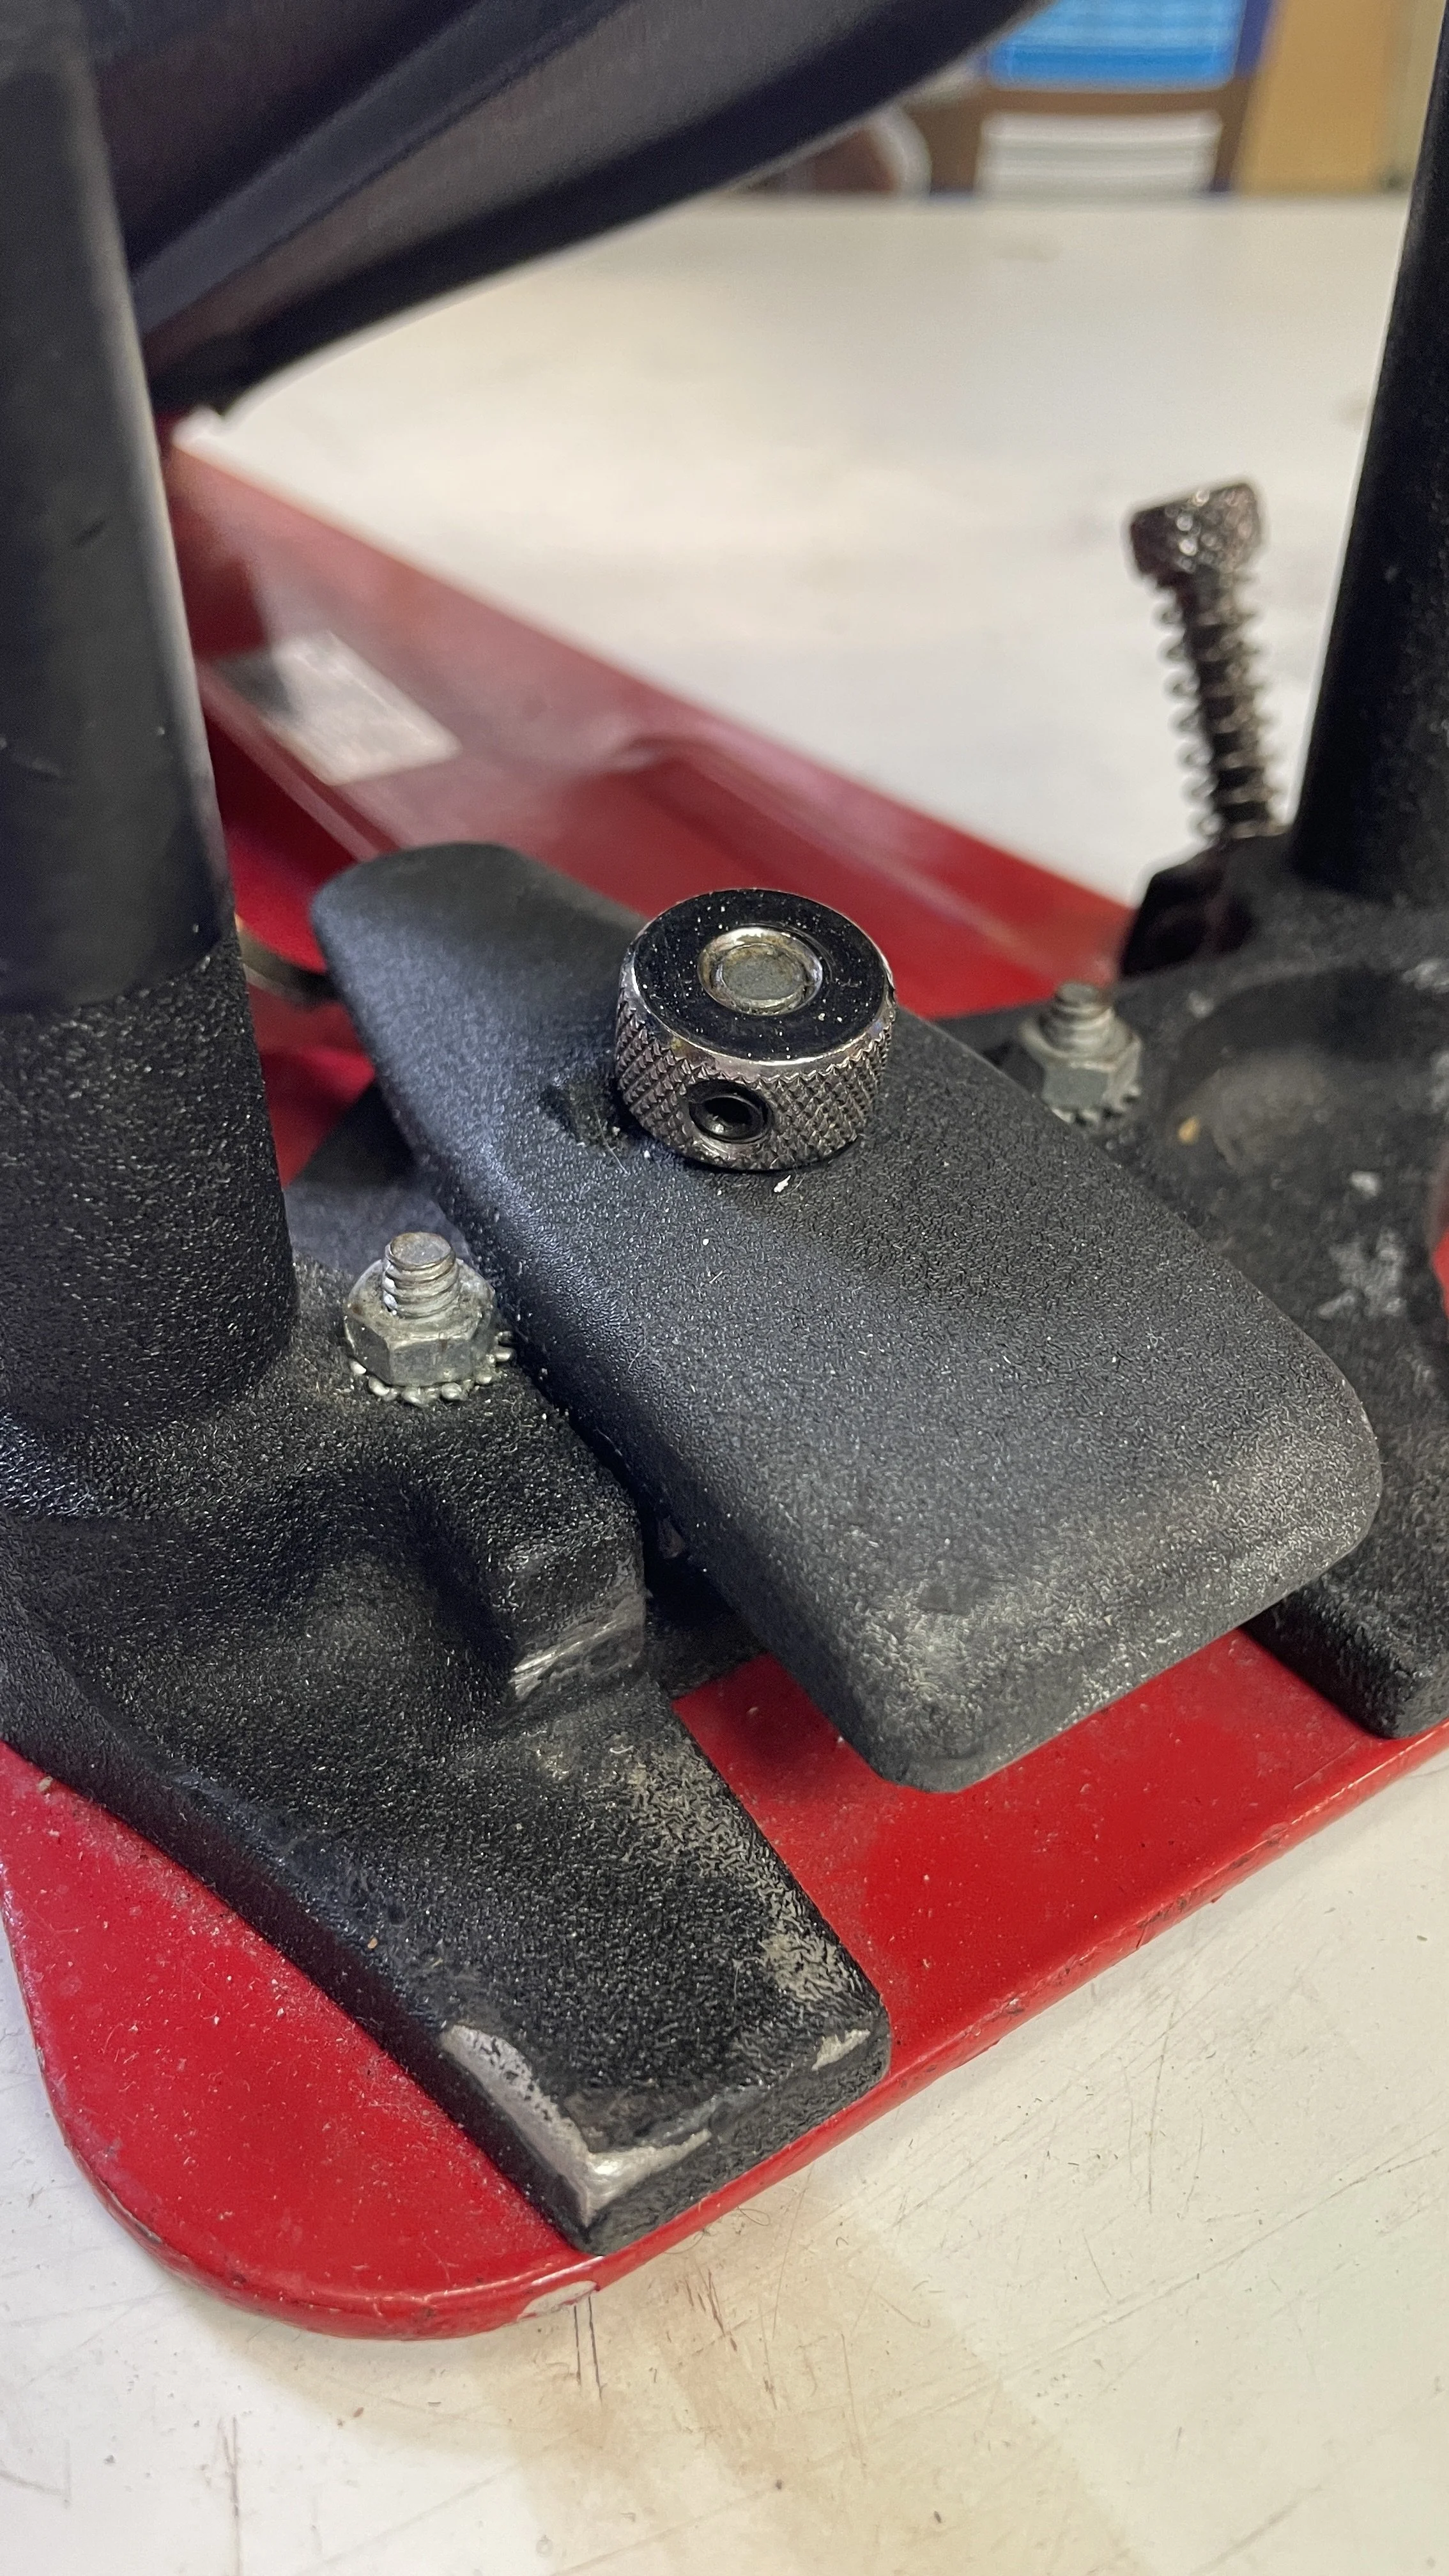
Dw 5000 Single pedal
The owner of this pedal was having a few small, but compounding issues with the main one being the main hoop clamp was slipping and loosening a lot during use which was causing the owner to tighten it more and more (naturally) which lead to some parts becoming worn and play developing.
After some investigating and chat with the owner I quickly realised one of the main culprits was in fact thick red bearing grease that had been very liberally put all around different parts of the pedal including the small metal arm that raises and sers the clamp in place - essentially helping the clamp to slip off.
Over lubrication of drum hardware is something I see far too much of, but also completely understand when you’re out in the middle of a live set and just need to quicjkly spray WD40 at whatever’s squeaking (sometimes the singer).
Aaaaanyway, after a partial disassemble, cleaning of the grease and several minor tweaks we were back in business!
Remember kids, less is more :)